Using the operator interface
3-9
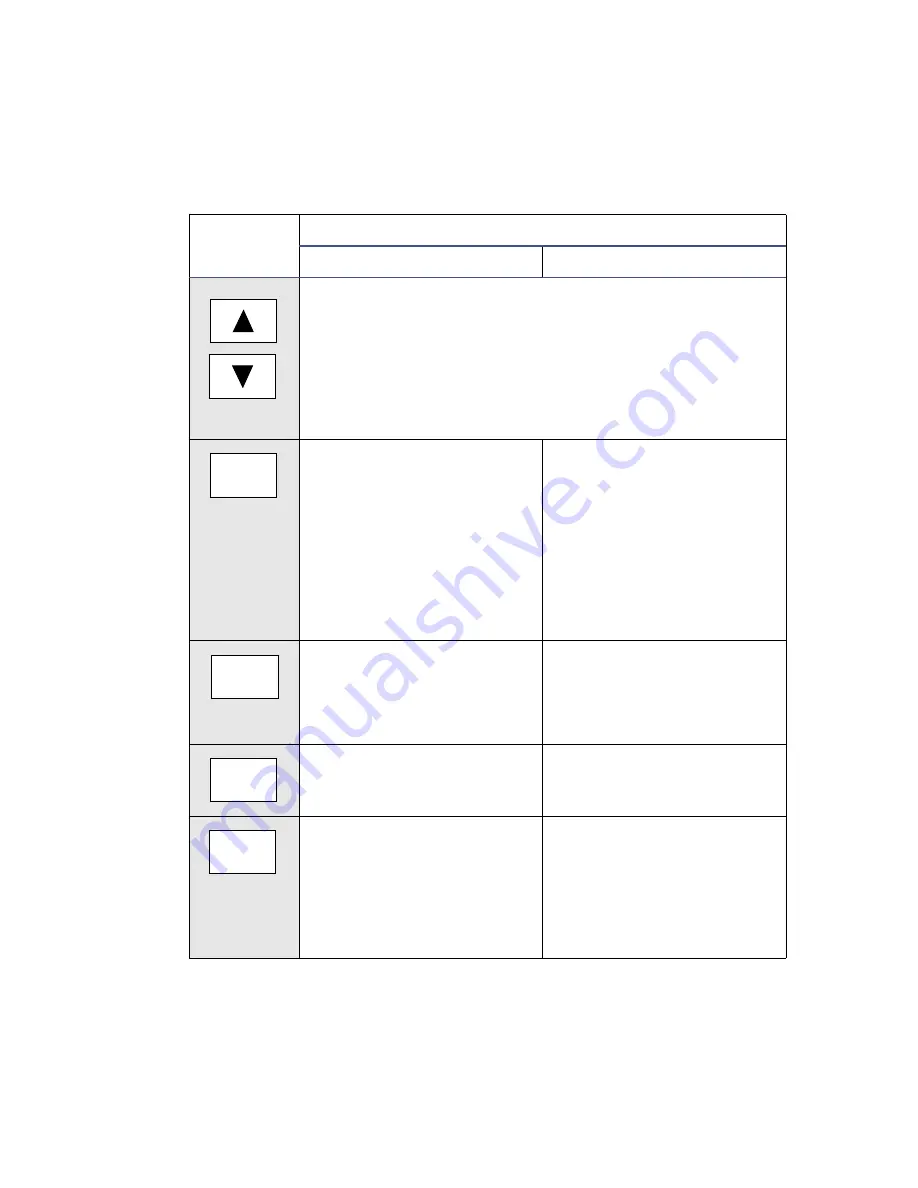
Arrow keys
−
On screens with entry fields (edit, check box, or
choice list), the active field has a thick border (highlight). The
arrow keys can be used to make a different field active. (Up
moves up or left; Down moves down or right.) On screens with
a scrollable list, these keys move the highlight up (toward the
beginning of the list) or down (toward the end). Other screens
may have special instructions for the use of the Up and Down
arrow keys (for example, the Display Contrast screen).
Next – Displays a screen with
additional options related to
the current screen. Repeated
pressing of this key always
brings you back to where you
started. On most screens
where this key is active, the
NEXT arrow appears in the
lower-right corner of the
display.
Previous – When the Next key
is available, Previous
navigates through the screens
in the reverse order.
A/B – On screens that have
the A/B icon in the upper-left
corner, this key toggles
between channel A and
channel B parameters.
METHOD – Displays the list
of options for creating and
clearing timed and threshold
events, storing, retrieving,
and resetting methods.
DIAG – Displays the choice
list of diagnostic tests.
CONFIGURE – Displays the
first Configuration screen.
TRACE – Displays the
absorbance monitor trace for
channel A or B.
Scale – When the wavelength
trace or spectrum screen is
visible, this function permits
modification of the display
range in the X (time or
wavelength) and Y
(absorbance) dimensions.
Detector keypad description
Key
Description
Unshifted
Shifted
Previous
Next
METHOD
A/B
CONFIGURE
DIAG
Scale
TRACE
Содержание 2489
Страница 8: ...viii...
Страница 32: ...1 16 Theory and Principles of Operation...
Страница 134: ...3 66 Preparing the Detector...
Страница 193: ...Warnings that apply to all Waters instruments A 9...
Страница 204: ...B 6 Detector Specifications...
Страница 220: ...D 14 Solvent Considerations...


