Using the Wi-Fi
To enter the camera’s Wi-Fi interface, press and hold the up button. You can also
turn the camera Wi-Fi on from the system settings menu. The camera’s LCD screen
will change to a Wi-Fi symbol. Once the Wi-Fi has initialized on the camera, the LCD
screen will show the network name (ssid) and password (pwd) required to connect a
Smartphone to the Wi-Fi.
Step 1: Initialize the Wi-Fi on the camera
Step 2: On a Smartphone, enter the Wi-Fi settings
Step 3: Connect the Smartphone to the ROX camera’s Wi-Fi network
(network name is displayed on the camera’s LCD screen)
Step 4: Enter the password displayed on the cameras LCD screen
Step 5: Wait for the Smartphone to connect to the camera’s Wi-Fi
Step 6: Once Wi-Fi is connected, open the WASPcam ROX App. The app will
connect the Smartphone to the ROX camera
Step 7: Once the connection is successful, the Smartphone will display what the
camera sees on the screen
Step 8: The camera photo/video recording can now be controlled from the
Smartphone
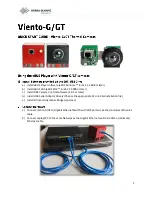
Click the App Store icon. Click search
icon.
Click the search field and enter
“WASPcam ROX”, click the search
button.
Click the icon and click download.
Once it’s finished the WASPcam ROX
icon will show on your home screen.
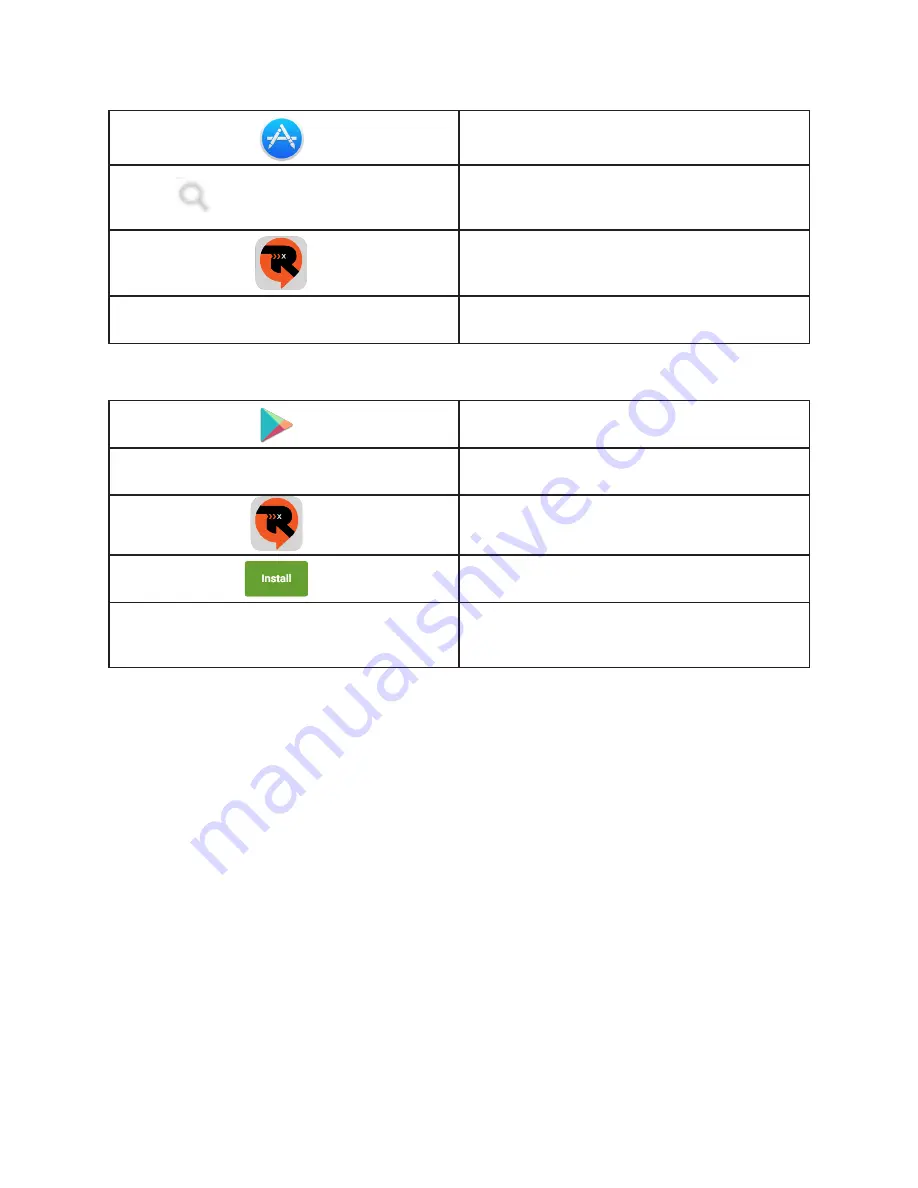
Open the Google Play Store on your
phone.
Enter “WASPcam ROX” into the search
bar and hit search.
Click on the WASPcam ROX icon to view
the app page.
Click the install button to install the
WASPcam ROX to your phone.
Once it’s finished, the WASPcam ROX
icon will appear in your application
menu. .
Download by iPhone
Download to Android Smartphone
WASPcam ROX App
11