17
Remote Control
Under standby mode, press the menu button to enter system settings, press the left/right
arrow buttons to choose remote then select Remote Match. The message on the LCD
Screen is “Wait Remote Match” and camera enters pairing mode. At the same time,
press both buttons on the remote controller to start pairing. Pairing is
successful when the LCD screen shows “Remote Match OK”
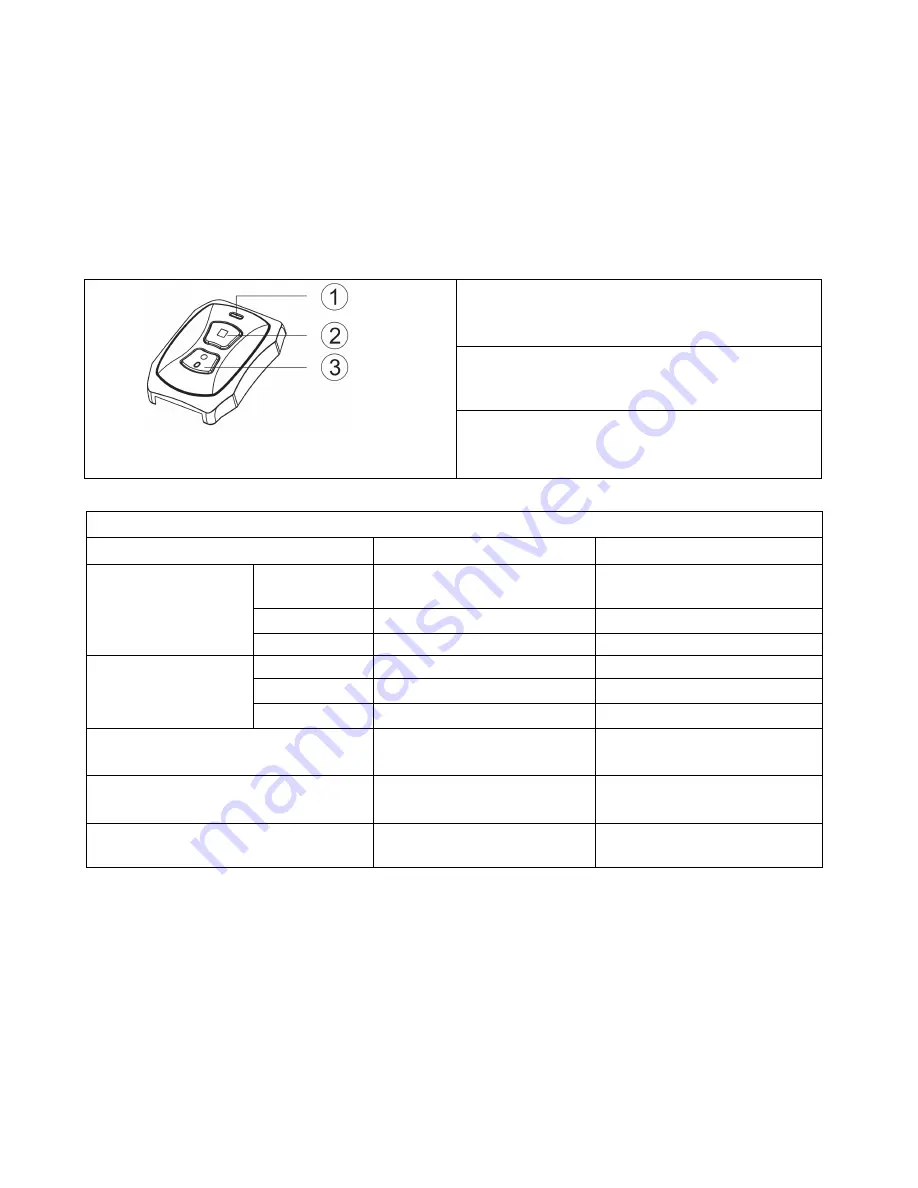
Press the Inquiry/Record Button (3) and the Photo
button (2) simultaneously to enter Pairing mode
1 -‐ Indicator light
2 – Photo Button -‐ press to take photos,
3 – Inquiry/Record Button – press to start/stop
recording, press and hold for 3 seconds to check
the present status of the camera (see below)
Connecting to External Devices
Play back on HD TV
Turn the camera on, connect the HDMI port in the camera to the TV via an HDMI
cable (not included) and choose the HDMI mode on TV. The LCD screen on the
camera will turn off automatically and now all operations and functions can be seen
on the TV.
Remote Control Indicator Light Status
Status/LED
Red LED Light
Blue LED Light
Status Inquiry
Standby
1 time/sec frequently
Flickers about 5sec
Off
Recording
Off
Light on 3 seconds, then off
Power off
Light on 3 secs, then off
Off
Pairing Mode
Pairing
Long light
Long light
Success
Light on 3 secs, then off
Light on 3 secs, then off
Failure
Off
Off
Start recording
2 times/sec frequent
Flickers about 5sec
Off
Stop recording
1 time/sec frequent
Flickers about 5sec
Off
Photo
Off
Flashes once each time you
take a photo


