


36
37
6
Cleaning and Maintenance
6.1
Safety Instructions
•
Prior to any servicing and repair work: Make sure that the spray gun is in
unpressurised condition, i.e. all air and material inputs must be shut off - if not,
imminent Risk of Injury .
•
No open fires and naked lights as well as smoking are allowed in the work
area. This is a major requirement to prevent the euer present risk of fire and
explosion, particularly when spraying readily flammable media such as, for
example cleaning solutions, etc.
•
It is important that all processing specifications and safety warnings issued by
the manufacturer of cleaning media are duly complied with. Remember:
Aggressive and corrosive media represents risks and hazards to personal
health.
6.2
Cleaning - Complete
The spray gun should be frequently cleaned and lubricated so as to ensure a long
service life and functional reliability. Cleaning of the gun only with cleaning solutions
recommended by the manufacturer of the spraying material used at the time. It is
im-portant to make sure that cleaning solutions do not contain any of the following
constituents:
•
halogenated hydrocarbons (e.g. 1,1,1-trichloroethane; methylene chloride, etc.)
•
acids and acidiferous cleaning solutions
•
regenerated solvents (so-called cleaning dilutions)
•
paint removers
The above constituents cause chemical reactions with electroplated components
resulting in corrosion damage.
WALTHER Spritz- und Lackiersysteme is not liable for any damages resulting from
improper treatement of the gun.
Clean the spray gun
•
prior to each change of the spraying medium.
•
at least once a week.
•
as often as may be required by the spraying medium handled and the resultant
degree of fouling.
Caution
Never immerse the spray gun in solvent or any other cleaning solution as such
measure is highly likely to affect the functional reliability and efficiency of the gun.
Caution
Do not use any hard, pointed or sharp-edged objects when cleaning the spray gun.
Any damage of the precision-made parts are likely to affect your spraying results.
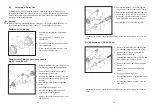
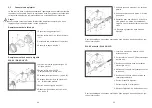
1. Dismantle the spray gun (see
5.5 Retooling the Spray Gun
).
2. Use a soft brush together with a compatible cleaning solution to clean the air
cap and nozzle.
3. Use a suitable cloth with a compatible cleaning solution to clean the gun body
and all remaining parts.
4. Apply a thin film of the appropriate grease type/grade to the:
•
sealing collar of the piston
•
O-ring of the piston
•
material control needle
•
needle spring
•
inside of the gun body
Make sure to use a non-acidic, non-resinogenic grease type/ grade and apply
same with a soft brush. Assemble the spray gun in reverse order.
6.3
Cleaning - Routine
The spray gun need not necessarily be dismantled for cleaning if and when the
spraying medium is changed in regular intervals or upon termination of work
(depending, of course, an the material used).
Notice
lt is recommended practice to clean and lubricate the spray gun frequently in
accordance with Chapter
6.2 Cleaning - Complete
, as this will greatly help towards
ensuring a Jong service life and functional reliability.
The following requirements must be met before the routine cleaning work can be
performed:
•
the material tank must be clean and then filled with a compatible cleaning
solution.
•
cleaning solution should neuer be sprayed - yet the material pressure must be
available at the gun.
The spraying system must be in Operation if a spray gun is to be cleaned.
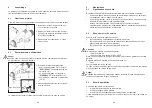
1. Take the spray gun into Operation (see
5.2 Starting / Stopping Requirements
).
2. Do not stop the spray gun until clear cleaning solution emerges from the nozz-
le.
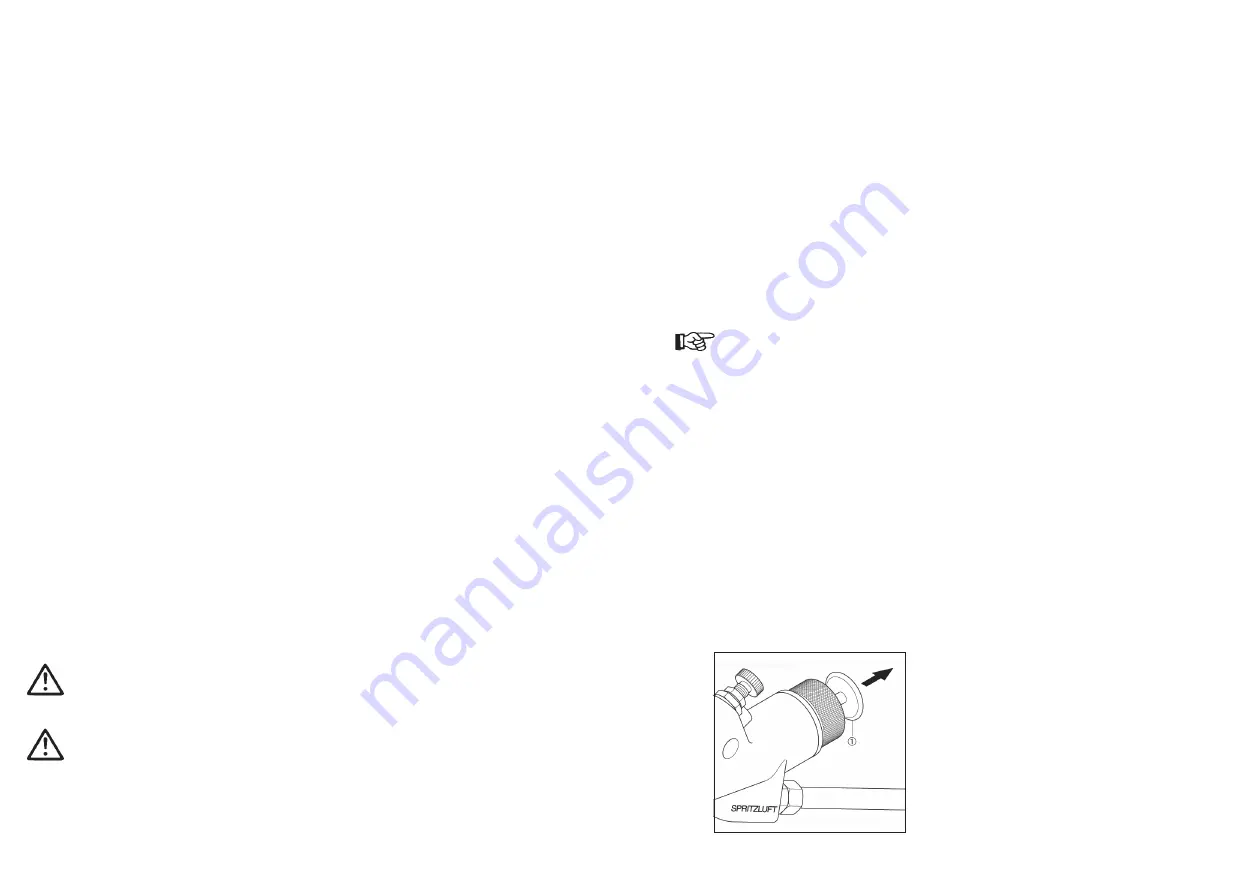
Only WA XV needle-pull / WA XV-HVLP
The material Input can be released by hand so that the complete spraying system
must not be taken into operation.
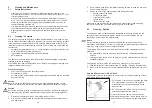
1. Pull the disk
at the end of the spray gun back.
The material inlet is now open and both the
material duct and the material needle will be
washed clean.
2. Do not let go of the disk
until clear cleaning
solution emerges from the nozzle.
All pressures should now be removed from the
complete spraying system - which should be left in
this condition until it is taken into operation again.


