background image

OPERATOR'S MANUAL

Trailer Chipper-Shredder

BXMT

4224 / 

BXMT

4238

Document Number: Z97149_En

Rev Jun-2020

Содержание BXMT4224

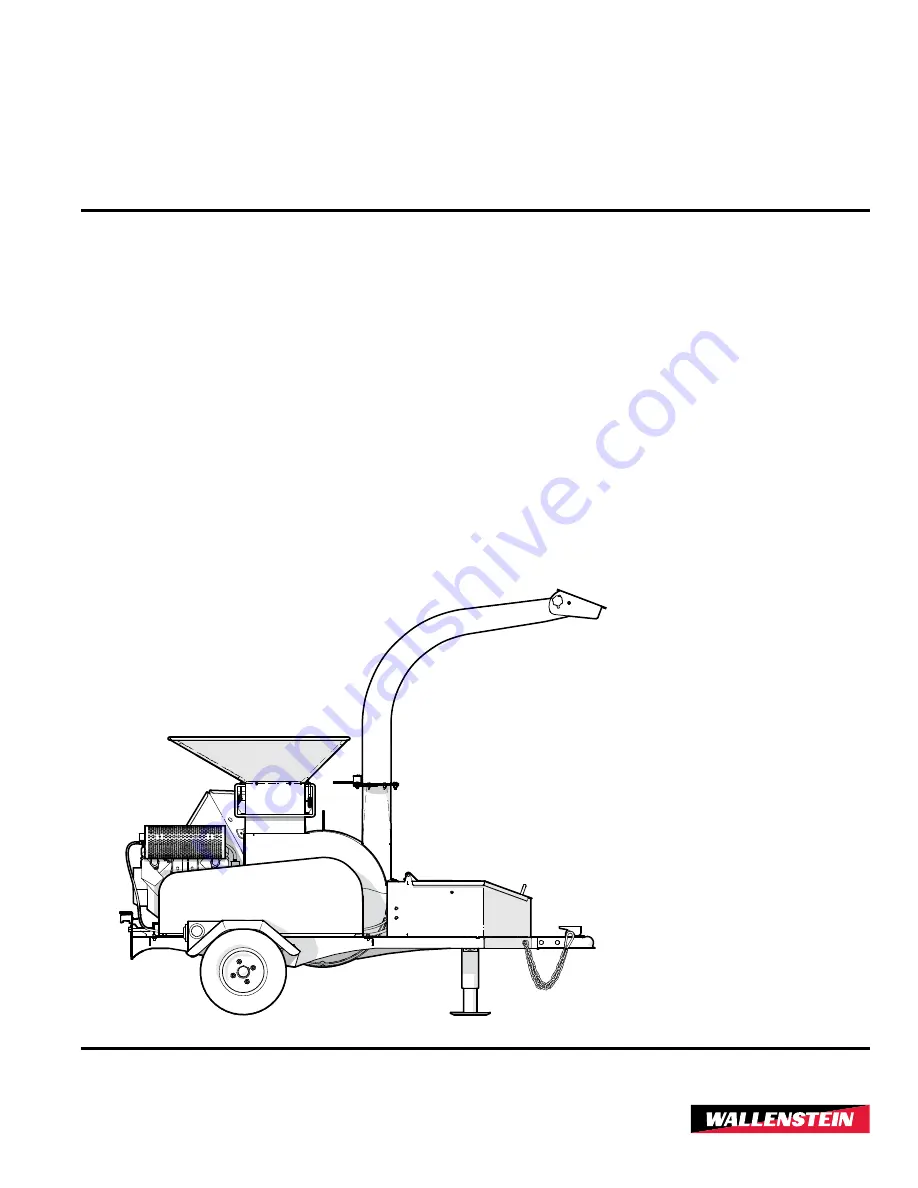
Страница 1: ...OPERATOR S MANUAL Trailer Chipper Shredder BXMT4224 BXMT4238 Document Number Z97149_En Rev Jun 2020...

Страница 2: ...uent reference and to pass on to new operators or owners Call your Wallenstein dealer or the Distributor if you need assistance information or additional copies of the manuals Units of measurement in...

Страница 3: ...ood Deflector 24 5 6 Hitch Coupler 24 6 Operating Instructions 25 6 1 Operating Safety 25 6 2 Before Startup 26 6 3 Fuel Level Checking 27 6 4 Engine Oil Level Checking 27 6 5 Starting the Engine 28 6...

Страница 4: ...have thoroughly instructed the buyer on the equipment care adjustments safe operation and applicable warranty policy and reviewed the manuals Dealer Address City State Province ZIP Postal Code Phone N...

Страница 5: ...e or other information The product information plate location is shown in the illustration Record your product Model and Serial Number in the spaces provided below for future reference Fig 1 Serial Nu...

Страница 6: ...al information to the operator or explains the operation of a control Product Decals indicate machine model and serial number and other important information VIN NLV MODEL Manufactured by Wallenstein...

Страница 7: ...ipment protection with personal safety messages a signal word IMPORTANT indicates a situation that if not avoided could result in damage to the machine 2 3 Why Safety is Important Three Big Reasons Ac...

Страница 8: ...doctor about using this machine while taking prescription medications Do not modify the equipment in any way Unauthorized modification may result in serious injury or death and may impair the function...

Страница 9: ...form the Pre operation Checklist procedure before starting work see Pre Operation Checklist on page 26 2 9 Refueling Safety Handle fuel with care It is highly flammable Allow engine to cool for 5 minu...

Страница 10: ...ght or devices which can create a spark DO NOT refuel indoors where area is not well ventilated Outdoor refueling is preferred DO NOT refuel while engine is running Allow engine to cool for 5 minutes...

Страница 11: ...cleaner or air cleaner cover removed Be sure to Remove the wire from the spark plug when servicing the engine or equipment to prevent accidental starting Disconnect the negative wire from the battery...

Страница 12: ...elated to that area that requires your SAFETY AWARENESS Safety sign explanations begin on page 14 Think SAFETY Work SAFELY IMPORTANT If safety signs have been damaged removed become illegible or parts...

Страница 13: ...01022 4 2 2 5 8 9 10 11 13 0 Fig 3 Safety Decal Locations on BXMT4224 and BXMT4238 BXMT4224 BXMT4238 Trailer Chipper Shredder Safety 13 Safety Signs...

Страница 14: ...wear hearing protection when near the operating machine The noise declaration decal indicates the sound power LWA emitted by the machine when operating For this chipper it can be up to 121 decibels at...

Страница 15: ...Safety Awareness Caution Refer to the operator s manual Read ALL operating instructions in the manual and learn the meaning of ALL safety signs on the machine The best safety feature is an informed o...

Страница 16: ...ught in drive belt Never operate the machine with guard cover removed Always keep guards and covers in place when machine is in operation Keep hands clear of this area 11 Servicing CAUTION Do not risk...

Страница 17: ...laced that had a safety decal on them must also have the safety sign replaced Procedure Installation area must be clean and dry Make sure the surface is free of grease or oil Ambient temperature must...

Страница 18: ...c reviews of Safety and Operation a standard practice for all operators Review again at the startup of every season The design and manufacture of this product conforms to relative provisions in the fo...

Страница 19: ...o become familiar with control function and machine response When a new operator is familiar and comfortable with the machine they can proceed with the work 3 Do not allow untrained operators to use t...

Страница 20: ...edger Blade 11 Twig Breaker 12 Jack Stand 13 Safety Chains 14 Trailer Tongue 15 Light Harness 16 Shredder Feed Gate Levers 17 Chop Block 18 Shredder Knives 19 Belt Guard 20 Rotor Sheave 21 Double B V...

Страница 21: ...Warm up the engine before putting the chipper to work The throttle lever should be at the MAX position during chipper operation Pull the lever up to increase engine speed Push the lever down to decre...

Страница 22: ...e starter engages When released the switch returns to ON Engine Hours and Oil level Alert 00372 1 2 Fig 10 Engine Hours and Oil Level Alert 1 Engine Oil Level Alert Indicator Light Red 2 Engine Operat...

Страница 23: ...he shredder intake is designed with spring loaded gates to allow the material in the hopper to move into the shredder rotor and close when unattended Levers on each side of the hopper control the posi...

Страница 24: ...itch Coupler 1 Trailer Jack 2 Snap Lock Pin 3 Safety Chains 4 Hitch Coupler The jack stand is used to support the front of the chipper when disconnected from the tow vehicle or in storage When towing...

Страница 25: ...or is turning Keep the working area clean and free of debris to prevent tripping Operate only on level ground Do not point discharge at people animals or buildings Rotor can expel wood chips fast enou...

Страница 26: ...n Checklist Check the tension and alignment of the belt Adjust as required Check the rotor housing and discharge chute Remove any blockages twine wire or other material that has become entangled Check...

Страница 27: ...additional information on fuels 1 Clean the area around fuel tank cap Fill the tank to 1 2 12 mm below bottom of filler neck to provide space for any fuel expansion Do not overfill 2 Install fuel fil...

Страница 28: ...o allow it to warm Gradually open the choke 6 Slowly increase the engine speed to engage the clutch and start the rotor 7 Increase throttle setting to maximum speed for operation 8 Ensure that the rot...

Страница 29: ...the wood chip pile is contained and does not affect the immediate work area 6 8 Shredder Operation 00903 Fig 21 Shredder Feed Control Handles The shredder has two feed gates with handles on each the s...

Страница 30: ...orque on fasteners and hardware After 8 hours of operation 10 Repeat all previous steps 11 Perform all the checks in the Pre operation Checklist 6 10 Clearing a Plugged Chipper The chipper is designed...

Страница 31: ...pper with the engine running Inspect tires for cuts or damage Check tire pressure Inspect all access panels and guards to ensure they are secured Make sure fuel tank cap is tight to prevent spills whi...

Страница 32: ...ry level area Support the frame with wood blocking if required Turn fuel valve off If storing for long periods add fuel stabilizer to the fuel tank Run the engine for 2 3 minutes so the stabilizer get...

Страница 33: ...Inspect and tighten all bolts nuts and screws and check that all electrical and fuel connections are properly secured to ensure chipper is in a safe working condition After completing a service proce...

Страница 34: ...Observe proper drive belt operation See page 37 Every 50 hours or Annually Check rotor blade sharpness See page 39 Check ledger knife sharpness See page 40 Check shredder blade sharpness See page 42 L...

Страница 35: ...ease remove and clean them thoroughly Replace grease fittings as necessary Location Every 100 hours of operation or annually 1 Rotor bearings one shot per side IMPORTANT Use a hand held grease gun for...

Страница 36: ...nspection BXMT4224 To inspect the filter elements remove the air cleaner cover Clean or replace dirty filter elements Always replace damaged filter elements 1 2 3 01118 Fig 25 BXMT4224 Engine Air Clea...

Страница 37: ...rement use a drive belt tension gauge If one is not available the following method can be used 5 Turn the belt tensioning bolt clockwise pulling the engine to tighten the belt 6 Use your hand to check...

Страница 38: ...e sure the bolts fastening the engine to the mount are tight Make sure the engine is square to the base and the bolts are properly torqued to 33 lbf ft 45 N m 01170 Fig 32 Engine bolts 2 Loosen the fo...

Страница 39: ...or the best performance Periodic inspection is recommended Keep the blades sharp to reduce the amount of power required during operation Check blade sharpness more often if processing material with a...

Страница 40: ...the blade can be removed and re installed with a different corner facing the rotor blade Once all four corners have been rounded remove the knife to sharpen or replace it 01129 Fig 38 Ledger knife ins...

Страница 41: ...to reinstall the knife In the event all four corners of the blade have rounded over remove the blade to sharpen it 3 Sharpen both long edges of the blade at 90 01098 90 90 Fig 41 Sharpening Ledger Kn...

Страница 42: ...7 Fig 43 Rotor Assembly 1 Rotor 2 Rotor Paddle 3 Locknut 4 Bushing 5 Spacer 6 Shredder Knife 7 Hammer Retainer Pin Shredder Knives Changing 1 Open the upper rotor housing 2 Manually turn the chipper r...

Страница 43: ...off at the fuel shut off valve 2 Remove the gear clamps on either side of the filter Pull it off the hoses and install a new one 3 Install and tighten the gear clamps Turn the fuel supply back on 011...

Страница 44: ...e vibration while operating Broken or missing rotor blade Replace Rotor may be bent Check for rotor wobble Replace rotor Rotor bearings failed Replace Loose fasteners Tighten See common bolt torque ta...

Страница 45: ...er Housing Opening 11 x 11 27 cm x 27 cm 11 x 11 27 cm x 27 cm Number of Chipper Knives 2 2 Number of Shredder Knives 30 30 Rotor Diameter 25 64 cm 25 64 cm Rotor Weight 170 lb 77 kg 170 lb 77 kg Disc...

Страница 46: ...fied by their head markings Imperial Bolt Torque Specifications Bolt Diameter Torque Value SAE Gr 2 SAE Gr 5 SAE Gr 8 lbf ft N m lbf ft N m lbf ft N m 1 4 6 8 9 12 12 17 5 16 10 13 19 25 27 36 3 8 20...

Страница 47: ...o prevent loose wheels broken studs or possible separation of wheels from axle Start all lug nuts onto the threads by hand Tighten lug nuts in stages following the pattern shown in the Wheel Lug Nut T...

Страница 48: ...y does not cover the following 1 Normal maintenance or adjustments 2 Normal replacement of wearable and service parts 3 Consequen al damage indirect damage or loss of pro ts 4 Damages resul ng from Mi...

Страница 49: ...tch Coupler 24 Hood Deflector 24 I Informative Labels 6 L Ledger Knife 40 Adjusting Clearance 40 Sharpening 41 Lubricants 33 M Machine Break In 30 Machine Specifications 45 Maintenance Decals 6 Mainte...

Страница 50: ...System 43 Engine Air Cleaner 36 Fluids and Lubricants 33 Fuel Filter 43 Fuel Filter Changing 43 Grease Points 35 Ledger Knife Checking 40 Maintenance Schedule 34 Rotor Blades 39 Rotor Blades Changing...

Страница 51: ......

Страница 52: ...www wallensteinequipment com...

Отзывы: