background image

English

   - 15 -

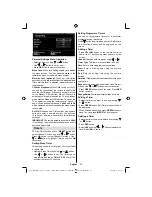
analogue channels, digital channels and external 
sources stored. 
Press 

• 

OK

 button to proceed. Use “ ” or “ ” button 

to set Fine Tune. When 

fi

 nished, press 

OK

 button 

again.

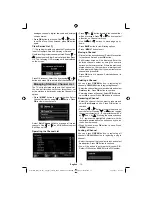
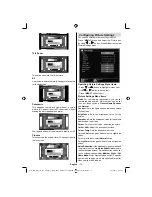
Clear Service List (*)

(*) This setting is visible only when the Country option 
is set to Denmark, Sweden, Norway or Finland.

Use this setting to clear channels stored. Press “ ” or 
“ ” button to select Clear Service List and then press 
OK. The following OSD message will be displayed 
on the screen:

Press OK to cancel. Select Yes by pressing “ ” or “ ” 
button and press OK to delete all of the channels.

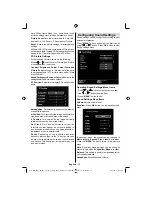
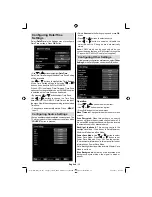
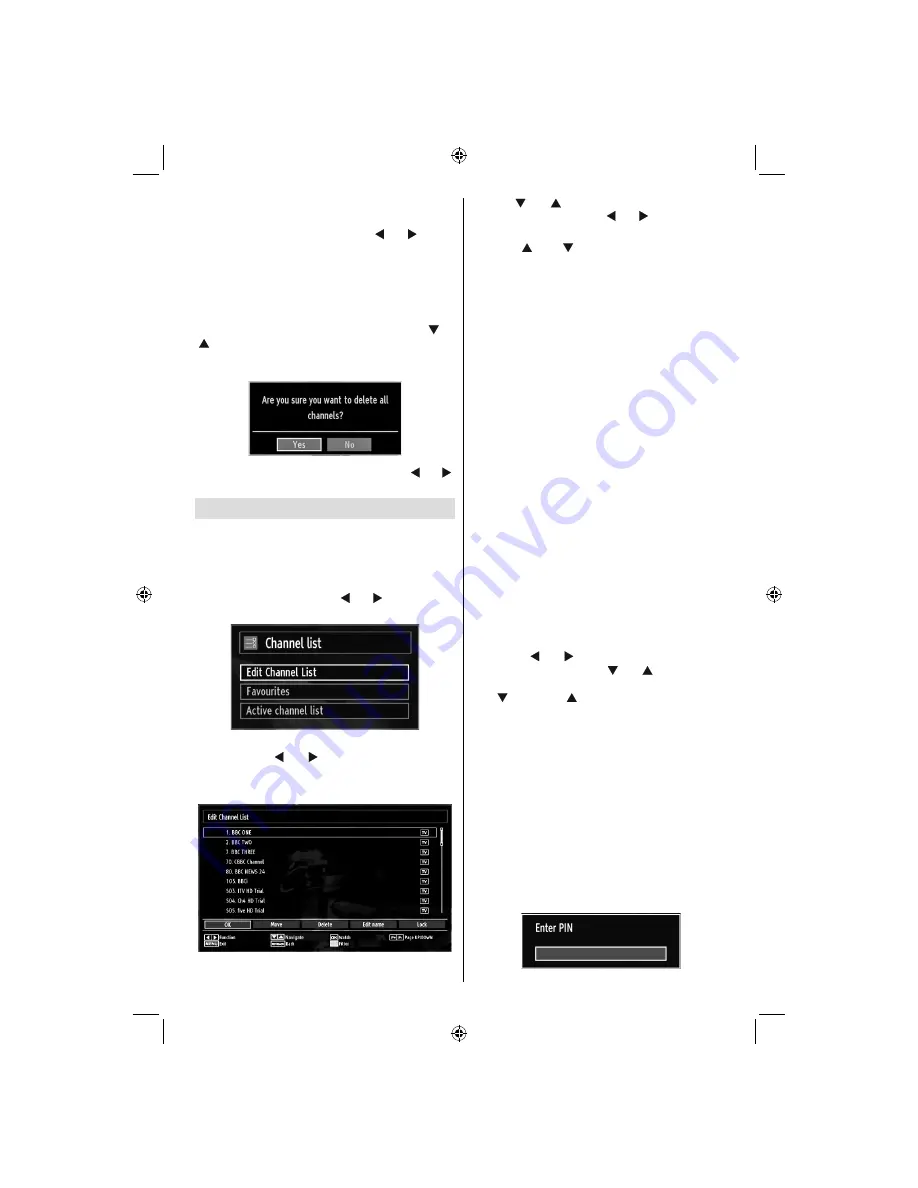
Managing Stations: Channel List

The TV sorts all stored stations in the Channel List. 
You can edit this channel list, set favourites or set 
active stations to be listed by using the Channel List 
options.

Press 

• 

“MENU”

 button to view main menu. Select 

Channel List item by using “ ” or “ ” button. Press 

OK

 to view menu contents.

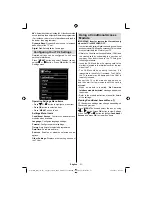
Select 

Edit Channel List

 to manage all stored 

channels. Use “ ” or “ ”  and 

OK

 buttons to select 

Edit Channel List.

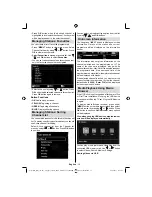
Operating the Channel List

Press “

• 

” or “ ” button to select the channel that 

will be processed. Press “ ” or “ ” button to select 
a function on Channel List menu.
Use 

• 

CH  / CH

 buttons to move page up or 

down.
Press 

• 

BLUE

 button to view 

fi

 ltering options.

Press 

• 

“MENU”

 button to exit.

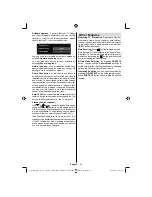
Moving a Channel

First select the desired channel. Select Move option 

• 

in the channel list and press 

OK

 button.

Edit Number screen will be displayed. Enter the 

• 

desired channel number by using the numeric 
buttons on the remote control. If there is a previously 
stored channel on that number, a warning screen 
will be displayed. Select Yes if you want to move the 
channel and press 

OK

Press 

• 

OK

 button to process. Selected channel is 

now moved.

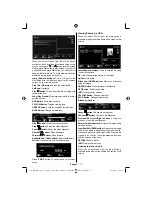
Deleting a Channel

You can press 

GREEN

 button to tag/untag all 

channels; 

YELLOW

 button to tag/untag channel. 

Select the channel that you want to delete and select 

• 

Delete

 option. Press 

OK

 button to continue.

A warning screen will appear. Select 

• 

YES 

to delete, 

select 

No

 to cancel. Press 

OK

 button to continue.

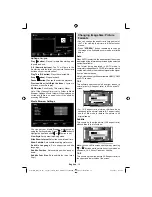
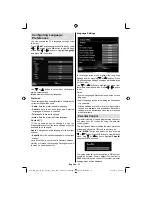
Renaming a Channel

Select the channel that you want to rename and 

• 

select 

Edit Name

 option. Press 

OK

 button to 

continue.
Pressing “

• 

” or “ ” button moves to the previous/

next character. Pressing “ ” or “ ” button toggles 
the current character, i.e., ‘b’ character becomes ‘a’ 
by “ ” and ‘c’ by “ ”. Pressing the numeric buttons 
‘0...9’ replaces the highlighted character with the 
characters printed above the button one by one as 
the button is pressed. 
When 

fi

 nished,  press 

• 

OK

 button to save. Press 

“MENU”

 to cancel.

Locking a Channel

You can press 

GREEN

 button to tag/untag all 

channels; 

YELLOW

 button to tag/untag a single 

channel. 

Select the channel that you want to lock and select 

• 

Lock

 option. Press 

OK

 button to continue.

You will be asked to enter parental control PIN. 

• 

Default PIN is set as 

0000

. Enter the PIN number.

01_MB60_[GB]_(01-TV)_woypbpr_1910UK_IDTV_NICKEL16_24940LED_10075239_50199287.indd   15

01_MB60_[GB]_(01-TV)_woypbpr_1910UK_IDTV_NICKEL16_24940LED_10075239_50199287.indd   15

20.09.2011   16:36:47

20.09.2011   16:36:47

Содержание SaorView WP24LEDVD

Страница 1: ...COLOUR TELEVISION WITH REMOTE CONTROL OPERATING INSTRUCTIONS WP24LEDVD BE WALKER WISE logon to www walker ie APPROVED...

Страница 2: ...15 Locking a Channel 15 Managing Stations Favourites 16 Button Functions 16 Managing Stations Sorting Channel List 16 On Screen Information 16 Media Playback Using Media Browser 16 Viewing Photos via...

Страница 3: ...Note Youshouldchecktheaccessoriesafterpurchasing Make sure that each accessory is included Introduction Thank you for choosing this product This manual will guide you for the proper operation of your...

Страница 4: ...prevent overheating these openings must not be blocked or covered in anyway Heat and Flames The set should not be placed near to open flames and sources of intense heat such as an electric heater Ensu...

Страница 5: ...prior to a longer period of non usage i e during vacations Electrical device not in the hands of children Never let children use any electrical device unsupervised Children cannot always recognise pos...

Страница 6: ...reduce energy consumption Disconnect power when going away for longer time Note that annually using the TV set in Power Save Mode has more power efficiency than disconnecting the TV from the mains pl...

Страница 7: ...G Tag 20 Untag All in favourite list Play Slideshow in Media Browser Loop Shuffle in Media Browser Picture mode selecion Changes picture mode 21 in Media Browser video mode No function 22 Teletext Mix...

Страница 8: ...ockets can accept either 720p or 1080p signals No sound connection is needed for an HDMI to HDMI connection RF Input 3 connects to an aerial antenna system Note that if you use a decoder or a media re...

Страница 9: ...e Colours of the connected jacks should match To enable audio connection you must use RED and WHITE inputs of the side AV connection cable Afterwards insert your device s audio cable s connectors into...

Страница 10: ...dix parts PC Input back Side AV Input PC VGA Cable Not supplied PC Audio Cable Not supplied Side Audio Video Connection Cable Supplied Or SIDE AV Using Side AV Connectors You can connect a range of op...

Страница 11: ...Component Sockets YPbPr or Scart Cable Some DVD players are connected through COMPONENT SOCKETS YPbPr YPbPr can be used only when you connect a device that has a YPbPr output through the PC input wit...

Страница 12: ...cond Operation with the Remote Control The remote control of your TV is designed to control all the functions of the model you selected The functions will be described in accordance with the menu syst...

Страница 13: ...splays programme options including Select Channel option TXT Search Displays Guide Search menu You can search programmes using the Guide Search screen There are searching options located within the Gu...

Страница 14: ...nd the digital television will search for digital terrestrial TV broadcasts Note You can press MENU button to cancel After all the available stations are stored Channel List will be displayed on the s...

Страница 15: ...cel Digital Manual Search In manual channel scan the number of the multiplex or frequency are entered manually and only that multiplex or frequency are searched for the channels After selecting search...

Страница 16: ...r the desired channel number by using the numeric buttons on the remote control If there is a previously stored channel on that number a warning screen will be displayed Select Yes if you want to move...

Страница 17: ...and current programme will be displayed on the information banner The information banner gives information on the channel selected and the programmes on it The name of the channel is displayed along...

Страница 18: ...wing Photos via USB When you select Photos from the main options available image files will be filtered and listed on this screen Jump Numeric buttons Jump to selected file using the numeric buttons O...

Страница 19: ...io image size of the TV for viewing the picture in different zoom modes Press SCREEN button repeatedly to change the image size Available zoom modes are listed below Auto WhenAUTO is selected the aspe...

Страница 20: ...of these options Cinema Game Dynamic and Natural Contrast Sets the lightness and darkness values of the screen Brightness Sets the brightness value for the screen Sharpness Sets the sharpness value fo...

Страница 21: ...orrect the interference that appear as vertical banding in dot intensive presentations like spreadsheets or paragraphs or text in smaller fonts Phase Depending on the resolution and scan frequency tha...

Страница 22: ...tch certain digital channels a conditional access module CAM can be necessary This module must be inserted in the CI slot of your TV Obtain the Conditional Access Module CAM and the viewing card by su...

Страница 23: ...nguage Settings item by pressing or buttons Press OK and Language Settings submenu will be displayed on the screen Use or buttons to highlight the menu item that will be adjusted and then press or but...

Страница 24: ...d for setting the TV to turn off after a certain time Highlight Sleep Timer by using or button Use or button to set The timer can be programmed between Off and 2 00 hours 120 minutes in steps of 30 mi...

Страница 25: ...used only when you connect a device that has a YPbPr output through the PC input with YPbPr to PC cable not supplied Configuring Other Settings To view general configuration preferences select Other S...

Страница 26: ...n or Off If you change Standby Search to Off this function will be unavailable To use Standby search please make sure that you select Standby Search as On If the Standby Search is set to On when the T...

Страница 27: ...y disappear after a short time Try turning off the TV for a while To avoid this do not leave the screen in still picture for extended periods No Power If your TV system has no power please check the m...

Страница 28: ...ilable EXT SCART PAL 50 60 O NTSC 60 O RGB 50 O RGB 60 O Side AV PAL 50 60 O NTSC 60 O YPbPr 480I 60Hz O 480P 60Hz O 576I 50Hz O 576P 50Hz O 720P 50Hz O 720P 60Hz O 1080I 50Hz O 1080I 60Hz O 1080P 50H...

Страница 29: ...v H 264 MPEG1 2 4 EAC3 AC3 mp4 MPEG4 Xvid 1 00 Xvid 1 01 Xvid 1 02 Xvid 1 03 Xvid 1 10 beta1 2 H 264 PCM MP3 avi MPEG2 MPEG4 PCM MP3 MAX 1920x1080 30P 20Mbit sec Xvid 1 00 Xvid 1 01 Xvid 1 02 Xvid 1 0...

Страница 30: ...operation Reboot is the last step in software upgrade operation if download of new software is finished successfully During reboot TV makes final initializations In reboot sequence panel power is clo...

Страница 31: ...DxLxH Without foot 56 x 576 x 374 Weight Kg 4 30 Digital Reception MHEG 5 ENGINE compliant with ISO IEC 13522 5 UK engine Profile 1 for UK Object carousel support compliant with ISO IEC 135818 6 and U...

Страница 32: ...ch is marked with the letter N or coloured Black The wire which is coloured brown or red must be connected to the terminal which is marked with the letter L or coloured Red For continued protection ag...

Страница 33: ...ial digital audio output Multi Audio up to 8 support According to disc content Multi Subtitle up to 32 support According to disc content 8 level parental control Fast forward and rewind in 5 different...

Страница 34: ...a car parked in direct sunlight as the temperature can rise quickly and damage the disc After playing store the disc in its case On cleaning Before playing clean the disc with a cleaning cloth Wipe t...

Страница 35: ...RESETS LANG FAV EPG SWAP SOURCE C DISP SEARCH MODE INFO CH V Standby 1 Language selection Set language 2 Numeric buttons 3 Navigation buttons Up Down Left Right 4 Clear 5 Display time DVD menu 6 Mute...

Страница 36: ...K SELECT Enter View Play REPEAT Displays repeat options RETURN Returns back to the previous menu if available ROOT Goes back to the root folder if available SEARCH MODE Direct selection of scenes or t...

Страница 37: ...the disc s priority language Usually a circulation will happen while switching 8 to another language that is you can cancel the subtitle by pressing this button a number of times until Subtitle Off a...

Страница 38: ...in DVD menu and play DVD with Dolby audio you can get audio output with two channels via the speakers and the SPDIF Out If you select RAW from SPDIF Output in DVD menu and play DVD with Dolby audio s...

Страница 39: ...e adhered to each other Since the thinner the disc the higher the density at which the information can be recorded a DVD disc has a greater capacity than a single 1 2 mm thick disc Since the two thin...

Страница 40: ...throu gh th e on scr een m enu A n LP is record ed as an an alo g sig n al w ith m ore d isto rtio n C D is re cord e d as a D ig ita l S ig n al w ith better au dio q u ality less d istortio n and le...

Страница 41: ...50199287...
Отзывы: