Step 3
P.6
19
18
E
J
E
J
E
J
E
J
25
23
23
24
24
22
HEADBOARD
Step 4
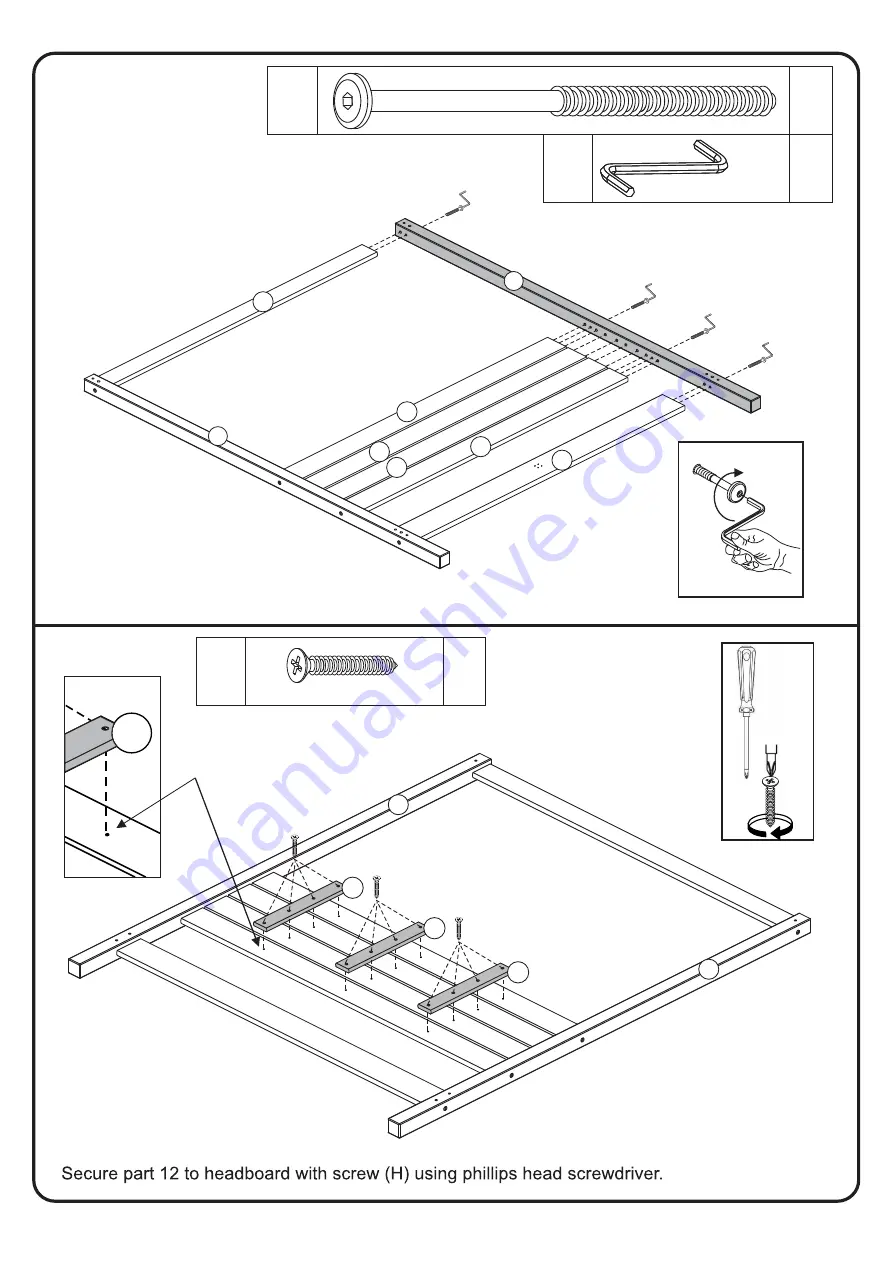
Pre Drilled Holes
H
H
H
12
12
12
18
19
12
Secure part
to parts
,
and
with screw (E)
Hex Key (J).
19
23 22
25
using
Align dowels part 24 to holes in part 18.
1
J
Hex Key
12
H
Ø * mm
4 25
E
J
H
4
E
Ø * 0mm
7 10


