background image

8


Picture Menu 


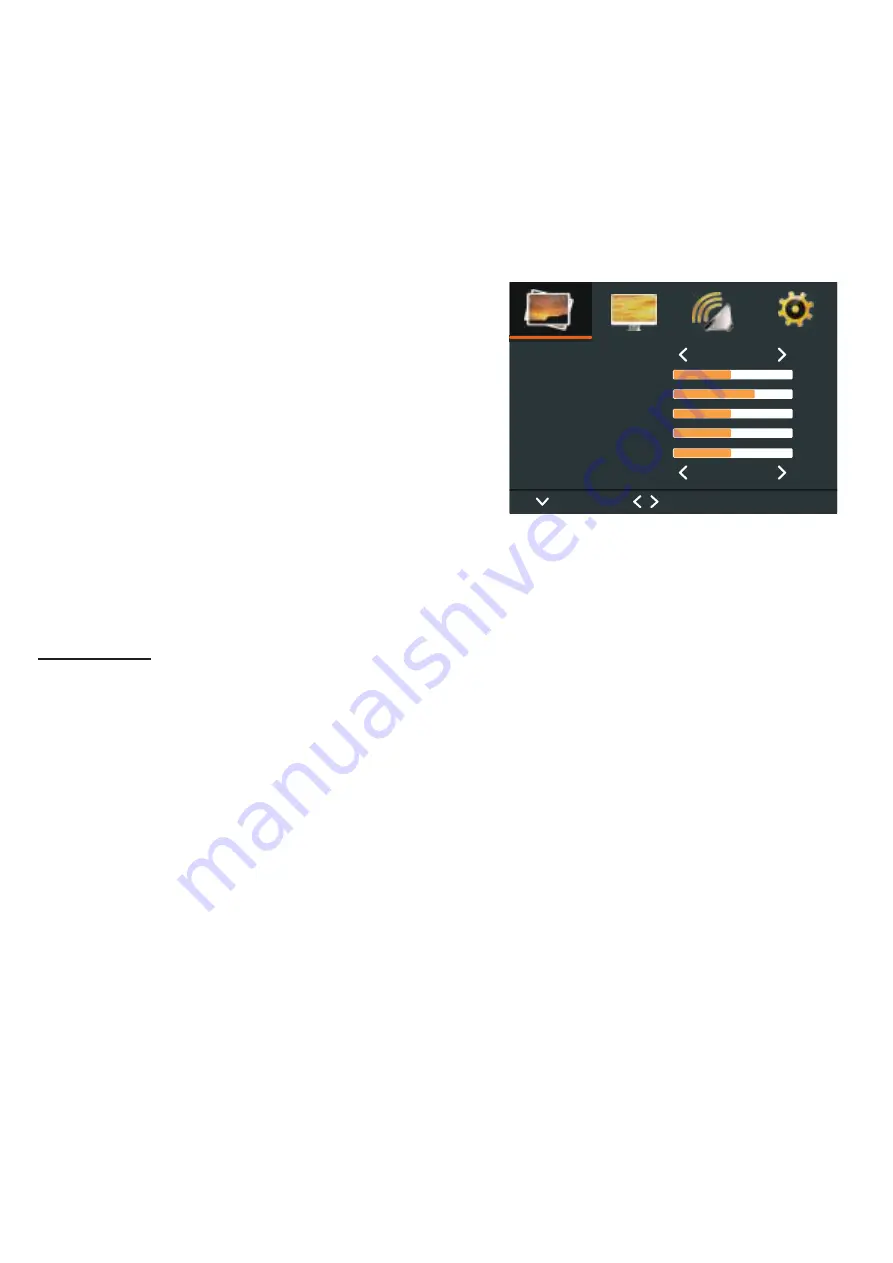
The “PICTURE” menu is for adjusting the image appearance and parameters. The Picture 

menu is the same for BNC/CVBS and HDMI; the Picture menu options differ for VGA. 


Picture Menu (BNC/CVBS & HDMI) 

Press the MENU button to bring the menu on 

screen, and then the right/left buttons to move 

up along the main menu selections to choose the 

PICTURE menu. Press up/down to move 

between the left side main menu selector into the 

window of menu choices and parameters. 
Use the left & right buttons to move the yellow 

highlighted  sub-menu  selection  within  the  sub- 

menu.  Pressing  the  right  &  left  buttons will 

adjust  the  value  of  the  highlighted  item.  Press 

the MENU button to exit the sub-menu and 

return to the main menu selector. 
To exit the menu system, press the MENU. Settings will remain as they appear on screen. 


Adjustments


Picture mode:


Choose for User/Dynamic/Standard  /Mild

  for most pleasing image based 

on  ambient light. 


Contrast:


Adjusts the range of difference between light and dark areas of the picture. 


Brightness:


Adjusts the overall picture intensity 


Color:


Adjust the color saturation 0-100. 


Tint:


Increase or  decrease the intensity of colors in the image. 


Sharpness:


Change the balance between image detail (resolution) and degree of 

transition between areas of differing brightness. 


Aspect


Ratio:


Choose between SD 4:3 and HD 16:9 aspect ratio. If analog images appear 

stretched  use  4:3 scaling. 

Picture Mode

Standard

50

70

50

50

50

16:9

Contrast

Brightness

Color

Tint

Sharpness

Aspect  Ratio

Select

Move

MENU TO

Exit

<

<

<

<

Содержание 0E-20LED2

Страница 1: ...0E 0E 20LED2 22LED2 0E 24LED2 FULL HD PRO GRADE LED COLOR MONITOR Tech Support 833 574 9124 Option2 info wboxtech com Source 16 9 4 3 Menu Power...

Страница 2: ...l and on the product 4 Disconnect the monitor from all power before cleaning Use a damp cloth for cleaning and do not use liquid or aerosol cleaners 5 Never use the monitor in damp areas or near water...

Страница 3: ...nsert objects of any kind into the monitor cabinet slots Never spill any kind of liquid on the monitor 13 Do not attempt to service this monitor yourself as opening or removing the cover may expose yo...

Страница 4: ...slots Avoid placing the monitor in direct sunshine or near a heating appliance Do not use the monitor against a bright background or where sunlight and other light sources will shine directly on the...

Страница 5: ...iver o Connect the equipment into an outlet on a circuit different from that to which the receiver is connected o Only a shielded interface cable should be used Finally any changes or modifications to...

Страница 6: ...e underside of the case rear projection just above the stand Detailed View of the Connector Panel Only use a properly grounded three wire cord appropriate for the local power system Remote control The...

Страница 7: ...e the input selection press SOURCE to display the pop up menu use up down to highlight the desired source then press left right to complete the selection To verify the current input selection press SO...

Страница 8: ...the button to scroll the cursor to desired function Press the button to increase the value of selected function in sub OSD menu G POWER button Press the button to turn ON or turn OFF the monitor Volum...

Страница 9: ...button to exit the sub menu and return to the main menu selector To exit the menu system press the MENU Settings will remain as they appear on screen Adjustments Picture mode Choose for User Dynamic...

Страница 10: ...selector into the window of menu choices and parameters Use the left right buttons to move the yellow highlighted sub menu selection within the sub menu Pressing the right left buttons will adjust the...

Страница 11: ...hted item Press the MENU button to exit the sub menu and return to the main menu selector To exit the menu system press MENU OSD Language Choose OSD display language from RestoreUser Default Reset the...

Страница 12: ...left right buttons will adjust the value of the highlighted item Press the MENU button to exit the sub menu and return to the main menu selector To exit the menu system press the SOURCE button twice A...

Страница 13: ...g with VESA Standard Note Metric PM 4 0x 6mm is the type screw that should be used do not use longer screws or the monitor may be damaged 1 Before mounting the monitor remove the base riser vertical p...

Страница 14: ...ndby to active mode A floating No Signal box moves slowly across the screen until video is restored Accessories IR Remote Power Cable Qty 1 Qty 1 Qty 1 Qty 1 Qty 2 Qty 2 Qty 1 Qty 1 Qty 1 Qty 1 Hinge...

Страница 15: ...Width of base 252 2 9 92 252 2 9 93 252 2 9 93 F Depth of base 149 1 5 87 149 1 5 87 149 1 5 87 G Width of viewable area 436 5 17 18 477 8 18 8 522 8 20 58 H Height of viewable area 240 3 9 46 269 4...

Страница 16: ...1920 x 1080 BNC CVBS looping Audio Inputs stereo 1x3 5mm mini jack Speakers W 2 x 3 Stand by W 0 5 Power Consumption 20W Typical Monitor Body Dimensions inches 19 96 12 25 2 Dimension Monitor Stand in...

Страница 17: ...nitor Body Dimensions inches Dimension Monitor Stand inches Panel Surface Matte black Case Stand Material Plastic VESA Mounting Pattern mm 100 x 100 Base Stand Included Yes Base Tilt Angle 5 15 Weight...

Страница 18: ...services or repaired III Damage is caused by outside natural occurrences such as lightning power surges fire floods acts of nature or the like IV Defects resulting from unauthorized modification misus...

Страница 19: ...of Warranties Limitation of Liability THERE ARE NO WARRANTIES OR CONDITIONS EXPRESS OR IMPLIED OF MERCHANTABILITY OR FITNESS FOR A PARTICULAR PURPOSE OR OTHERWISE WHICH EXTEND BEYOND THE DESCRIPTION...

Страница 20: ...ility shall not in any case exceed the purchase price of the product which shall be fixed as liquidated damages and not as a penalty and shall be the complete and exclusive remedy against ADI FOR THE...

Страница 21: ...W WBOXTECH COM Be sure to have the model number and the nature of the problem available In the event of replacement the return product will be credited to Buyer s account and a new invoice issued for...

Страница 22: ...wboxtech com Tech Support 833 574 9124 Option2 info wboxtech com 8 0E 20LED2 8 1 1 9 1 4 0 2 9 7 4 0E 22LED2 2 8 1 1 9 1 4 0 2 9 7 6 0E 24LED2 9 8 1 1 9 1 4 0 2 9 7 7 E505978 LED MONITOR...

Отзывы: