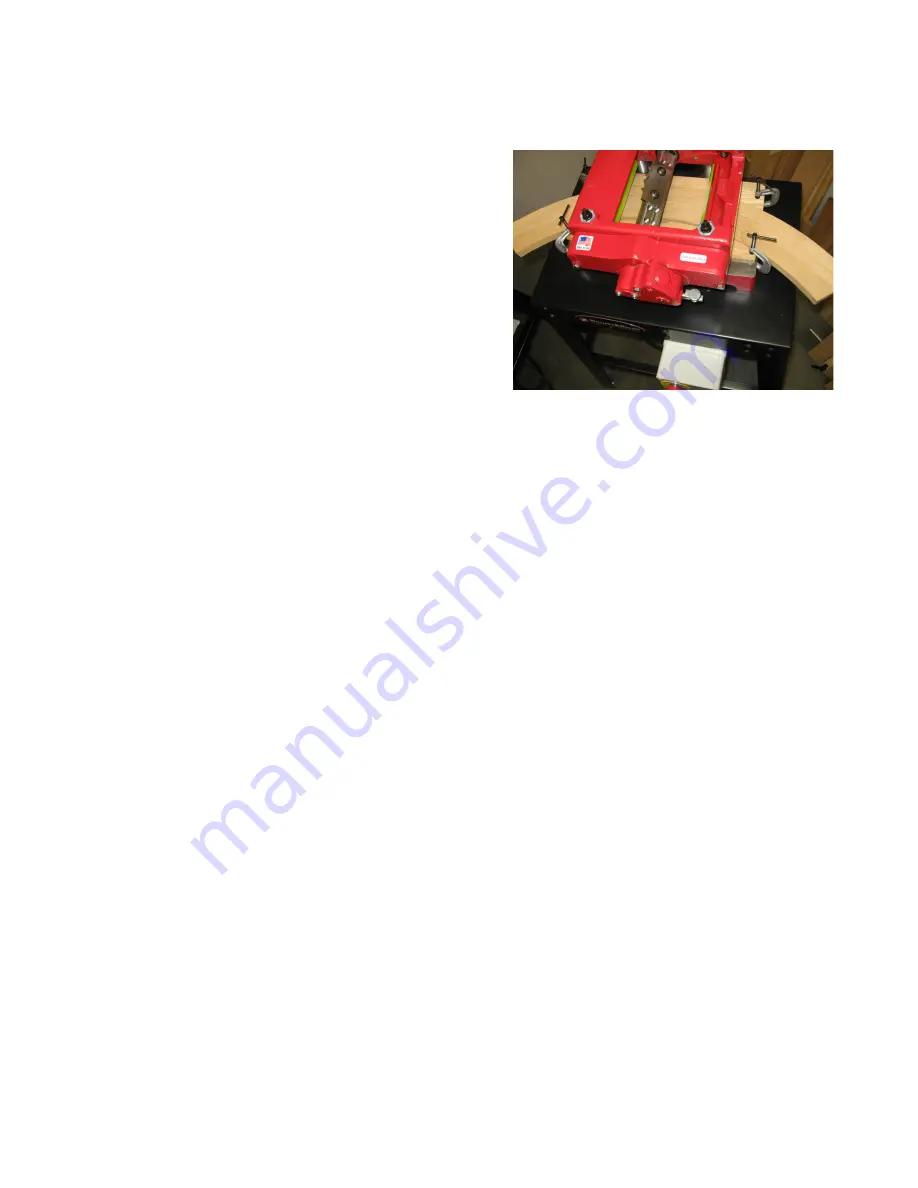
The guides should be 14” long if you are just using the bed of the machine and 20” long if you are using the
GS-2 guide system. The guides may be made using the band saw set up. We make one guide for the inside
radius and one for the outside radius. We use MDF board.
ROUND TOP SETUP
1. Make sure power supply is disconnected
2. Raise the machine head and set the stock on the bed.
3. Align the stock with molding profile.
4. Lower the head to pinch the stock.
5. Set the guides and clamp them in place.
6. Raise the machine head, remove the stock, and reset
the head to within 3/16” of stock size (Don’t forget
the sub-plate height if one is used).Ensure that there is
no interference in the knife area.
NEVER attempt closed loop molding
. It is an unsafe
procedure.
RAISED PANELS
All of our panel knives are designed to produce a ¼” tongue. Be sure to select a panel knife based on the
finished panel thickness.
A panel must be 9” or more in the direction you are molding
in order to not have
the panel come off of one roller before it engages the second roller.
When you use
multiple passes
you
must
have at least 9” of panel remaining
in the direction of the cut in order to have a least one roller on the panel at
all times.
If you desire a different tongue size or have a panel thickness other than ¾” or 5/8,” a special knife can be
ordered and shipped quickly by W&H.
THE SET UP
1.
Disconnect the power supply.
2.
Install your knives over toward the tube side of the machine allowing enough room to install your guide.
3.
Index the knife arbor so the profile will be seen against the bed. Raise the head to allow the panel to be
laid on the bed and to be lined up with the profile visually.
4.
Once you have found the proper position for the panel, lower the head so the rollers will put pressure on
the panel while butting the guide against the panel. Tighten your guide.
5.
Raise the head, pull the panel out of the machine, and lower the head to within 3/16”of the panel height.
Rotate the blade arbor by hand to insure nothing is interfering with its rotational path.
6.
Mold the panel cross grain ends first. Stand somewhere between the open side and in feed side. See the
picture on the next page.
RAISED PANEL ISSUES
It takes some practice to make a good panel. It is helpful to keep a slight upward pressure on the panel as it is
being molded with a steady pressure against the guide.
Because panels are normally larger than the 7” cutting capacity of the machine, the panel must pass beneath the
open side of the head. There is approximately 1/32” clearance between the top of the panel and the head of the
machine, provided the head is at stock size setting, and not below.
Many users try to create a slightly deeper cut to modify the tongue size or change the profile appearance and
end up dragging and pivoting the panel away from the guide path. The head must be set at the panel thickness
and not below it in order to have clearance to pass the panel through the machine in a satisfactory way.
8
Содержание 154
Страница 15: ...GEAR BOX SHAFT ASSEMBLIES 15...
Страница 16: ...GEAR BOX ASSEMBLY VIEW 16...
Страница 17: ...ARBOR REMOVAL VIEW 17...


