background image

15

Basic Operation

Phonebook Operation

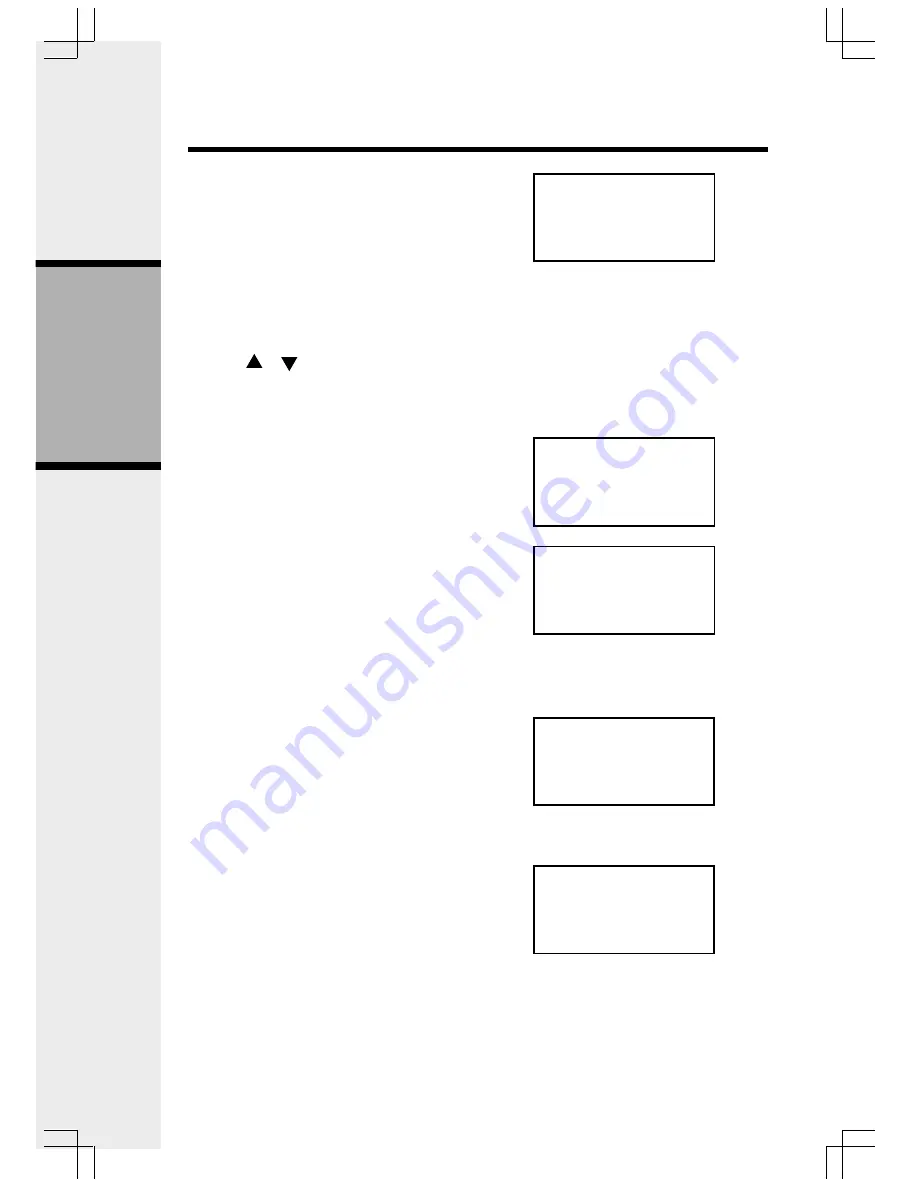
EDIT NUMBER
     595-9511_

EDIT NAME
VTech_

VTech

595-9511

VTech

595-9511

VTech com

595-9511

• Press 

SEL 

to enter number edit mode.

• Press 

MUTE.DEL 

to backspace then

use the digit keys to enter the
correct  number. Press and hold

REDIAL.PAUSE

 to add pauses if

necessary.
You can also press 

REDIAL.PAUSE

,

then   or 

  to scroll to the previously

dialed number from redial list that you
want to store in the phonebook. Press

SEL

.

• Press 

SEL 

to confirm the number and

enter name edit mode.

• Press 

MUTE.DEL 

key to backspace

and use the digit keys to enter the
correct name.

• Press 

SEL 

to confirm. A confirmation

tone will sound.

Delete a Phonebook Entry

• Follow the steps in

 Reviewing/

Dialing from the Phone Book

 (see

deleted.

• Press 

MUTE.DEL 

key to delete the

entry.
A confirmation tone will sound.

• The Handset will then move to the

next entry, if any.

page 14) to reach the entry to be

Содержание VT2650

Страница 1: ...VTech Electronics HK Ltd DUAL HANDSET CORDLESS PHONE SYSTEM VT2650 USER S MANUAL ...

Страница 2: ...s product through slots in the Base or Handset as they may touch dangerous voltage points or short out parts that could result in a risk of fire or electric shock Never spill liquid of any kind on the product 10 To reduce the risk of electric shock do not disassemble this product but take it to an authorized service facility Opening or removing parts of the Base or Handset other than specified acc...

Страница 3: ... Cell x 6 To purchase replacement battery cells call VTech customer service at 852 2776 3223 NOTE Use only VTech batteries part number 80 5380 00 00 or equivalent AAA NiMH chargeable batteries Parts Check List Base Unit Handset x 2 Handset Charger Telephone Line Cord Belt Clip x 2 User s Manual Battery Cell x 6 Base AC power Adapter English and Chinese ...

Страница 4: ...ED 4 CID Scroll Down 5 Select Menu 6 On Flash 7 Dialing Keys 0 9 8 Redial Pause Handset Layout 9 Mute Delete 10 Speakerphone 11 LCD Display 12 Headset jack 2 5mm 13 Phonebook Scroll Up 14 Off Clear 15 Intercom 16 Microphone 1 2 5 4 6 7 8 9 10 11 12 13 14 15 3 16 ...

Страница 5: ...o the bottom of the Base Unit 1 2 3 4 5 6 7 8 9 10 11 12 13 14 15 16 17 18 Setup 1 In Use LED 2 Charging LED 3 Message Window Display 4 Page key 5 Volume keys 6 Menu 7 Change 8 Time Set 9 Record Memo 10 Delete 11 Repeat Slow 12 Skip Quick 13 Mailbox Stop keys 14 Answer On Off key 15 Microphone 16 Mailbox Stop LED 1 17 Mailbox Stop LED 2 18 Mailbox Stop LED 3 ...

Страница 6: ...ur battery cells have been charged your features will return to their normal function LOW BATTERY Setup Installation and Charge of Battery Cells in Handset 1 Place the new battery cells in the Handset with the positive and negative poles aligned in the battery compartment 2 Replace the battery cover by sliding it upwards 3 If the new battery cells are not already charged place the Handset in its C...

Страница 7: ...ne cord into the jack on the bottom of the Base Unit Plug the other end of this cord into the wall jack Checking for Dial Tone After the battery cells are charged press ON on the Handset The LCD displays PHONE and shows a call timer and you will hear dial tone If not see In Case of Difficulty Tone Pulse Selection Your phone is preset for tone dialing See Handset Settings for details CAUTION Use on...

Страница 8: ...hts beneath the Play Stop buttons will flash when new messages are in the corresponding mailbox On when only old messages are in the corresponding mailbox On when the answering system is on PLAY STOP 1 2 3 Handset Icons MUTE Turns on when the Handset is in speaker phone mode Turns on when the microphone is muted Turns on when there are new call log enteries Turns on when the ringer is muted Low ba...

Страница 9: ...adouble beep will sound NOTE The procedure is the same for the Handsetearpiece SpeakerphoneandHeadset Flash Function You can use your VT2650 with services such as Call Waiting When you receive a call waiting signal simply press the ON FLASH key to connect to the new call Press ON FLASH again to return to the original call NOTE Use ON FLASH to access other phone company subscriber services as descr...

Страница 10: ...the screen will display Press ON SPEAKERPHONE INTERCOM or any dialing keys to answer the intercom call The screens will display To end the call press INTERCOM or OFF NOTE If the other Handset is out of range or on an external call when you intercom it the display of the first handset will show the following Call Forward and Call Transfer An external call can be forwarded or transferred from one Ha...

Страница 11: ...he INTERCOM key NOTE The external call is put on hold automatically HS2 will ring showing an intercom call Pressing ON on HS2 will answer the intercom call HS1 may discuss the external call with HS2 while the call is on hold Press OFF on HS1 to transfer the external call to the other Handset The HS2 is now on the external call CALL TRANSFERRED will briefly display on HS1 NOTE If there is no answer...

Страница 12: ...to locate the Handsets for 60 seconds When the Handset is in idle press PAGE onBaseUnit TheHandsetswill display To end the page at the Base press PAGEagain To end the page from either Handset press any dialing keys ON or SPEAKERPHONE Base Operation BASE IS PAGING ...

Страница 13: ...ess SELagain Press to select STORE Press SEL You will be prompted to ENTER NUMBER Use the dialing keys to enter the number you wish to store in the phonebook Press the MUTE DEL key to backspace and make corrections Press SEL You will then be prompted to ENTER NAME Use the dialing keys to spell the name Press SEL You will hear a confirmation tone and the new phonebook entry will display briefly NOT...

Страница 14: ...key causes characters to be displayed in the following order Characters by number of key presses Key 1 2 3 4 5 6 7 8 9 space 1 A B C 2 a b c D E F 3 d e f G H I 4 g h i J K L 5 j k l M N O 6 m n o P Q R S 7 p q r s T U V 8 t u v W X Y Z 9 w x y z 0 1 2 3 4 5 6 7 8 9 0 ...

Страница 15: ...d using the digit keys and navigate using the or as scroll keys until you reach the entry to be dialed NOTE Whenreviewingthephonebook the second line of the display will display phone number up to 16 digits For number larger than 16 digits only the first 13 digits will be shown you may press or to scroll the phone number to see the additional digits PressONorSPEAKERPHONE todial the number NOTE If ...

Страница 16: ...croll to the previously dialed number from redial list that you want to store in the phonebook Press SEL Press SEL to confirm the number and enter name edit mode Press MUTE DEL key to backspace and use the digit keys to enter the correct name Press SEL to confirm A confirmation tone will sound Delete a Phonebook Entry Follow the steps in Reviewing Dialing from the Phone Book see deleted Press MUTE...

Страница 17: ...w If the call log is full the oldest entry is deleted to make room for the new call If the call log is empty when you try to enter to Call Log review the following message is displayed Reviewing Caller ID You can review the Caller ID record via the menu as described on the following page or by pressing the key quick access key while in idle mode and the Handset jumps directly to the Caller ID revi...

Страница 18: ...display NOTE IftheCallerIDwasnotabletodetect a name EDITNAME will be prompted If no number is detected EDIT NUMBER will be prompted You must enter the number If both name and number are missing as in a private listing for example the request will be rejected with the message If the phone number already exists in the phonebook the entry will not be stored and the screen will show If the phonebook i...

Страница 19: ...s DEL key to delete the desired record A confirmation tone will sound To delete all the Caller ID records press and hold the DEL key The screen will ask you DELETE ALL CALLS Press SEL for confirmation The screen will display CALL LOG IS EMPTY briefly And a confirmation tone will sound Or press OFF to return to the CID record previously displayed Calls Log Caller ID Call Waiting DELETE ALL CALLS VT...

Страница 20: ...w Press SEL to confirm the setting Ringer Tone From the idle OFF mode press SEL then or key to RINGER TONE Press SEL then you are prompted to choose INTERCOM CALL or OUTSIDE CALL Press or keys to select the desired option Press SEL again You can then use or keys or enter digit 0 9 to sampling the ring tone The screen for example will show Press SEL to confirm your setting Key Tone preset to ON Fro...

Страница 21: ...ers in length From the idle OFF mode press SEL then or key to HANDSET NAME Press SEL again The display will show the current setting for example Press DEL to backspace then spell the desired name NOTE The characters are entered in the same way as the Phonebook see the table in page 13 Press SEL to confirm the setting Language preset to English From the idle OFF mode press SEL then or key to LANGUA...

Страница 22: ...PULSE Press SEL to confirm your setting NOTE When the phone is set for pulse dial mode it is possible to switch to temporary tone mode during an ongoing call by pressing Once pressed tone will be used for rest of the call After you hang up the phone will return to pulse dialing for the next call Handset Settings DIAL TYPE PHONE BOOK DIAL TYPE PULSE ...

Страница 23: ...at the Base NOTE The day and time will automatically be set when you receive your first Caller ID record if you have not already manually set it Answering System Operation 1 Press TIME SET The day time and year will be announced followed by To set day and time pressTIME SET PressTIME SETagain Theday will be announced 2 Press CHANGE until the system announces the correct day then press TIME SET The...

Страница 24: ...ment your callers will hear when the system answers a call the system comes set for normal answering with Announce Only turned off See Set Announce Only on page 25 to change your announcement selection Record Your Announcement NOTE If you have assigned different mailboxes to different people be sure to tell callers in your announcement to press 1 2 or 3 to leave a message in the appropriate mailbo...

Страница 25: ...a new one Answering System Feature Setup You can set up one feature at a time or you can set up a feature and then move on to set up another feature 1 Make sure the answering system is on 2 Press and release MENU until you hear the system announce the feature you want to set Refer to Feature Summary on page 25 for a description of the features and your choices 3 Press TIME SET to hear the current ...

Страница 26: ...to access features and functions of the answering system from a touch tone phone Choose a two digit number from 40 to 99 When Message Alert is turned on the Base beeps once every 10 seconds when new messages have been received When you turn Announce Only on call ers hear your announcement but can not leave a message Turn the Base ringer on or off Choose how many times the phone will ring before th...

Страница 27: ...eadily Press the MAILBOX STOP button for the mailbox you want to review The system announces the mailbox number the number of new messages and the num ber of old messages The system then plays only new messages in the Mailbox After all new messages are played press the MAILBOX STOP button again to hear all old messages Before each message or memo plays the system announces the day and time it was ...

Страница 28: ... they are received The system beeps three times when you reach the highest or lowest volume setting Delete Messages NOTE Deleted messages cannot be recovered Delete a Specific Message Press DEL while a message is playing to delete only that message Delete All Old Messages in a Mailbox Press DEL The system announces Please select mailbox Press the desired MAILBOX STOP button The system erases all o...

Страница 29: ...he Base microphone The message window displays the length of your memo up to 99 seconds If you record longer memo 99 continues to flash until you finish 3 To stop recording press the MAIL BOX STOP button again Call Screening 1 SettheBaseplaybackvolumetoalevel greater than 1 to hear messages as they are left 2 If you press ON on the Handset the Answering System will stop recording and you can talk ...

Страница 30: ... playback Indicates volume level selected when VOL or VOL is pressed Current Remote Access Code while setting Announce Only mode Displayed when any setting is changed to on or off Clock needs to be set System is answering a call or is in remote operation System is in programming mode or initializing MESSAGE WINDOW DISPLAY WINDOW DISPLAYS 0 1 98 0 99 F Counting 1 to 99 99 flashing 1 99 flashing 1 8...

Страница 31: ...or 3 The system plays new messages If there are no new messages the system plays old messages Press 4 while message is playing press 4 twice to back up previous message Press 6 while message is playing each press advances next message Press 5 Hang up Press 9 while message is playing Press 7 system plays announcement then beeps Press 7 after beep record announcement press 5 to stop System plays bac...

Страница 32: ... Headset cord to the jack under a small rubber flap on the cordless Handset The plug should fit securely Do not force the connection NOTE Whenever a compatible Headset is connected to the cordless Handset the microphone on the Handset will bemuted Thisisdonetolimittheeffect of background noise When a compatible Headset is connected to the cordless Handset your Speakerphone feature will be disabled...

Страница 33: ...d appliances plugged into the same circuit as the Base Unit can sometimes cause interference Try moving the appliance or the Base Unit to another outlet You Get Noise Static Or A Weak Signal When You re Away From The Base Unit You may be out of range Either move closer to the Base or relocate the Base Unit The layout of your home may be limiting the range Try moving the Base Unit to another positi...

Страница 34: ...attery cells 3 Wait a few minutes 4 Connect power to the Base 5 Re install the battery cells 6 Watch for Handset to display VTECH or your own handset name Your Answering System Is Not Recording Messages Make sure system is turned on theANSWER ON OFF key is illuminated Make sure Announce Only feature is set to OFF You Cannot Hear Recorded Messages Using the Base volume control raise the volume to a...

Страница 35: ...Electrical Storms Electrical storms can sometimes cause power surges harmful to electronic equipment For your own safety use caution when using electric appliances during storms Cleaning Your Telephone Your telephone has a durable plastic casing that should retain its luster for many years Clean it only with a soft cloth slightly dampened with water or a mild soap Do not use excess water or cleani...

Страница 36: ...ndset 172mm x 54mm x 38mm including antenna Base 192mm x 143mm x 91mm Charger 64mm x 78mm x 79mm Technical Specifications WEIGHT Handset 142 grams excluding Battery cells Base 396 grams Charger 229 grams POWERREQUIREMENTS Handset 1 2V AAA NiMH battery cell x 3 Base 9V DC 600mA Charger 9V 150mA MEMORY Phone Book 50 memory locations up to 32 digits 16 characters per location CID 50 memory locations ...

Страница 37: ...ng Calls 8 Answering Calls 8 Adjust the Handset Volume 8 Flash Function 8 Redial Function 8 Mute Function 9 Intercom Call 9 Call Forward and Call Transfer 9 Call Forward 10 Call Transfer 10 ConferenceCall 10 Base Operation 11 Page 11 Phonebook Operation 12 Storing a New Entry 12 Reviewing Dialing from the Phonebook 14 Editing a Phonebook Entry 14 Delete a Phonebook Entry 15 Calls Log Caller ID Cal...

Страница 38: ...ents 23 RecordYourAnnouncement 23 ReviewYourAnnouncement 24 Delete Your Announcement 24 Answering System Feature Setup 24 FeatureSummary 25 ListentoMessages 26 AdjustPlaybackVolume 27 DeleteMessages 27 RecordaMemo 28 CallScreening 28 MessageWindowDisplay 29 RemoteAccess 30 ADVANCED OPERATION 31 Headset Operation 31 BeltClip 31 ADDITIONAL INFORMATION 32 InCaseOfDifficulty 32 Maintenance 34 Technica...

Отзывы: