


21
20
Handset and Base Settings
Basic Operation
Basic Operation
•
LOW BATT TONE
Select this option to turn the Low Battery warning tone On or Off. Press
the OFF or ON soft keys, to make your selection. Press OK to confirm
your selection and return to the Handset Settings menu. When set to
ON
, the Handset will emit a warning tone when a Low Battery condition
is detected. This feature has been preset ot ON at the factory.
RANGE TONE
Select this option to turn the Out of Range warning tone On or Off.
Press the OFF or ON soft keys, to make your selection. Press OK to
confirm your selection and return to the Handset Settings menu. When
set to ON, the Handset will emit a warning tone whenever the Handset
is taken out of range of the Base. This feature has been preset ot ON
at the factory.
KEYPAD TONE
Select this option to turn the Keypad tones On or Off. Press the OFF
or ON soft keys, to make your selection. Press OK to confirm your
selection and return to the Handset Settings menu. When set to ON,
the Handset will emit a beep whenever a key is pressed. This feature
has been preset ot ON at the factory.
Base Unit:
Press MENU, scroll to SETUP BASE, then press OK. Scroll to KEYPAD TONE;
press OK. Choose ON or OFF, then press OK to confirm your choice.
CONTRAST
Select this option to adjust the contrast level of the Handset display. Use
the scroll keys to make your selection. The handset display will
automatically adjust as you make your selection. Press OK to confirm
your selection and return to the Handset Settings menu.
Base Unit:
Press MENU, scroll to SETUP BASE, then press OK. Scroll to CONTRAST;
press OK. Press and to adjust the screen contrast, then press OK
to confirm your choice.
SELECT TONE / PULSE AT THE BASE UNIT
With the Base Unit in the idle (OFF) mode, press MENU.
Scroll to SETUP BASE, then press OK.
Scroll to SET PULSE/TONE, then press SET.
Scroll to the desired LINE; press SET.
Use the UP and DOWN arrow keys to highlight the desired dialing mode
- TONE or PULSE. Press OK to confirm your choice.
NOTE: Your GIGAPHONE is preset for TONE dialing, the desired mode for
most areas.
Handset and Base Settings
•
ENHANCED MODE
Your GIGAPHONE has an enhanced feature, designed to improve sound
quality and range. If you are using your GIGAPHONE in an area with
interference, the Enhanced Mode feature can help to improve both the
sound quality and operating range. Actual range will depend on your
environment. You can manually turn Enhanced Mode ON and OFF, or
select AUTO mode.
To select the Enhanced Mode setting:
With the Handset in the idle (on hook) mode, press MENU.
Scroll to HANDSET SETTINGS, then press OK.
Scroll down to ENHANCED MODE, press SET.
Select ON to enable Enhanced Mode. When the Handset is in use, an ‘E’
icon will appear in the upper left corner of the display, indicating that
this feature is active.
Select OFF to disable Enhanced Mode.
Select AUTO to allow your GIGAPHONE Handset to activate this feature
automatically, when conditions warrant it. Your 2-Line GIGAPHONE is
preset at the factory for AUTO mode.
Scroll to the desired setting, then press OK.
You can also activate Enhanced Mode from the Base Unit. In which case, all
registered Handsets will have the same Enhanced Mode setting. With the Base
in the idle (OFF) mode, press MENU, scroll down to SETUP BASE, press OK,
scroll down to ENHANCED MODE, press SET, scroll to the desired setting,
then press OK to confirm your choice.
NOTE: When Enhanced Mode is activated, your GIGAPHONE will consume
more battery power. This means the standby and talk time of your
Handset(s) will be shorter.
•
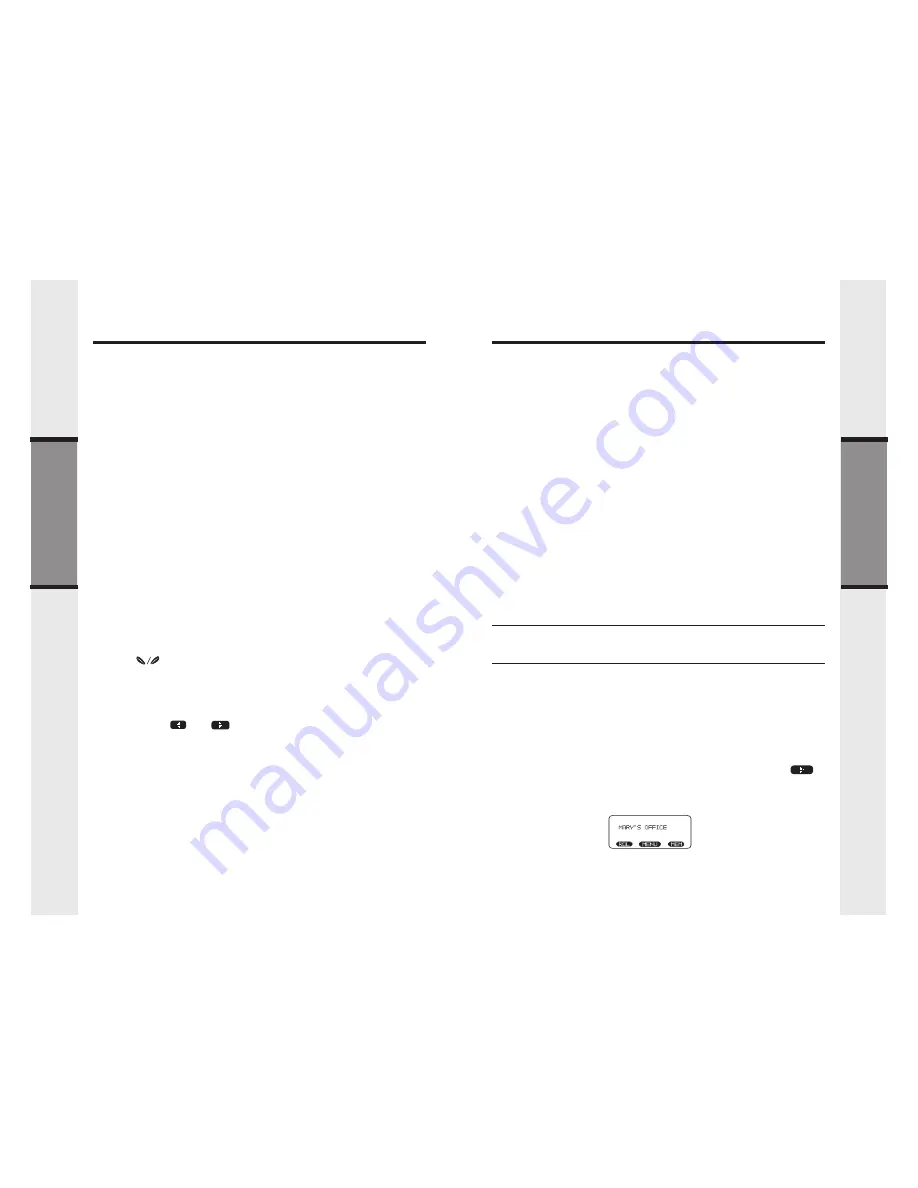
RENAME
Naming your Handset(s)
You can personalize each Handset, giving it a name (Dad’s Phone, or
Mary’s Office, for example) instead of HANDSET 1, etc.
With the Handset in the idle (on hook) mode:
Press MENU.
Scroll to HANDSET SETTINGS, then press OK.
Scroll to RENAME, then press SET.
Using the dialing keys, enter the desired name. A guide to the letters and
characters can be found in the section entitled Memory. The
softkey will move the cursor to the right. Press MORE to give you the
DEL
(delete) and SPACE options. Press BACK to return to the previous
screen.
Press SAVE to confirm your Handset name.
You can also name the Base Unit. At the Base, in the idle(OFF) mode, press
MENU
, scroll down to SETUP BASE, then press OK. Scroll down to RENAME,
press SET, then follow the same steps as above for entering the desired name.


