


21
21
21
• Next, you can press the
Up
or
Down
button to select a sound effect to be played
at the beginning of part 2. Press the
Left
or
Right
button to select the duration of
part 2 of the video. Then, make use of the
transparent last frame from part 1 to align the
action. Press the
Shutter
or
OK
button to resume recording.
It will stop automatically after the set duration, or press either button
to stop recording at any time.
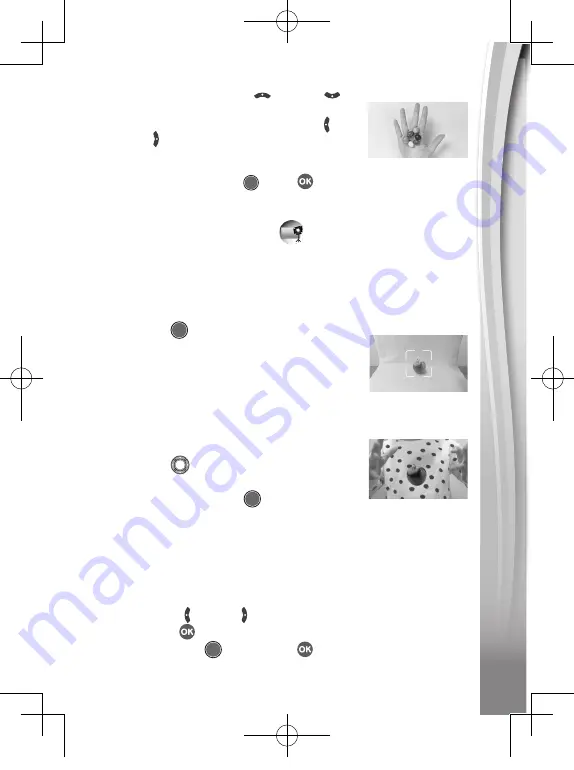
D. Floating Object (Green Screen
Required)
Use the
Green Screen
cloth in this mode to make objects appear to
float in front of your videos.
• First, pick an object that you’d like to create your illusion with. Make
sure it’s not green.
• Set the object on the
Green Screen
and press
the
Shutter
button to take a picture of it.
You may want to drape the
Green Screen
cloth over a box or table to create a mini photo
studio (see photo for example). Be sure to
move the camera close to the object so that
the
Green Screen
fills the entire background.
Check your shot in camera preview mode
before taking a picture.
• After taking a photo of the object, use the
Directional
buttons to adjust the object’s
position on the screen.
• Finally, press the
Shutter
button to record
your video with the object appearing to float.
Note:
You can also use this mode to create a stamp or decoration for
your videos.
E. Time Lapse Video
In this mode, you can set the camera to take photos at set time
intervals and make a time-lapse video from a maximum of 300 photos.
• Press the
Left
or
Right
button to select a time interval, then
press the
OK
button to enter the preview screen.
• Press the
Shutter
button or
OK
button to start recording.
5318 UK IM.indd 21
04/28/2020 17:13:24