G
Legal notice
This is a publication by Conrad Electronic SE, Klaus-Conrad-Str. 1, D-92240 Hirschau (www.conrad.com).
All rights including translation reserved. Reproduction by any method, e.g. photocopy, microfilming, or the capture in electronic data
processing systems require the prior written approval by the editor. Reprinting, also in part, is prohibited. This publication represent
the technical status at the time of printing.
© Copyright 2015 by Conrad Electronic SE.
CONTrOLS
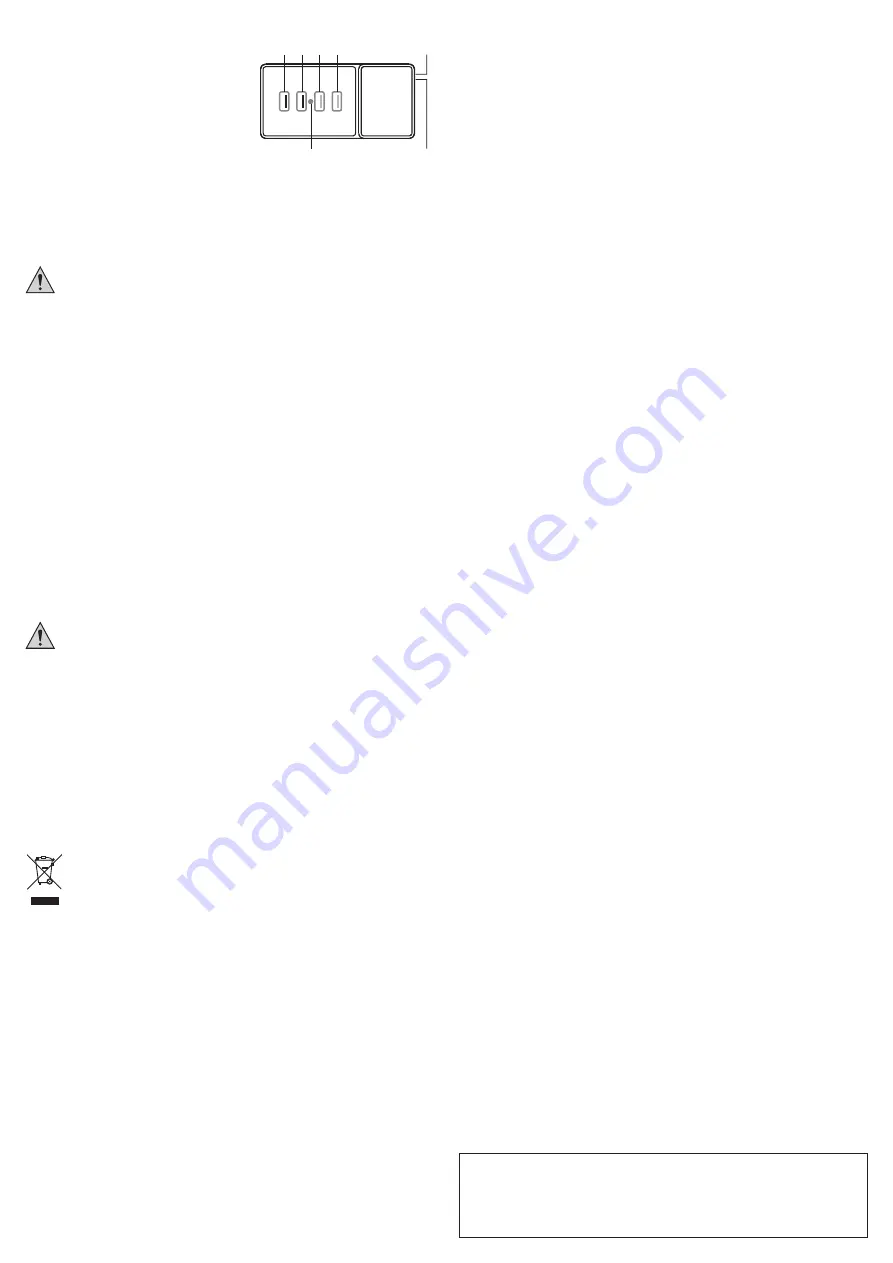
1 2 3 4
5
7
6
1
Charging output #1
2
Charging output #2
3
Charging output #3
4
Charging output #4
5
Mains switch
6
Power LED
7
Mains socket
COmmISSIONING
• Connect the jack socket (7) on the rear with a mains outlet via the supplied power cord.
• Place the charger on a level, flat, stable surface. Protect valuable furniture surfaces by
using a suitable mat to prevent scratches or pressure points.
The enclosure of the charger heats up during operation (depending on output
current). Make sure that the charger is always adequately ventilated; never cover it
while in operation.
• Switch on the charger through the mains switch (5) on the rear (position “I”). The power
LED (6) lights up.
The charger is now ready for operation; the four charging outputs can be used for the con-
nection of appropriate devices.
• After the connected devices have been charged, disconnect them from the charger. Switch
the charger off via the mains switch (switch position “0”) and pull the mains plug from the
mains socket.
Keep the product in a dry, cool and dust free place and out of the reach of children.
HOw THE CHArGING OUTPUTS FUNCTION
• Charging output #1 and #2 (red USB ports)
These two charging outputs provide each an output voltage of 5 V/DC and output current of
max 2.4 A.
The intelligent device detection allows the charger to quick-charge almost all smartphones
or tablets with the maximum charging current.
• Charging output #3 and #4 (black USB ports):
These two charging outputs provide each an output voltage of 5 V/DC and output current of
max 1 A.
Important:
The total combined output current of all four charging outputs is max 5 A.
CLEANING AND mAINTENANCE
The product does not require any maintenance and should never be disassembled for any
reason.
Turn off the charger and unplug from the mains before cleaning.
Only clean the product with a soft, clean, dry cloth. Dust can easily be removed using a clean,
soft brush and a vacuum cleaner.
Never use aggressive cleaning agents and no chemicals at all for cleaning; these can lead
not only to discolouration, but can also damage the product.
DISPOSAL
Electronic devices are recyclable material and do not belong in the household
waste.
Please dispose of the device, when it is no longer of use, according to current statu-
tory requirements.
TECHNICAL DATA
Operating voltage .................................100 - 240 V/AC, 50/60 Hz
Protection class ....................................II
Charging outputs .................................4 (each USB type A)
Output voltage .....................................5 V/DC
Output current ......................................Charging output #1: Max 2,4 A
..............................................................
Charging output #2: Max 2,4 A
..............................................................
Charging output #3: Max 1 A
..............................................................
Charging output #4: Max 1 A
Output current (combined) ....................Max. 5 A
Ambient conditions ............................... Temperature -10 °C to +40 °C, air humidity 0% to 85%
relative, not condensing
Dimensions ...........................................120 x 58 x 36 mm (L x W x H)
Weight ..................................................180 g


