Legal notice
This is a publication by Conrad Electronic SE, Klaus-Conrad-Str. 1, D-92240 Hirschau (www.conrad.com).
All rights including translation reserved. Reproduction by any method, e.g. photocopy, microfilming, or the capture in electronic data processing
systems require the prior written approval by the editor. Reprinting, also in part, is prohibited. This publication represent the technical status at the
time of printing.
© Copyright 2016 by Conrad Electronic SE
V2_0216_02-LS
1. Disconnect the product from the mains and any appliance it might be connected to.
2. Use the key (4) to turn the voltage selection switch until the arrow points to the voltage that
matches the input voltage of the load to be connected. The voltage selection switch should
noticeably and audibly lock into place.
3. Select one of the six low-voltage plugs featuring the exact dimensions matching the
dimensions of the appliance to be connected. Refer to the dimensions of the low-voltage
plug mentioned in chapter “Technical Data”.
4. Connect the low-voltage plug to the low-voltage socket observing the correct -o)+ or -(o+
polarity. The arrow located below the respective polarity marking must thereby be aligned
with the arrow of the low-voltage socket (6). The low-voltage plug has been designed in a
way that it is quite hard to be removed.
5. Check if the appliance to be connected to the power adapter is switched off.
6. Then connect the other end of the low-voltage plug to the power supply jack of the
appliance.
7. Connect the power plug (3) to a common household wall socket. The LED power
indicator (1) on the top of the power adapter lights up. The product is now ready for use.
8. Switch on the appliance.
9. After use, switch off the appliance and unplug the power adapter from the wall socket. Only
then disconnect the low-voltage plug from the appliance.
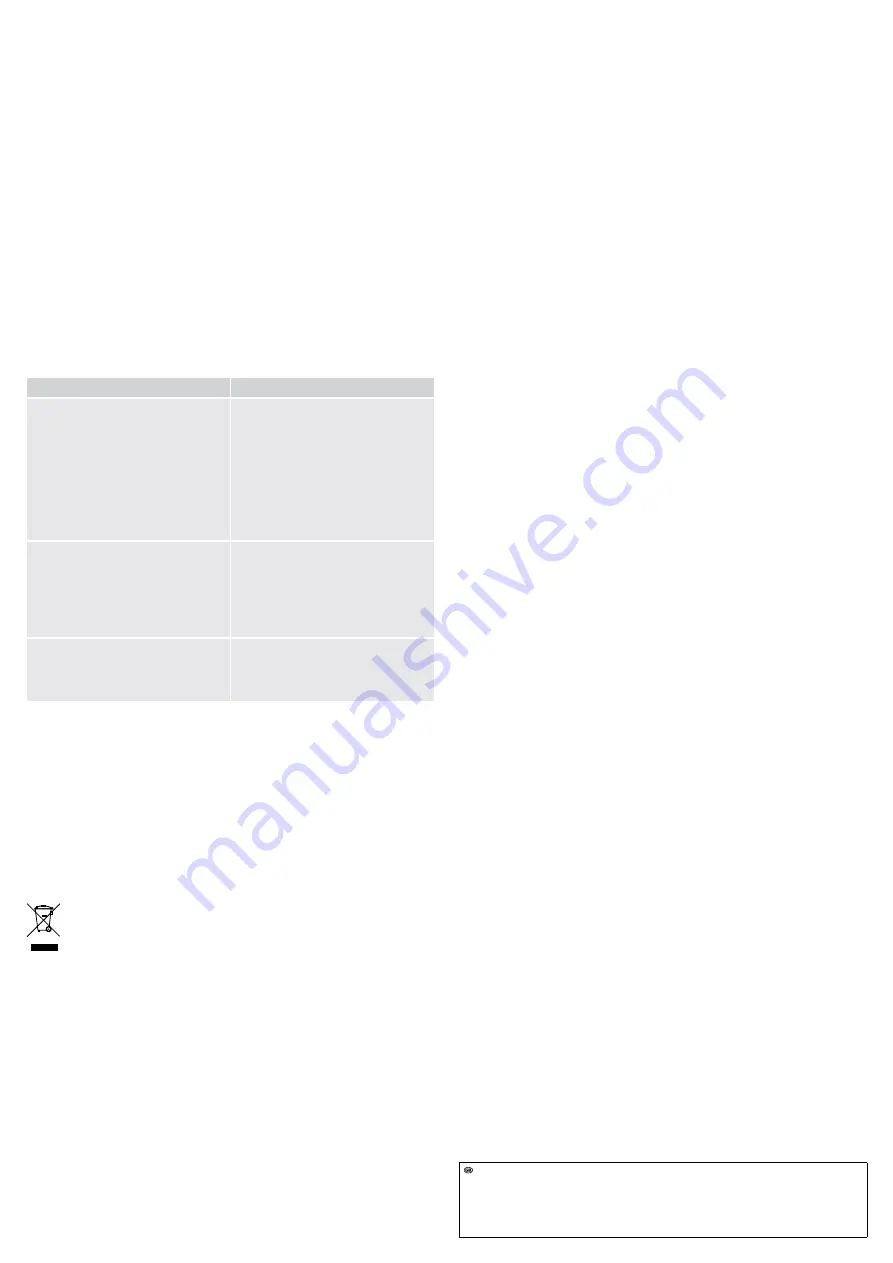
TROUBLESHOOTING
Problem
Possible solution
The LED power indicator does not light up.
No power supply voltage?
• Check the fuse of the wall socket.
• Check if the mains plug has been
connected properly.
Is the power adapter overloaded?
• Disconnect all low-voltage loads from the
device and check the technical data.
The connected appliance does not work.
Has the voltage been set correctly?
Has the polarity been selected properly?
Does the LED power indicator light up?
Is the power adapter overloaded?
• Disconnect all low-voltage loads from the
device and check the technical data.
The LED power indicator lights up weakly
and the connected load does not work,
even though the correct voltage has been
selected.
Check if the voltage selection switch has
properly locked into place. If not, set it up
correctly for it to lock into place.
MAINTENANCE AND CLEANING
• Never use aggressive or abrasive cleaning agents, rubbing alcohol or other chemical
solvents, as those can damage the housing or even affect the operation of the product.
• Besides occasional cleaning, the device is maintenance-free. There are no user-serviceable
parts inside the product. Therefore never open the product.
• Disconnect the product from the mains and any connected appliance before each cleaning.
• To clean the product, a dry, soft and clean cloth is sufficient. You can easily remove dust
using a long-haired, soft and clean brush.
DISPOSAL
Electronic devices are recyclable waste and must not be disposed of in the
household waste.
At the end of its service life, dispose of the product according to the relevant
statutory regulations.
You thus fulfil your statutory obligations and contribute to the protection of the
environment.
TECHNICAL DATA
a) All models
Operating voltage ................................................. 100 – 240 V/AC, 50/60Hz
Output voltage ...................................................... 3 / 4.5 / 5 / 6 / 7.5 / 9 / 12 V/DC
Cable length ......................................................... 1.8 m
Protection class .................................................... II
Operating conditions ............................................. 0 to +45 °C, 20 - 85 % RH
(non-condensing)
Storage conditions ................................................ -20 to +60 °C, 10 - 90 % RH
(non-condensing)
Low-voltage plug (external Ø x internal Ø) ........... jack plug A: 2.5 mm
jack plug B: 3.5 mm
barrel plug D: 5.0 x 2.1 mm
barrel plug G: 5.5 x 2.5 mm
barrel plug H: 3.5 x 1.35 mm
barrel plug N: 5.5 x 1.5 mm
b) Item no. 1380517
Input current ......................................................... 0.16 A
Output current ....................................................... 600 mA
Power output ........................................................ 7.2 VA
Dimensions (W x H x D) ....................................... 39 x 69 x 69 mm
Weight .................................................................. approx. 95 g
c) Item no. 1380522
Input current ......................................................... 0.25 A
Output current ....................................................... 1000 mA
Power output ........................................................ 12 VA
Dimensions (W x H x D) ....................................... 42 x 77 x 72 mm
Weight .................................................................. approx. 140 g
d) Item no. 1380523
Input current ......................................................... 350 mA
Output current ....................................................... 1500 mA
Power output ........................................................ 18 VA
Dimensions (W x H x D) ....................................... 51 x 82 x 73 mm
Weight .................................................................. approx. 145 g


