4
5
Controls
(cont.)
Color:
Adjusts the intensity of the display colors.
Tint:
Adjusts the overall red/green color balance.
Blue Screen:
Select ‘OFF’ to see the video program while adjusting the
display. Select ‘ON’ to see a blue screen while making display adjustments.
Setup Operation
This system is designed to allow the backup system to only operate
when the vehicle is in reverse.
1. Set up directions:
a. Engage the Emergency Brake
b. Turn the ignition on only. Do not start the vehicle.
c. Put the vehicle in reverse.
d. Push power on the monitor to turn it on.
e. Push the ‘MODE’ button on the screen to access the functions.
f. Continue pushing the ‘MODE’ button until you get to
‘POWER DIRECT: OFF’.
g. Push ‘VOLUME (+)’ to select ‘ON’.
h. This will allow the monitor to turn ‘ON’ every time the Vehicle
is put in reverse.
i. The setup is now finished.
See wire diagram for installation directions.
Setup Operation
(cont.)
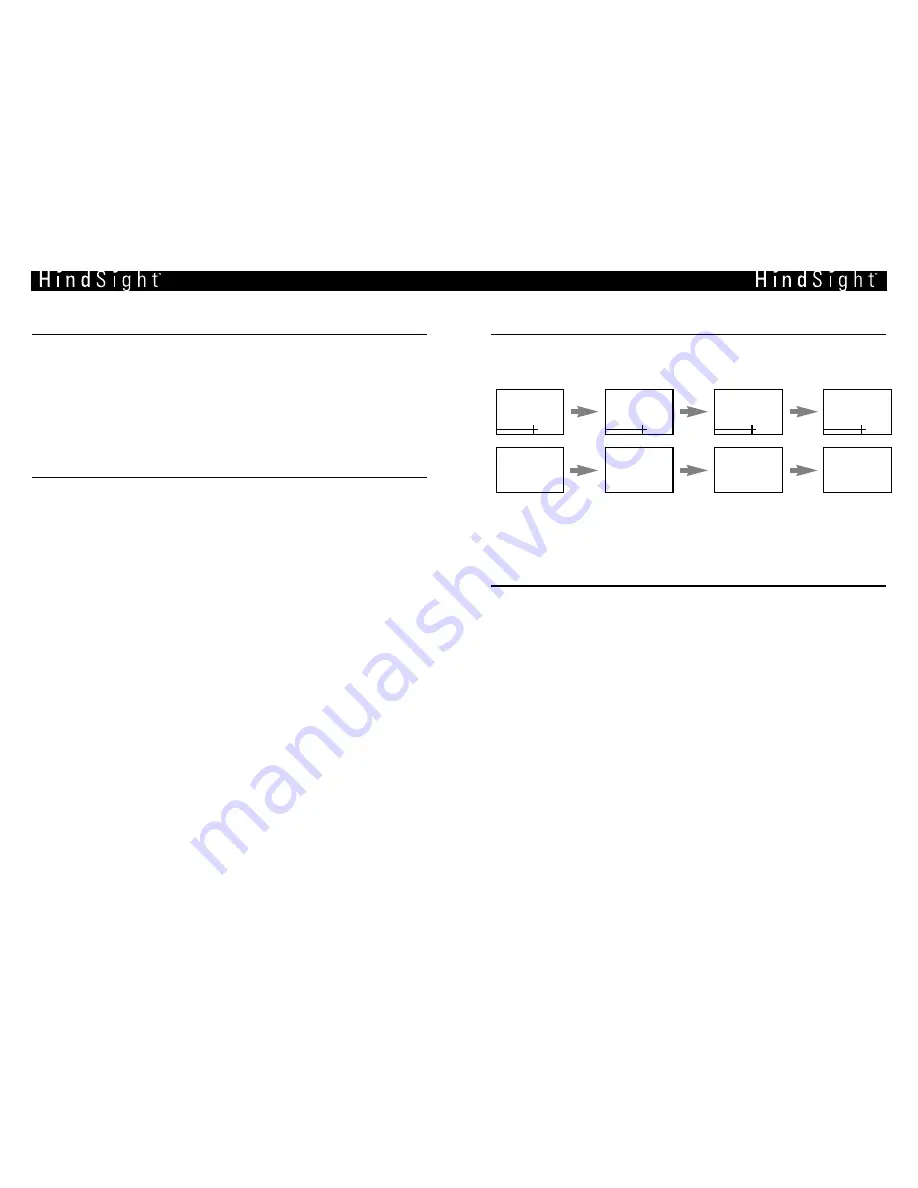
Press PIC button on the remote control (or Mode button on the
Monitor). It will appear on the screen in order as the following pictures.
Adjust each function, CONTRAST, BRIGHTNESS, COLOR, TINT, ON/OFF,
NTSC/PAL, NORMAL, MODE SELECTOR with VOL (+ -) button.
System Operation
1. Turn the system on using the ‘Power ON’ switch on the monitor.
2. Switch the monitor to A/V (1).
2.
No picture will be displayed while driving.
2.
Once the vehicle is put in reverse, the screen will switch over to A/V
(2) to display the camera view. Once the screen is put into drive, the
screen will revert to A/V (1).
3. Switch the monitor to A/V (2).
2.
The monitor will display the camera view. (Driving forward, or
backing up)
CONTRAST
BRIGHT
COLOR
TINT
Blue Screen: OFF
Power Direct: Off
Color System: NTSC
Mirror Mode: Normal


