


VIZIO VO32L FHDTV10A User Manual
Version 10/17/2008
35
www.VIZIO.com
5. Select
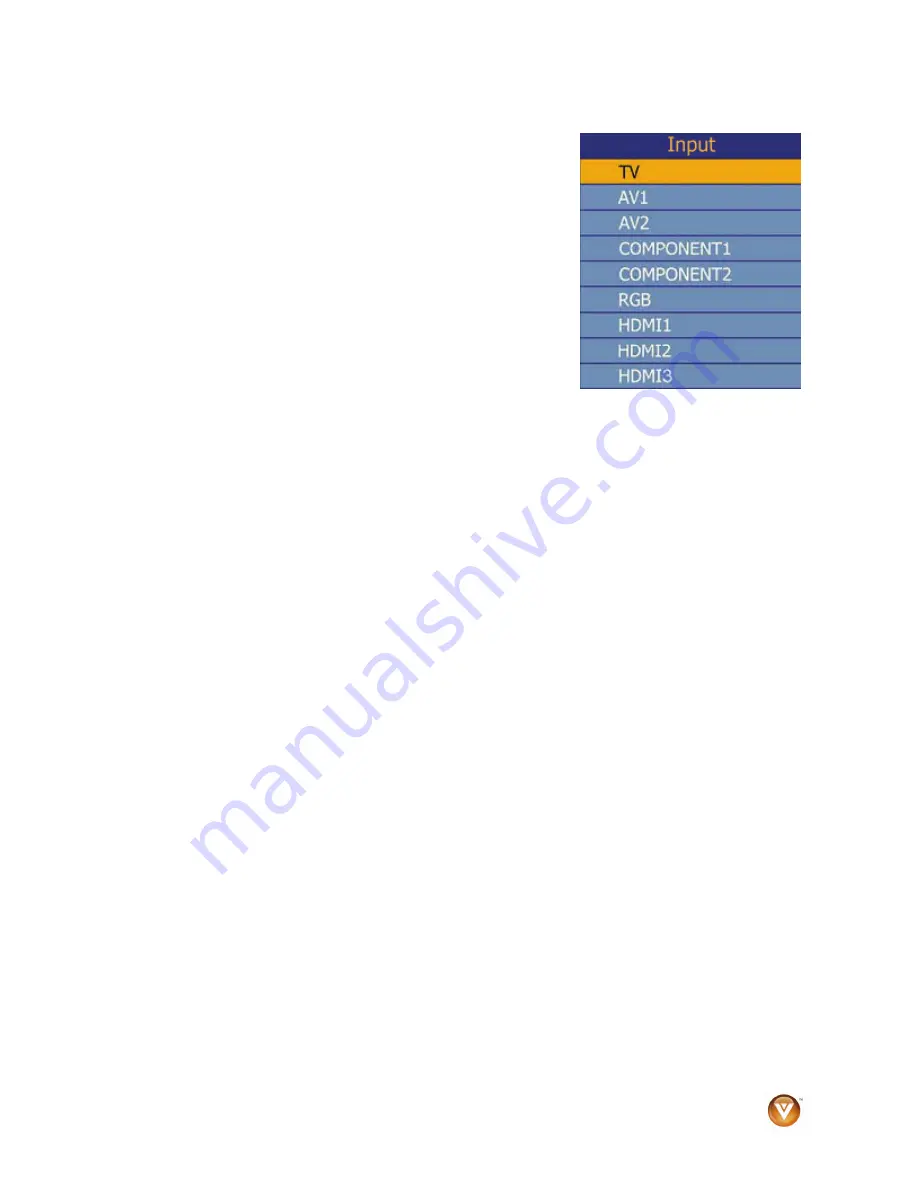
Input
Source
Select the Input Source for the HDTV by pressing the INPUT
button on the side of the TV or using the Input button on the
remote control. Pressing this button will cycle you through the
following options: TV, AV1/S-VIDEO, AV2, Component1,
Component2, RGB, HDMI1, HDMI2, and HDMI3.
Now follow the procedure below to display channels from a
different signal (External TV Tuner, VCR, Cable Box or Satellite
Receiver) source, using different inputs at the back of you TV set.
a. Select the correct input connection; RF (DTV/TV) connector, Composite (Yellow, Red and
White) connectors, Component (Red, Green, Blue plus Red and White) connectors, HDMI
connectors or Separate-Video (S-Video) plus Red and White connectors (if applicable). Make
the physical connection or hook up.
b. If you have an HD service you must use the HDMI (best) or Component connection.
Note:
Composite (AV) and S-Video Cables can only be used for SD (480i) pictures.
c. Turn on your Cable Box, VCR, External TV Tuner or Satellite Receiver and you will see a
picture on your TV set. If there is not picture, make sure you have selected the correct input
on the TV set.
d. If the selected input is RF, you should be aware that the TV set needs to be on either channel
3 or channel 4 matching the channel which has been selected on the back of the VCR, Cable
Box, External TV Tuner or Satellite Receiver; please refer to Owner or User’s Manual of such
equipment for details.
Note:
The TV set will be displaying any television station or program selected by the Cable Box, VCR,
External Tuner or Satellite Receiver. The TV set will not be able to change programs or channels; this is
controlled by the equipment sending the signal.
If the service being used is the one which setup
includes a box with two different outputs for two different (distant) rooms, then scanning
channels would help you to find the signal. Be aware that the channel to be selected varies from
provider to provider; meaning that, you may have to call your provider company so they could
provide you the specific channel when using high definition made TV sets. Some examples of
these channels are: 105, 106, 115 and 116.


