


2
To add a single new analog channel:
1. From the CHANNELS menu,
highlight
Add Analog Channel
and press
OK. The ADD ANALOG
CHANNEL
menu is displayed.
2. Highlight
Enter Channel # and
use the
Number Pad on the
remote to enter the number of
the channel you are adding.
3. Highlight
Add Channel and
press
OK. The TV scans for the
channel.
4. When the TV is done scanning
for the channel, press the
EXIT
button on the remote.
Help
VIZIO
Network
Sleep
Timer
Input
CC
ABC
Audio
Wide
Normal
Picture
Settings
Panoramic
Wide
Zoom
2D
3D
Exit
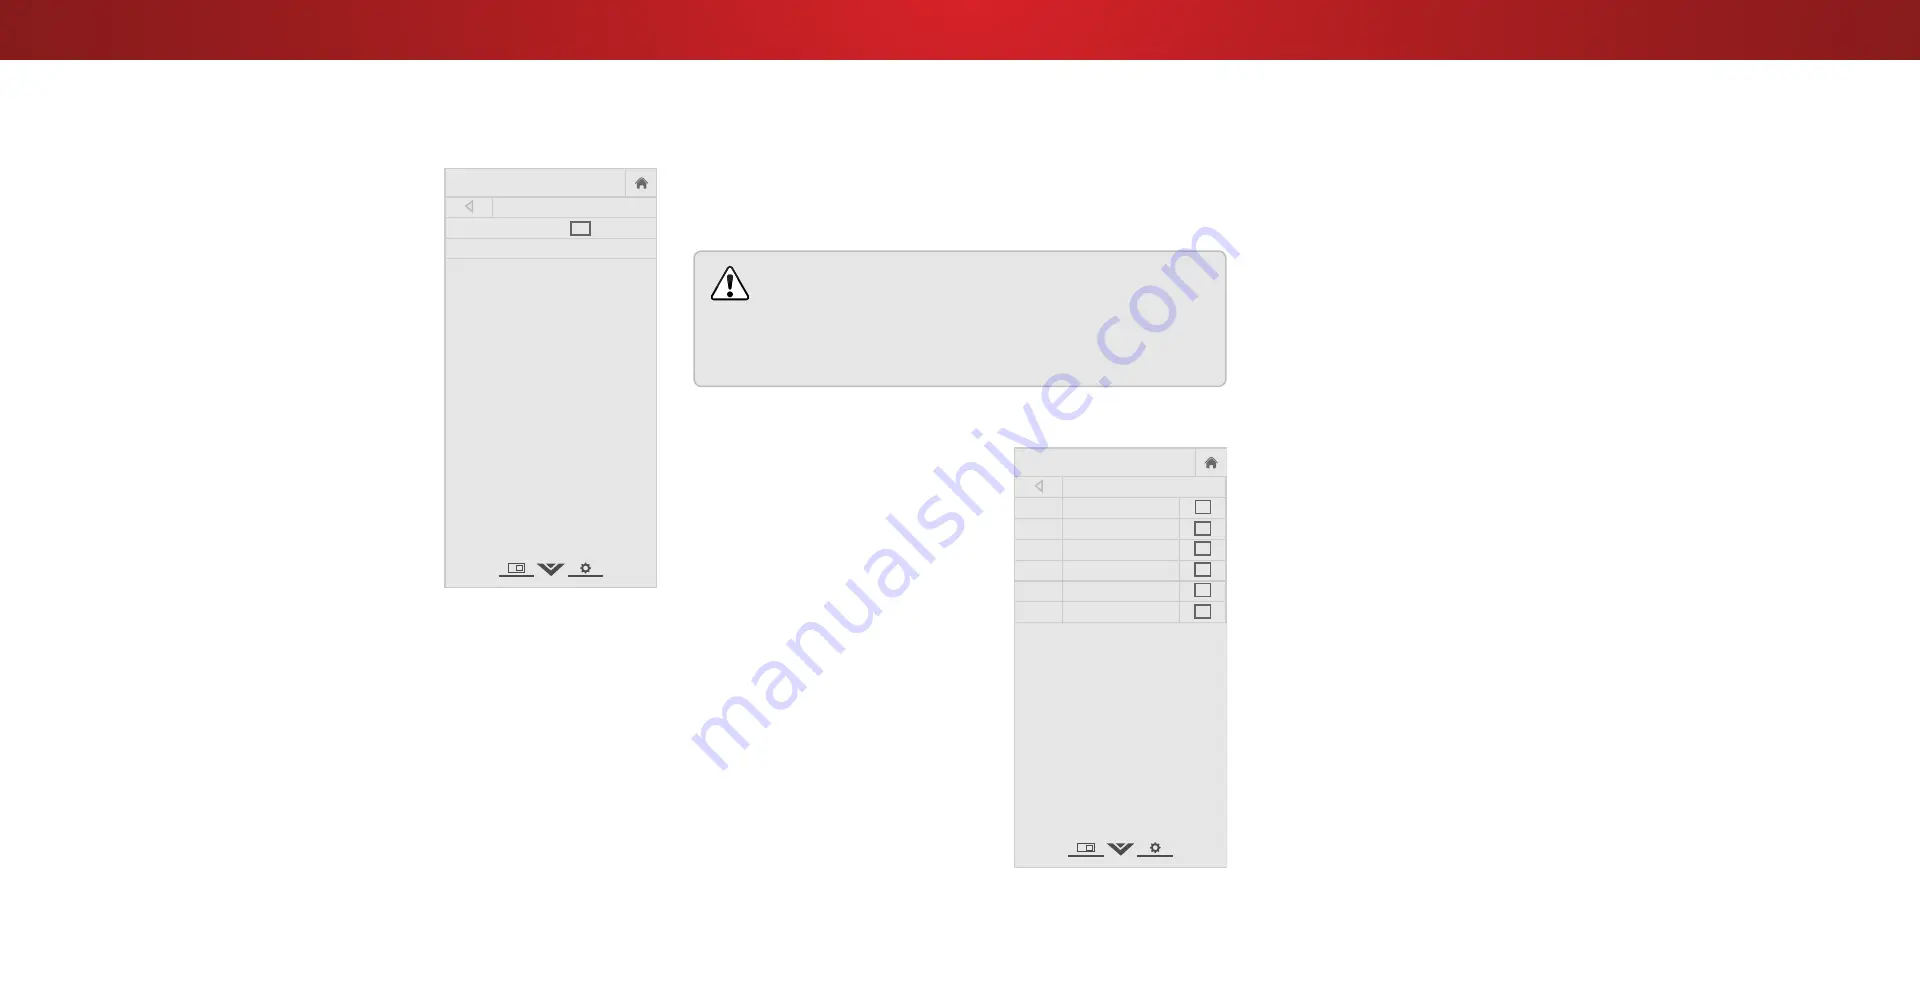
ADD ANALOG CHANNEL
Enter Channel
Add Channel
Skipping Channels
After a channel scan is completed, you may find that some channels
are too weak to watch comfortably. There may also be some
channels you do not want to view. You can remove these channels
from the TV’s memory with the Skip Channel feature.
Channels that have been removed with the Skip
Channel feature can still be viewed if the channel
is entered using the Number Pad. If you wish to
completely block a channel from being viewed, use the
parental controls. See
Locking and Unlocking Channels
To remove a channel:
1. From the CHANNELS menu,
highlight
Skip Channel, and
press
OK. The SKIP CHANNEL
menu is displayed.
2. For each channel you wish to
remove, use the
Up/Down
Arrow buttons on the remote to
highlight the channel and press
OK. A
P
appears to the right of
each channel you select.
3. When you have selected all
of the channels you wish to
remove, press the
EXIT button
on the remote.
Help
VIZIO
Network
Sleep
Timer
Input
CC
ABC
Audio
Wide
Normal
Picture
Settings
Panoramic
Wide
Zoom
2D
3D
Exit
SKIP CHANNEL
1
Test 0
1
Test 1
P
1-2
Test 2
P
2
Test 3
2-2
Test 4
P
2-3
Test 5
25


