


VIVOTEK - A Leading Provider of Multimedia Communication Solutions
User's Manual - 55
■ Keep current value
Follow the steps below to manually set the white balance to compensate for the ambient lighting
conditions�
1� Set the White balance to Auto and click
Save
�
2� Place a sheet of white paper in front of the lens, then allow the Network Camera to adjust the color
temperature automatically�
3. Select Keep Current Value to confirm the setting while the white balance is being measured.
4� Click
Save
to enable the new setting�
Image Adjustment
■ Brightness: Adjust the image brightness level, which ranges from -5 to +5. The default value is set to 0.
■ Saturation: Adjust the image saturation level, which ranges from -5 to +5. The default value is set to 0.
■ Contrast: Adjust the image contrast level, which ranges from -5 to +5. The default value is set to 0.
■ Sharpness:
Adjust the image sharpness level, which ranges from -3 to +3� The default value is set to +3�
You can click
Preview
to fine-tune the image, or click
Restore
to recall the original settings without
incorporating the changes� When completed with the settings on this page, click
Save
to enable the
setting and click
Close
to exit the page�
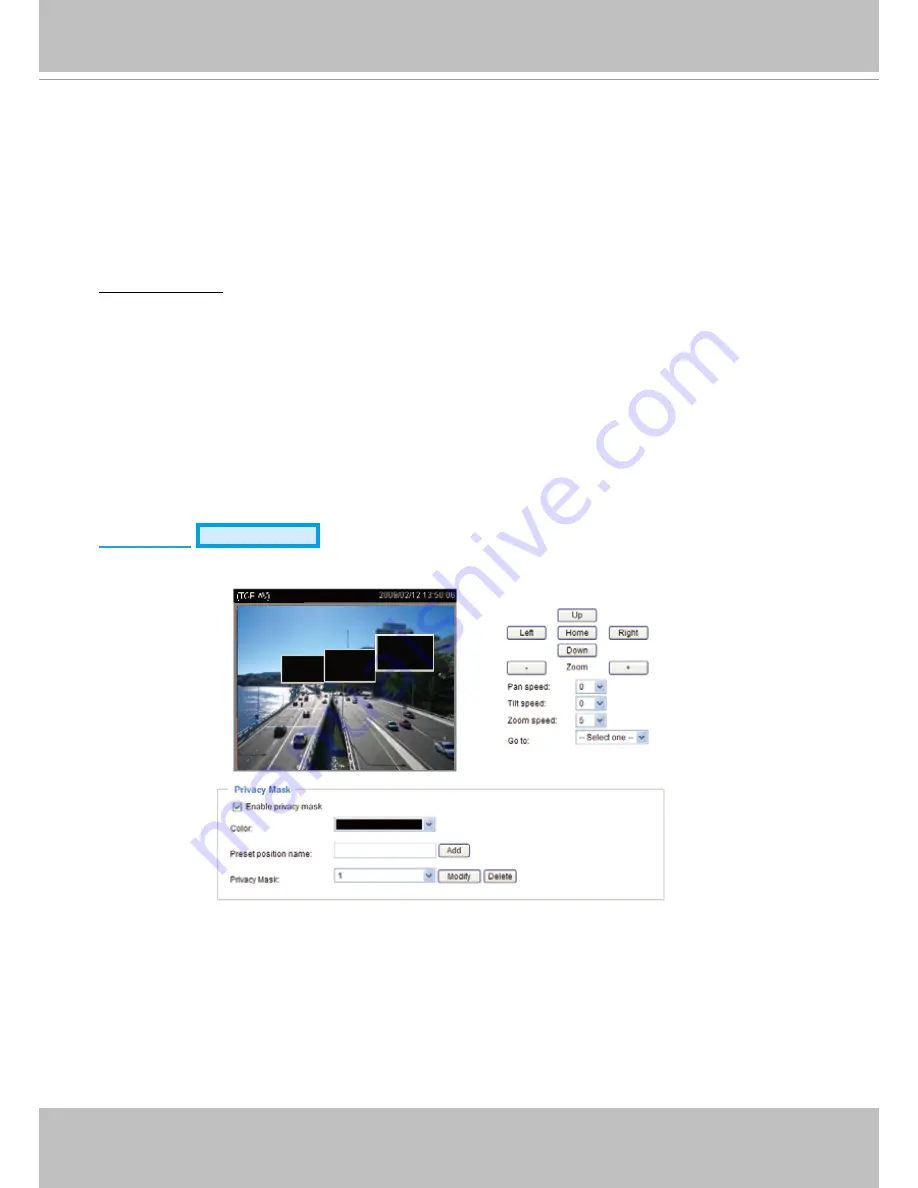
Privacy Mask
Advanced Mode
Click
Privacy Mask
to open the settings page� On this page, you can block out sensitive zones to
address privacy concerns�
■ To set the privacy mask windows, follow the steps below:
1� Select
Enable privacy mask
to enable this function�
2� Click on the video window or use camera control buttons (Up, Down, Left, Right, Home, Zoom in/out,
and Go to) to move the desired position to the center�
3� Use the mouse to size and drag-drop the window, which is recommended to be at least twice the size
of the object (height and width) you want to cover�
4� Enter a Window Name and click
Add
� The name of privacy mask will be displayed on the Privacy
Mask list�
5� If you want to set up more privacy masks, please repeat above steps� Up to 8 privacy mask windows
can be set up, and only 4 windows can be displayed on the same screen�
6� Choose one color to apply to all privacy mask windows�
Содержание SD7313
Страница 1: ......


