17
These indicators are displayed when playing video clips back:
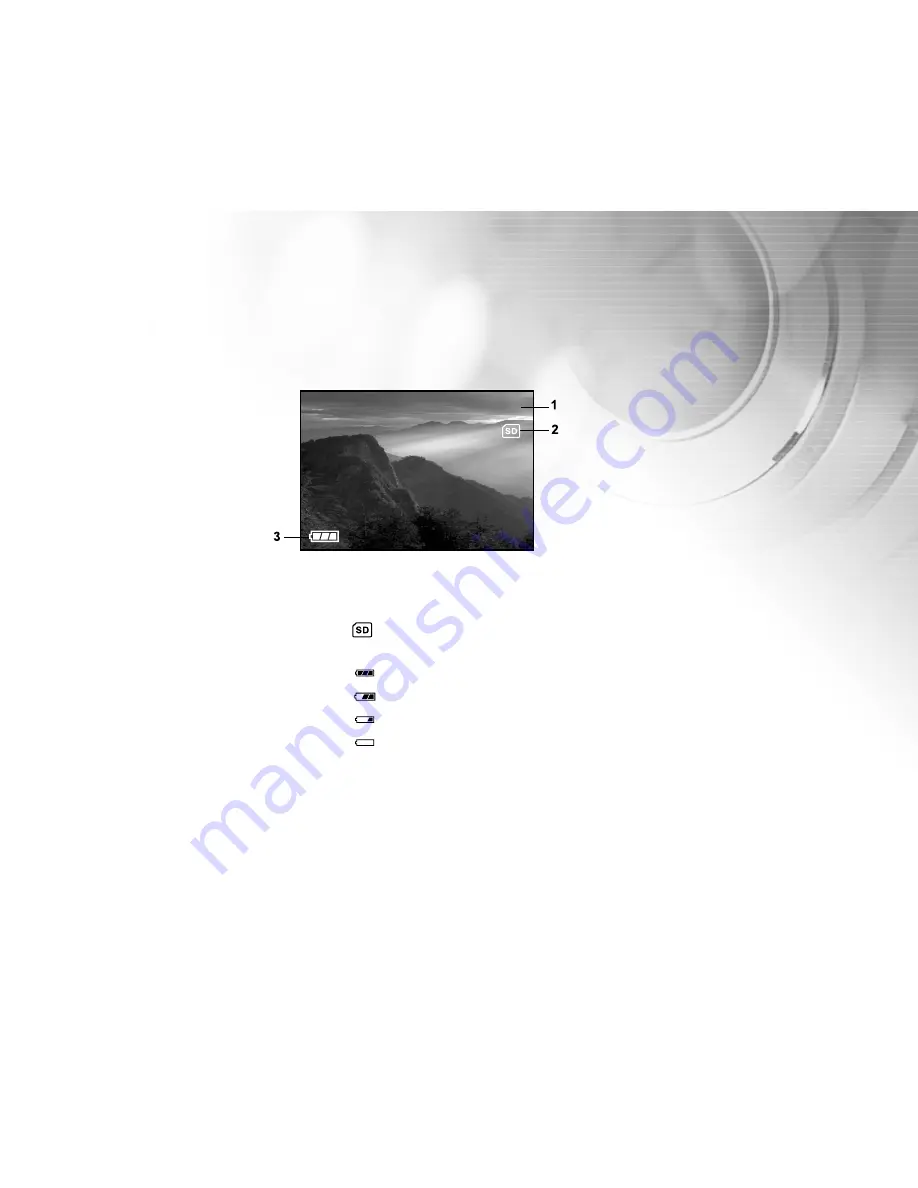
1. Recorded time
2. [
] Card indicator (if present)
3. Battery level
[
] Full
] Partly consumed
] Nearly exhausted
] Virtually no battery power
00:00
Страница 1: ...unications However there is no guarantee that interference will not occur in a particular installation If this equipment does cause harmful interference to radio or television reception which can be d...
Страница 2: ...uct The product and accessories that come with your camera may be different from those described in this manual This is due to the fact that different retailers often specify slightly different produc...
Страница 3: ...ble change or repair the camera This might cause fire or electric shock For repair or internal inspection ask the store of purchase Do not use the camera in areas near water This might cause fire or e...
Страница 4: ...camera This might cause damage to the camera Do not use the camera in humid steamy smoky or dusty places This might cause fire or electric shock Do not remove the battery immediately after long perio...
Страница 5: ...sh your hands carefully if you touch the battery fluid When using batteries carefully read and strictly observe the Safety Instructions and the notes described below Ni MH rechargeable batteries are h...
Страница 6: ...e LCD Monitor 21 Digital Zoom 22 Using the Flash 22 Self Timer 24 Setting the Image Resolution and Quality 25 Recording Video Clips 27 IMAGE PLAYBACK 28 Single Image Replay 28 Playback Zoom 29 Viewing...
Страница 7: ...40 INSTALLING PHOTOVISTA 41 INSTALLING ACROBAT READER 42 USER MANUAL 43 LIST OF MENU OPTIONS 44 Capture Menu 44 Playback Menu 49 Video Clip Menu 50 Setup Menu 51 CONNECTING YOUR CAMERA TO OTHER DEVICE...
Страница 8: ...es without the immediate need for an additional memory card However you may wish to expand the memory capacity by using a Secure Digital SD memory card In addition to still images you can record short...
Страница 9: ...5 may be different from those described in this manual This is due to the fact that different retailers often specify slightly different product inclusions and acces sories to suit their market requir...
Страница 10: ...10 E F S G 1 Shutter button 2 Power button 3 Flash PRODUCT FEATURES Front View 4 Lens 5 Strap eyelet 6 Self timer LED 3 4 6 5 1 2...
Страница 11: ...11 11 11 11 Rear View 1 LED indicator 2 MODE button 3 Multi selector 4 MENU button 5 USB port 6 Battery SD card cover 7 Tripod socket 8 LCD monitor 7 8 6 1 5 4 2 3...
Страница 12: ...G Multi Selector 1 Arrow button Up Thumbnail button 2 Arrow button Right Display button 3 OK button Digital zoom button 4 Arrow button Down Flash button Delete button 5 Arrow button Left Self timer 5...
Страница 13: ...ED indicator Blinking red Charging the flash No LED indicator Blinking green Image is being recorded to memory No LED indicator Solid red USB communication transfer in progress No LED indicator Solid...
Страница 14: ...O 200 200 6 Flash mode Flash off Fill flash on A Red eye reduction A Automatic flash 7 Color mode Full Color Black White Sepia 8 Card indicator when present 9 Remaining images These indicators are dis...
Страница 15: ...layed when playing images back 1 Reverse 2 Card indicator if present 3 Forward 4 Protect indicator if protected 5 Current image total number of images 6 Battery level Full Partly consumed Nearly exhau...
Страница 16: ...se indicators are displayed when recording video clips 1 Movie mode 2 Recording indicator 3 Video counter 4 Card indicator if present 5 Battery level Full Partly consumed Nearly exhausted Virtually no...
Страница 17: ...17 17 17 These indicators are displayed when playing video clips back 1 Recorded time 2 Card indicator if present 3 Battery level Full Partly consumed Nearly exhausted Virtually no battery power 00 0...
Страница 18: ...of cost effec tive recharging The Vivicam 3785 can also use CR V3 batteries CR V3 Lithium batteries are available in most stores where batteries are sold Lithium batter ies offer considerably better...
Страница 19: ...ase data on an SD memory card you must unlock the card If a memory card is present in the Vivicam 3785 the camera will automatically use the card in preference to internal memory Be sure to format the...
Страница 20: ...o set the correct date and time 1 Enter the values of the year month day and the time by using the buttons To increase the value press the button To decrease the value press the button 2 Press the but...
Страница 21: ...itor can help you while capturing images replay recorded images video clips and adjust ViviCam 3785 settings The mode icons text and numbers that are displayed on the LCD monitor will vary according t...
Страница 22: ...and press the shutter button The ViviCam 3785 has four flash modes Off On Fill flash Automatic with Red eye reduction Automatic Digital Zoom Using digital zoom images appear closer Whereas digital zo...
Страница 23: ...de for capturing images with high contrast backlighting and deep shadows A Automatic with The flash emits a precursor flash before the main flash fires Red eye reduction This causes the pupil in the h...
Страница 24: ...er lamp starts blinking relatively slow for the first 2 seconds or the first 7 seconds and then blinking rapidly for the last 3 seconds 1 Secure the ViviCam 3785 to a tripod or place it on a stable su...
Страница 25: ...phic results but produce large files sizes Therefore fewer images will take up more memory space High resolution and quality settings are recommended for printed output and situations requiring the fi...
Страница 26: ...64MB SD 128MB SD 256MB SD 512MBSD ratio Internal memory memory memory memory memory memory memory Memory card card card card card card card 2048x1536 8 1 6 6 14 28 56 115 230 462 12 1 6 6 15 30 61 12...
Страница 27: ...ecording a video clip by pressing the shutter button The movie icon REC elapsed time the card indicator battery level will display on the LCD monitor while recording a video clip To stop recording pre...
Страница 28: ...age Replay To Play back still images one image at a time 1 Press the button to turn on your ViviCam 3785 2 Press the MODE button twice to enter Playback mode The last recorded image appears on the LCD...
Страница 29: ...Cam 3785 2 Press the MODE button twice to enter Playback mode The last image frame appears on the LCD monitor 3 Select an image by using the buttons 4 Enlarge the image by pressing the button 5 Use th...
Страница 30: ...e button to turn on your ViviCam 3785 2 Press the MODE button twice to enter Playback mode 3 Press the thumbnail button and nine thumbnail images appear on the LCD monitor Assuming there are nine or m...
Страница 31: ...images and for presentations 1 Press the button to turn on your ViviCam 3785 2 Press the MODE button twice to enter Playback mode Then press the button to enter the Playback menu 3 Select Slide Show b...
Страница 32: ...n to enter the Playback menu 3 Select Protect by using the buttons and press the button 4 You can protect one image or all images at one time by using the buttons and press the button Protect One Prot...
Страница 33: ...ears on the LCD monitor 3 View and select an unwanted image by using the buttons then press the delete button 4 To delete this image select OK by using the buttons and press the button 5 Continue the...
Страница 34: ...All by using the button then press the button to confirm the deletion 5 To delete all images select OK by using the button and press the button If all images are deleted No image will pop up Note Plea...
Страница 35: ...nternal memory choose OK by pressing buttons then press the button to confirm To cancel the action select Cancel instead No Image pops up after the SD memory card or internal memory has been formatted...
Страница 36: ...nsfer images video clips from the ViviCam 3785 to your computer follow the steps bellow Step 1 Install the USB driver Windows 98SE only Step 2 Connect the ViviCam 3785 to your computer Step 3 Download...
Страница 37: ...ognize the camera Windows 98 SE users 1 Insert the CD ROM packaged with the ViviCam 3785 into the CD ROM drive The welcome screen appears 2 Click Install USB Driver Follow the on screen instructions t...
Страница 38: ...computer 2 Connect the other end of the USB cable to the USB connector on the Vivicam 3785 3 Turn the Vivicam 3785 on 4 Look for a new Removable Disk icon appearing in the My Computer window Your rec...
Страница 39: ...le click on the folder Your images are inside these folder s Select the images that you want then choose Copy from the Edit menu Open the destination location folder and choose Paste from the Edit men...
Страница 40: ...the CD ROM packaged with the Vivicam 3785 into the CD ROM drive The welcome screen appears 2 Click Install PhotoSuite Follow the on screen instructions to complete the installation Note For informati...
Страница 41: ...to create spectacular 3600 panoramic images please refer to its online help For Windows 2000 XP users make sure to install and use the PhotoVista while logged in as a user with an Administrator accou...
Страница 42: ...ader installed in your computer Acrobat Reader is included on the camera CD ROM Using Acrobat Reader you can read the user s manual and print sections of interest 1 Insert the CD ROM that came with th...
Страница 43: ...Manual on the CD ROM is that you have Acrobat Reader Adobe Reader installed on your computer Updates to this manual and versions in other languages may be found on the Vivitar website www vivitar com...
Страница 44: ...sharpness 1 Press the button to turn on your ViviCam 3785 2 Press the button and then scroll through the options by using the buttons You may change the settings by pressing the buttons in the main m...
Страница 45: ...45 Size Refer to Setting the Image Resolution and Quality in BASIC FUNCTIONS Quality Refer to Setting the Image Resolution and Quality in BASIC FUNCTIONS...
Страница 46: ...the button to enter the sub menu and choose the setting After the adjustment is set press the button to confirm Effective Subjects and Set Values Positive Compensation Copying of printed text black ch...
Страница 47: ...inds of light that enters the lens You may specify the white balance when capturing images under specific lighting conditions Auto Daylight Cloudy Tungsten and Fluorescent Auto automatically adjusts t...
Страница 48: ...nd dark areas of the image This will make the image s edges look sharper In some scenes you may prefer sharper edge detail In other scenes you may prefer softer edge detail Setup Refer to Setup Menu i...
Страница 49: ...menu press the button After settings are set press again the button to confirm Playback menu items Delete Copy to Card Slide Show Protect and Setup Delete Refer to Deleting Images and Video Clips in E...
Страница 50: ...nsation white balance to record video clips with your preferences Video Clip menu items EV White Balance and Setup EV Refer to Capture Menu in LIST OF MENU OPTIONS White Balance Refer to Capture Menu...
Страница 51: ...t Frequency Set to default and System Infor Date Time Refer to Setting the Date and Time Beeper Specify whether or not beeps are to be generated when camera buttons are pressed Off Beeps are not gener...
Страница 52: ...e bat tery consumption 3 min 5 min 10 min OFF Light Frequency Set the frequency of the sensor to match the frequency of your local lighting standard 60Hz 50Hz Set to default This function will restore...
Страница 53: ...53 CONNECTING YOUR VIVICAM 3785 TO OTHER DEVICES USB Cable Notebook Computer PCMCIA Adapter SD Card Reader SD Card Reader SD Memory Card Printer...
Страница 54: ...0 Image quality Fine Normal Economy Recording media Approximately 6MB internal memory SD memory card optional up to 512MB capacity Lens Focal length 7 7mm Range of focus 1 6m to infinity 4 5 feet to i...
Страница 55: ...e USB connector Power 2 x AA Alkaline batteries optional 2 x AA Ni MH batteries optional One CR V3 Lithium battery pack optional Tripod socket Yes Dimensions 3 3 x 2 6 x 1 2 in 85 x 65 x 30mm L x W x...