background image


4.0 Capturing Images - 

 
Using your new Vivicam 35 is fun and 
easy.    There are two basic steps to 
capturing your first image. 
 
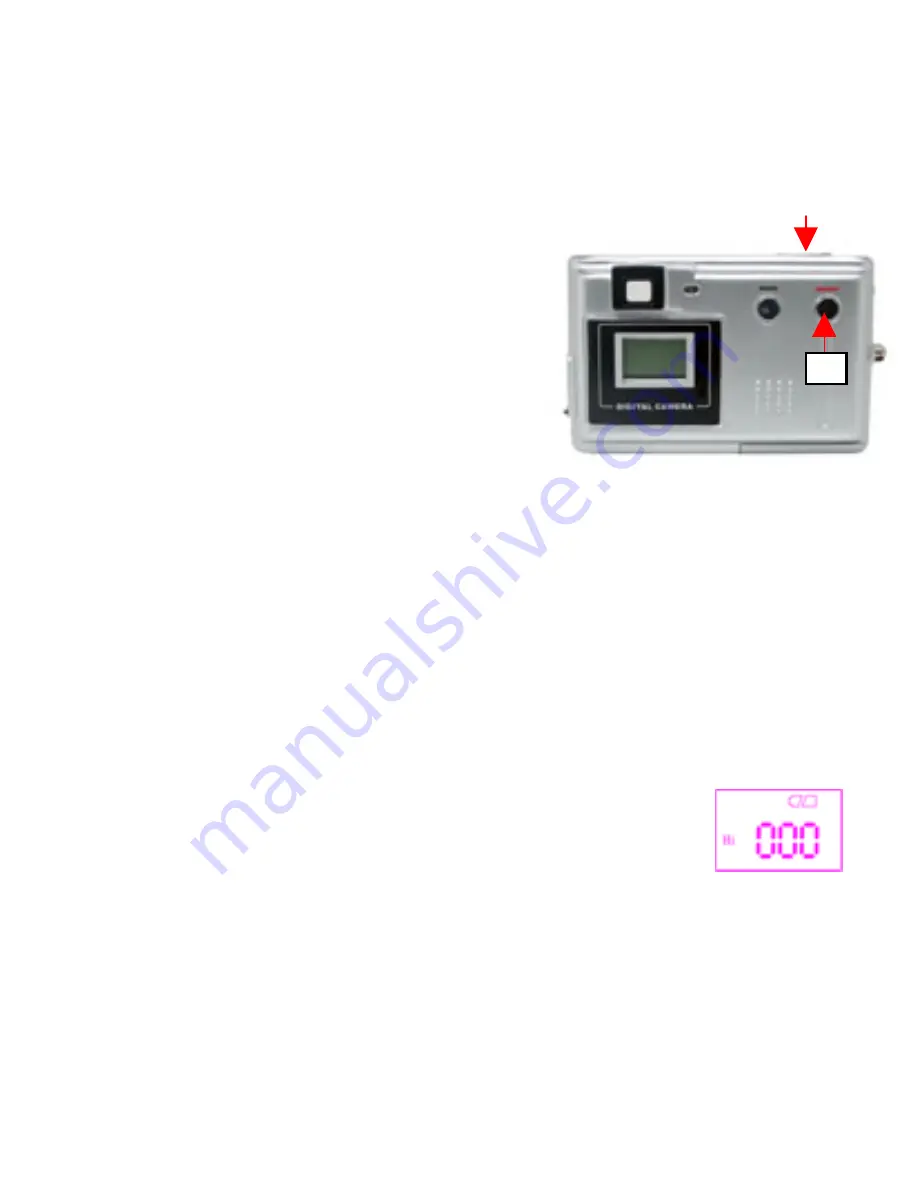
Step 1: Turn on the camera by holding 
down the Power Button for two seconds. 
 
Step 2: Press the shutter button to capture 
 

t is really

an im

 that easy!    The following sections will tell you about more features 

.1 Power On the Camera - 

n the Power ON/OFF

 button for two 

hat the camera will automatically power-off after 30 seconds inactivity to 

2

1

age. 

I
that are available on your camera.   


4


o power on the camera hold dow

T

seconds as shown above. The camera will beep once, indicating that it is 
ready. The Status LCD display will turn on like this: 
 

n this example the camera is ready to capture image in Hi 

I
resolution mode. (Function icons are explained in section 
4.3.) 
 
Note t

-11- 

Содержание Vivicam 35

Страница 1: ...Vivicam 35 User Manual English 040208tp...

Страница 2: ...ing the Batteries 6 3 Installing the Software 8 3 1 Twain Driver for Windows based PCs 8 3 2 ArcSoft Suite 9 3 2 1 PhotoImpression 9 3 2 2 VideoImpression 9 3 3 NetGUI In A Flash Photo 9 3 4 User Manu...

Страница 3: ...l 19 4 14 Techniques for Capturing the Best Images 19 5 Downloading Images to Your PC 20 5 1 Transfer Images to your PC 20 5 2 Transferring Images to the application software 22 6 PC Web Camera Video...

Страница 4: ...ice complies with Part 15 of the FCC Rules Operation is subject to the following two conditions 1 This device may not cause harmful interference and 2 This device must accept any interference received...

Страница 5: ...the equipment into an outlet on a circuit different from that to which the receiver is connected 4 Consult the dealer or an experienced radio TV technician for help Use of shielded cable is required...

Страница 6: ...y compartment carefully and install new batteries Wash your hands carefully if you touch the battery fluid Please note that when you remove the batteries your images will be lost from the camera memor...

Страница 7: ...components may vary as specified by local retailers and locations Check with your retailer for specifics 1 4 System Requirements You must use a computer to download the images from your Vivicam 35 Th...

Страница 8: ...1 5 Vivicam 35 Features Front Side Back Side 5...

Страница 9: ...ory to be lost immediately If you open the battery door when the camera is OFF when changing the batteries you must close the door within thirty 30 seconds or your images will be erased from memory No...

Страница 10: ...de if left in the camera for extended periods of time 4 Dispose of batteries properly in accordance with local laws and regulations Do not place them in fire 5 The Vivicam 35 has an automatic power sa...

Страница 11: ...in Driver Install this before connecting to your PC 2 Arcsoft Suite PhotoImpression and VideoImpression 3 NetGUI In A Flash Photo 4 User Manual 5 Adobe Reader 3 1 Twain Driver 8 To use your Vivicam 35...

Страница 12: ...audio tracks Though simple to use the program provides intense and broad video editing and export options perfect for owners of digital still cameras desktop and digital video cameras and camcorders 3...

Страница 13: ...an take a picture and brings your photos to life 3 4 User Manual Click on the User Manual button to go to the index of ViviCam 35 User Manuals The Vivicam 35 User Manual is included on the CD ROM in P...

Страница 14: ...tell you about more features 1 Power On the Camera n the Power ON OFF button for two hat the camera will automatically power off after 30 seconds inactivity to 2 1 age I that are available on your ca...

Страница 15: ...through the viewfinder to frame subject Make sure your subject is no closer than three or four feet one meter or else it will not be in good focus Step 2 Press the Shutter button to capture an image h...

Страница 16: ...learn more about each function refer to the referenced section in this User Manual Display icon Function Refer to 4 13 Off Power off 4 4 So Flash charging 4 5 Self Timer 4 6 AVI capture 4 7 Continuou...

Страница 17: ...within three seconds to power a Note The ca power off after 30 seconds of inactivity Flash C de bu appears on the LCD display tton T con it is fully charged Hold do Power ON the camera imme You can a...

Страница 18: ...capt get into the re by Turn on the camera Press the Mode button until th s on the LCD display ic Press the button the camera w c 4 7 AVI Capture You can capture motion video clips using the AVI captu...

Страница 19: ...orApple Quick Time Player to view movies 4 8 Continuous Capture You can capture three images using the continuous capture feature you use this mode the image resolution will be 640 x 480 To Continuous...

Страница 20: ...ew them on your resolution is not change to 019 9 2 Delete All Images 4 Step 1 Power on the camera Pre Step 2 Press the Shutter button The image counter will flash on off Press the Shutter button agai...

Страница 21: ...e Mode button until appears on the LCD display and LO start flashing on of Press the Shutter button to change 4 11 High Low Image Compression Press the Mode button until HD LD appears on the LCD displ...

Страница 22: ...3 Using the Flash Automatic SA or On SF Press the Mode button until SA SF appears on the LCD display Press the Shutter flash Strobe Forced In automatic mode the camera will determine if the flash is n...

Страница 23: ...cable Connect your camera to your PC using the USB cable The camera will beep once indicating the connection is established The camera installation process will be completed at the first time when th...

Страница 24: ...the selected images to your PC A Save As dialog box will appear to allow The default directory lly ith the name Photo001 You e cted N o your PC disconnect the camera Your images rem you to save your i...

Страница 25: ...e screen llow the steps in the prior section a fourth button appears in the V35 GUI Transfer to AP Instead of immediately saving your images to disk you may first transfer ing them s to P transfer ima...

Страница 26: ...third party video 3 Use Microsoft NetMeeting see se 4 Use Windows Movie Maker for Note The Vivicam 35 is a dual mod but you cannot use both mod 6 1 Using the ViviCam 35 in Video Mode PC users may use...

Страница 27: ...tart functioning as a PC camera Or you may select Options Preview to begin the video function 6 You may wish to use MS NetMeeting Follow the steps below to set camera as the video capture device 1 Sta...

Страница 28: ...dows Movie Maker ter a Click on Capture from a Video Device b Select ViviCam 35 in the available devices section c Follow on screen instructions until live video is displayed Click on Start Programs A...

Страница 29: ...640 x 480 VGA LD 119 320 x 240 QVGA HD 100 320 x 240 QVGA LD 463 Movie 320 x 240 QVGA 120 seconds S C elf Timer 10 seconds apture Modes Single Continuous AVI Capture movie clips utomatic Energy Savin...

Отзывы: