Viewing and Downloading Your Pictures Using a PC
25
!
Exercise caution when using this feature. Reformatting deletes everything on the memory card,
including locked images
. No warning is given before the locked images are erased.
Changing the Exposure
Your camera automatically adjusts the exposure of each picture to accommodate the current lighting
conditions. You may want to manually adjust the exposure setting when using your camera in unusual
lighting conditions; for example, when taking a picture of a person standing in front of a bright light source.
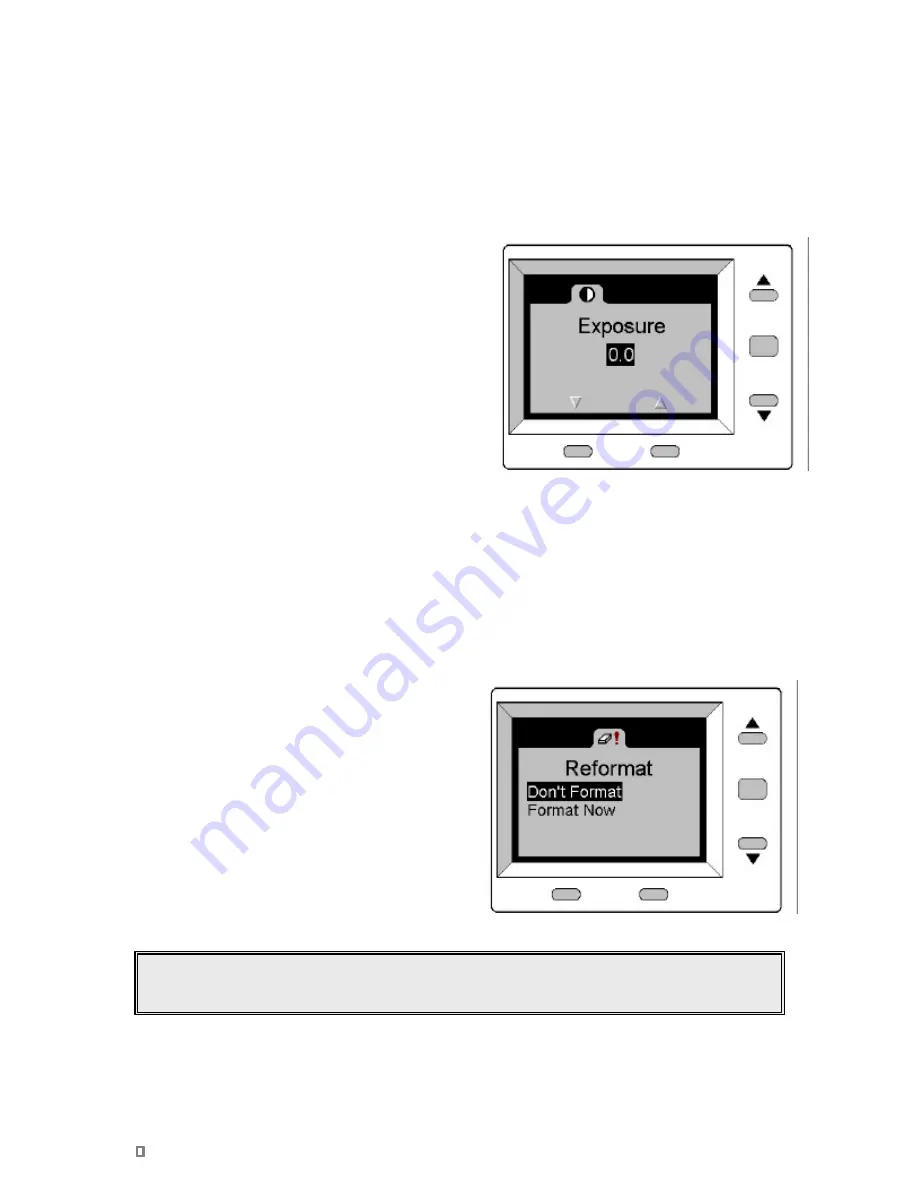
The camera’s Exposure preference setting lets you adjust the exposure from –2.0 to +2.0 in 0.5 increments.
To change the exposure level:
1
Set the Mode switch to PREF.
2
Turn the camera on.
3
Press the
6
button until the Exposure menu tab is
on top.
4
Press the Select button to open the menu.
5
Press the buttons below the arrows at the bottom of
the LCD screen to decrease or increase the
exposure setting.
6
Press the Select button to activate the setting and
exit the Exposure menu.
è
The exposure setting is automatically reset to 0.0
when the camera is turned off. To manually reset the camera back to the default, set the Exposure
preference to 0.0.
Reformatting the Memory Card
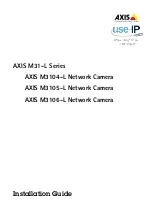
Use the Reformat preference menu tab to erase all the data on your memory card and reformat it. This
action will erase all files on your card, including locked pictures.
To reformat your memory card:
1
Turn the camera on.
2
Set the Mode switch to PREF.
3
Press the
6
button until the Reformat menu tab
is on top.
4
Press the Select button to open the menu.
5
If you are sure that you want to delete all the
pictures (including locked pictures) from your
memory card and reformat it, press the
6
button
to highlight the Format Now menu option. If you
don't want to reformat your card, highlight the
Don't Format option.
6
Press the Select button to execute the option and
exit the Reformat menu.


