


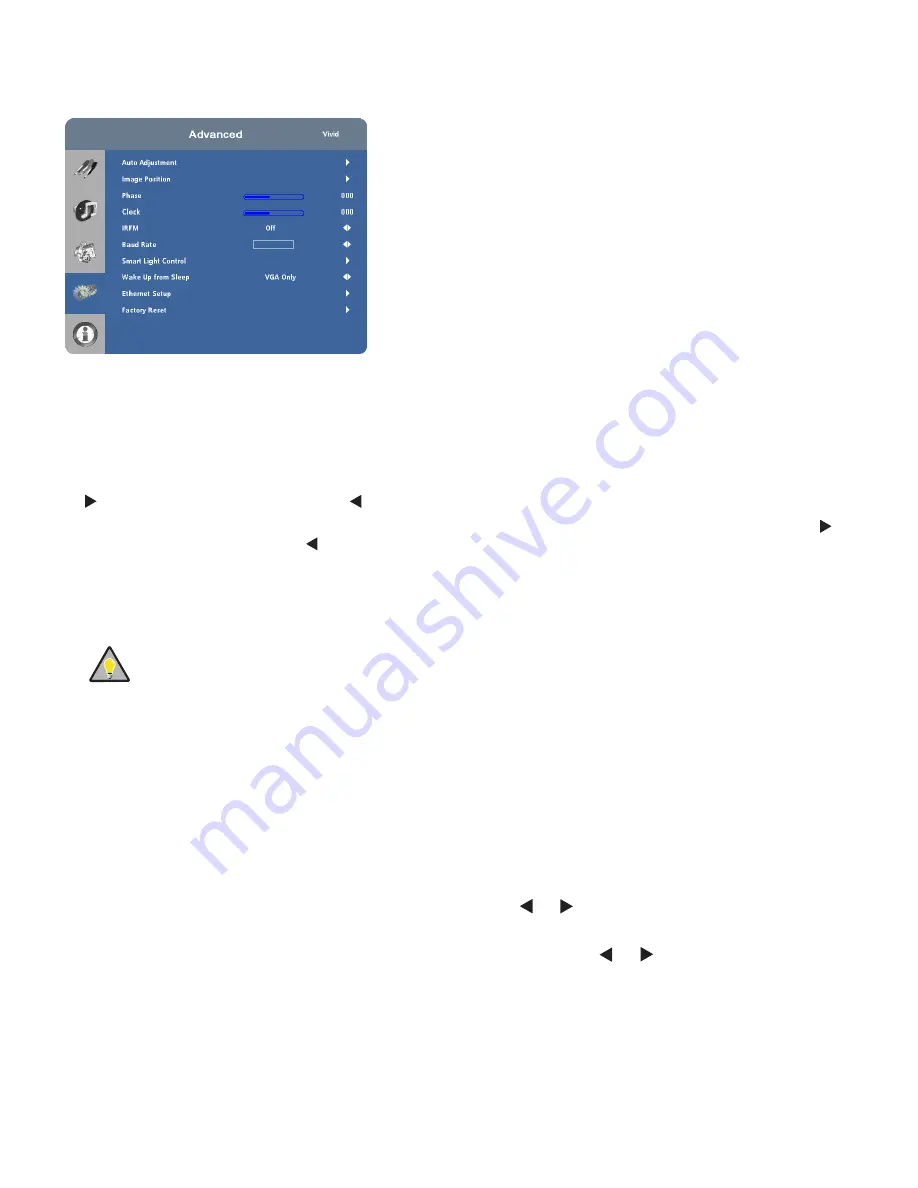
Advanced Settings
Auto Adjustment:
Select Auto Adjustment from the Advance d Settings menu to force the display to rea c
quire and lock to the input signal. This is useful when the signal quality is marginal.
Image Position (VGA sources):
Use the controls in the Image Position (VGA sources) Me nu to fine-tune the
image position.
• Left/ Right:
Select Left/Right from the Input Position menu to shift the projected image horizontally. Press to
shift the image to the right; press
to shift it to the left.
• Up/ Down:
Select Up / Dow n from the Input Position me nu to shift the projected image vertically. Press to
shift the image upward; press
to shift it downward.
Phase (VGA sources):
This control adjusts the phase of the pixel sampling clock relative to the incoming
signal. Adjust the phase when an image still shows shimmer or
“ noise” after the Clock setting has been
optimized.
Tip
Adjust the Phase after adjusting Clock (see below).
For best results, use a goo d test pattern such as a smooth grey consisting of a clear pattern of black and
white pixels, or a similar
“ half on, half off” graphic image. Adjust the slidebar until the image stabilizes and each
pixel is clearly defined. You may notice that you can stabilize the image at more than one point. Use either
setting in such cases.
Clock (VGA sources):
This control sets the frequency of the pixel sampling clock, indicated by the
number of incoming pixels per line, so that all pixels generated by a particular source are s ampled.
Steady flickering or several soft vertical stripes or bands across the entire image indicates poor pixel
tracking. Proper pixel tracking helps ensure that the image quality is consistent across the screen, that
as pect ratio is maintained and that pixel phase (see above) can be optimized.
IRFM:
Select IRFM from the Ad vanc ed Settings menu and press
or
to enable or disable this feature,
which creates slight frame motion to help avoid image retention.
Baud Rate:
Select Baud Rate from the Adva nced Settings menu and press
or
to set the data rate of the
RS-232 communication link.
Содержание VTS-4600
Страница 6: ...Notes ...
Страница 10: ...Notes ...
Страница 14: ...Notes ...
Страница 61: ...48 Notes ...
Страница 67: ...54 7 2 Overall Dimensions Figure 7 1shows the display dimensions VTS 4600 all dimensions are in millimetres ...
Страница 68: ...55 Figure 7 1shows the display dimensions VTS 5500 all dimensions are in millimetres ...
Страница 69: ...56 Figure 7 1shows the display dimensions VTS 6500 all dimensions are in millimetres ...
Страница 70: ...57 Notes ...
Страница 74: ...61 Appendix III Wall Mount Safety Notes ...
Страница 75: ...62 ...


