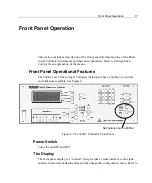


Front Panel Operation
31
Ø
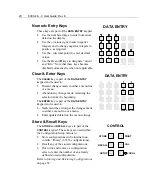
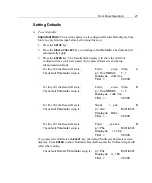
To “enter” data and changes into the menu—when no cursor is visible:
•
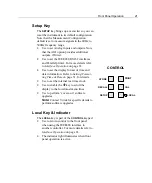
Press the
ENTER
key to “enter” the selections contained in a menu display. The
instrument will replace the menu display with the selected measurement Results
Data, based on the menu entered.
•
Press a
DISPLAY SELECT
key and the cursor will reappear on the corresponding
display line, then press the
ENTER
key twice.
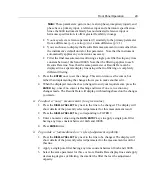
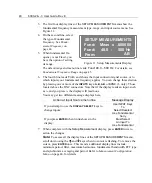
Setting/Formatting Time & Date
Use the
Set Time
and
Date
menu to set and adjust the present time and date
maintained by the instrument. Using this menu, you can select a display format for
the time and date for use as a “time & date stamp” for printing with your Results
Data.
Note:
The selected display changes apply when printing, if the option INT is fitted.
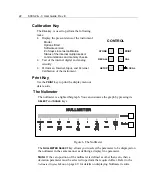
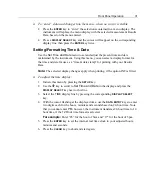
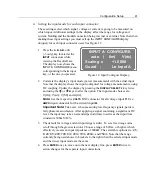
Ø
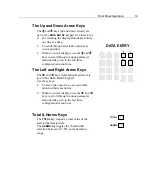
To adjust the time display:
1. Initiate this menu by pressing the
SETUP
key.
2. Use the
ê
key to scroll to
Set Time and Date
in the display and press the
DISPLAY SELECT
key next to this line.
3. Select the
TIME
display line by pressing the corresponding
DISPLAY SELECT
key.
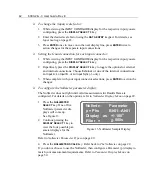
4. With the cursor flashing at the displayed time, use the
DATA ENTRY
keys to enter
two digits each for the hours, minutes and seconds based on 24-hour time. Note
that you cannot enter
PM
, however, the instrument translates 24-hour time to 12-
hour time, if the
12 Hour
time format is selected.
For example:
Enter “05” for the hour of 5am and “17” for the hour of 5pm.
5. Press the
ENTER
key to set the internal real time clock to your adjusted hours,
minutes and seconds.
6. Press the
CLEAR
key to abort and start again.
Содержание Xitron 6000-2
Страница 1: ...USER S GUIDE 6000 2 6000 3 Phase Angle Voltmeters...
Страница 2: ......
Страница 36: ...36 6000 2 3 User Guide Rev E...
Страница 86: ...86 6000 2 3 User Guide Rev E...
Страница 94: ...94 6000 2 3 User Guide Rev E...
Страница 101: ...Appendix B 101...


