5
Installation
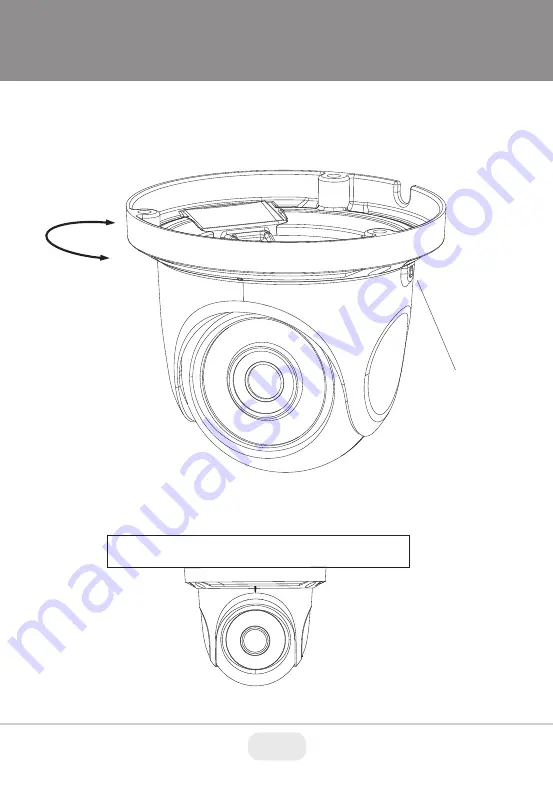
4. Tighten the lock screw to secure the viewing angle adjustments.
5. Carefully remove the protective film from the lens to complete the
installation.
Lock Screw
Страница 1: ...5 IR Range Digital Wide Dynamic Range D WDR True Mechanical Day Night function by ICR 3D DNR Noise Reduction On Board Motion Detection Privacy Masking and ROI H 264 MJPEG Compression Remote Viewing vi...
Страница 2: ...2 Overview Components and Accessories Camera Quick Guide Screws Hex Wrench Drill Template Rubber Plug Waterproof Cap Focus Zoom Lens RJ 45 Ethernet Power Input 1 2 3 1 3 2...
Страница 3: ...with PoE also connect the power Cable to an approved 12VDC Power Supply Weather Resistant Network Coupler 1 Loosen the nut from the Weather Resistant Network Coupler 2 Run ethernet cable through coupl...
Страница 4: ...oles and 1 cable hole if you want to route the cables through the mounting base according to the drill template 2 Route the cables and connect the power video cables use the rubber plug to fill the ga...
Страница 5: ...5 Installation 4 Tighten the lock screw to secure the viewing angle adjustments 5 Carefully remove the protective film from the lens to complete the installation Lock Screw...
Страница 6: ...all on the PC Open the installed application 3 Modify the IP address The default IP address is 192 168 226 201 Click the information of the camera listed in the above table to show the network informa...
Страница 7: ...are as shown below IP address 192 168 226 201 HTTP 80 Subnet Mask 255 255 255 0 Data Port 9008 Gateway 192 168 226 1 You may use the above default settings when you log in the camera for the first tim...
Страница 8: ...the camera by the router or virtual server for example 1 Make sure the camera is connected to the LAN Then log into the camera via LAN and go to System Congfig Network Config Port menu to set up the...