Note:
This update requires you to utilize a USB flash drive, an internet capable computer
and your DaVinci Pro control console.
Step 1:
Visit https://www.enhancedvision.com/support/software/davinci-pro.html
The version 01.01.274 Update requires you to download five files:
•
Application Update- DaVinci Pro-Application-01.01.274.zip
•
Camera Update- DaVinci Pro-Camera Firmware-01.01.274.zip
•
I/O Update- DaVinci Pro-I/O Firmware-01.01.274.zip
•
Front Panel Update- DaVinci Pro-FP Firmware-01.01.274.zip
•
Voice Files Update- DaVinci Pro-Voice Files-01.01.274.zip
Step 2:
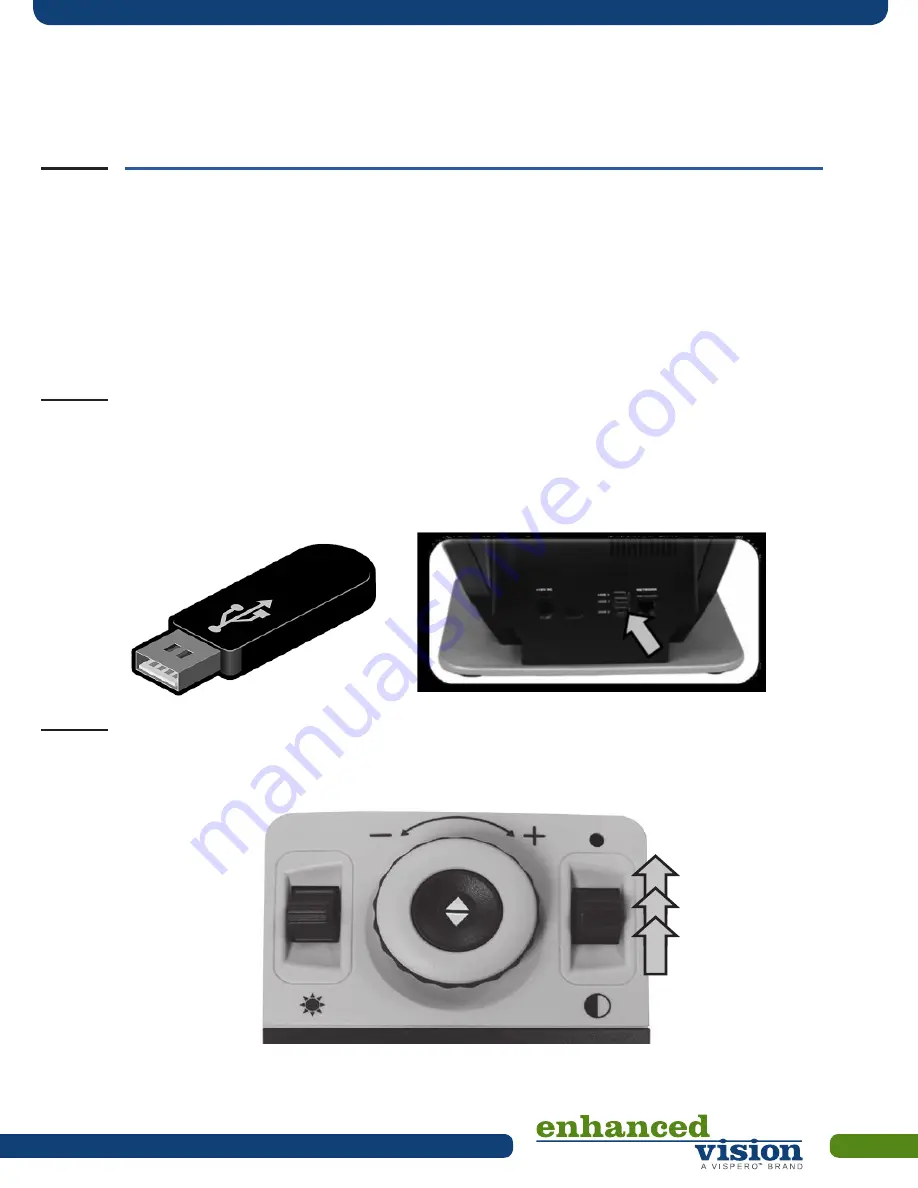
Connect your USB Flash drive to your computer and download and extract all the
zip file contents of the files to the USB Flash Drive: Namely “Installer”, “Camera Board”,
“I/O”, “Front Panel” and “Voices” Safely remove the USB Drive from your computer and then
connect it to one of the open ports on your DaVinci Pro along with the DaVinci Pro
Control Console.
Step 3: Ensure that your DaVinci Pro is powered OFF and then power device ON. After
you see the DaVinci Pro Logo on boot up and this screen disappears you should begin
pumping the “Mode Up” button on your control console.
Note: This update
requires you to utilize a USB flash drive, an internet capable computer
and your DaVinci Pro control console.
Step 1
: Visit
https://www.enhancedvision.com/support/software/davinci-pro.html
The version 01.01.274 Update requires you to download
five files:
•
Application Update- DaVinci Pro-Application-01.01.274.zip
•
Camera Update- DaVinci Pro-Camera Firmware-01.01.274.zip
•
I/O Update- DaVinci Pro-I/O Firmware-01.01.274.zip
•
Front Panel Update- DaVinci Pro-FP Firmware-01.01.274.zip
•
Voice Files Update- DaVinci Pro-Voice Files-01.01.274.zip
Step
2:
Connect your USB Flash drive to your compu
ter and download and extract
all the zip file contents of the files to
the USB Flash Drive: Namely “Installer”,
“Camera Board”, “I/O”, “Front Panel” and “Voices” Safely remove the USB Drive
from your computer and then connect it to one of the open ports on your DaVinci Pro
along with the DaVinci Pro Control Console.
Step 3
:
Ensure that your DaVinci Pro is powered OFF and then power device ON.
After you see the DaVinci Pro Logo on boot up and this screen disappears you
should begin pumping the “Mode Up” button on your control console.


