1
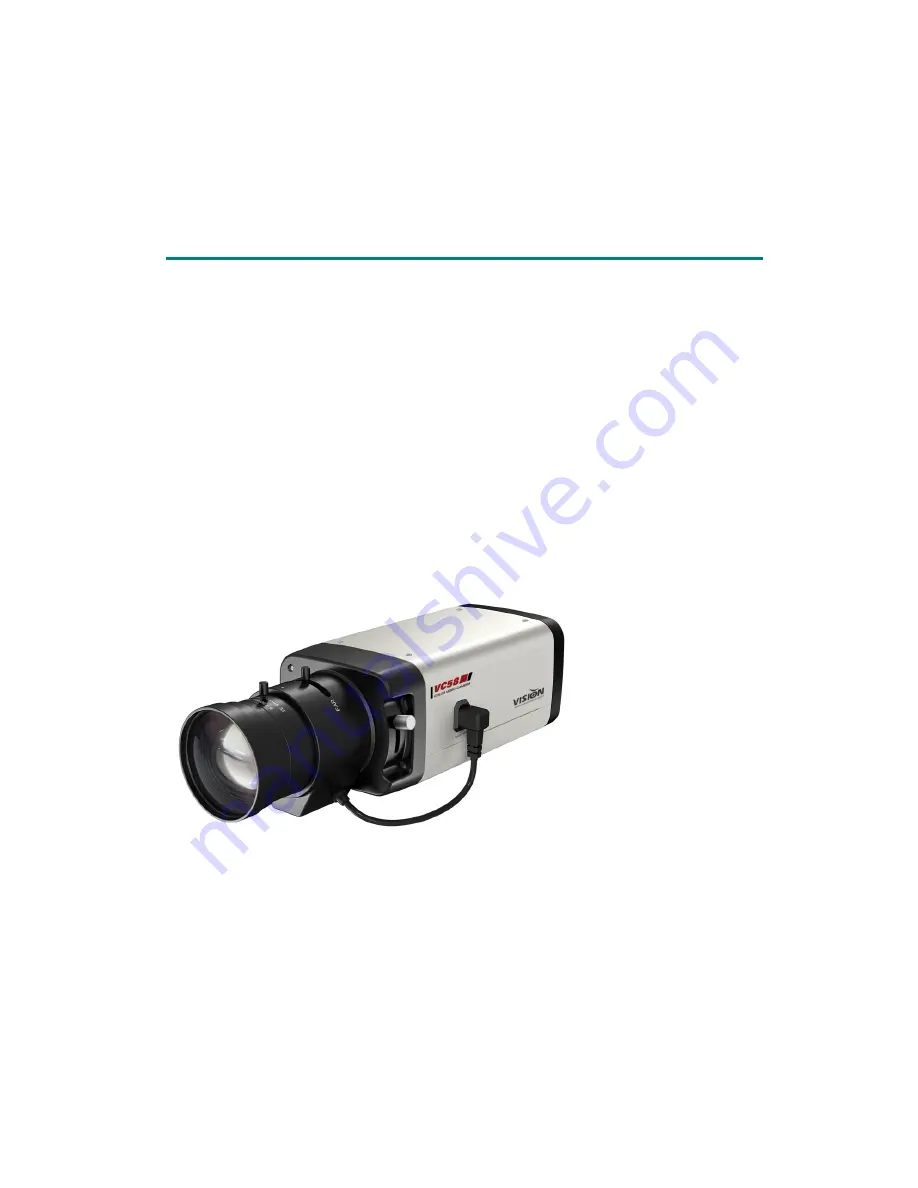
650TVL WDR True Day/Night Box Camera
I
N
S
T
R
U
C
O
M
A
L
VC58EP-12 12VDC
VC58EP-24 12VDC/24VAC
Visionhitech Co., Ltd.
Страница 1: ...1 650TVL WDR True Day Night Box Camera I IN NS ST TR RU UC CT TI IO ON N M MA AN NU UA AL L VC58EP 12 12VDC VC58EP 24 12VDC 24VAC Visionhitech Co Ltd...
Страница 2: ...mply with limits for a Class A digital device pursuant to part 15 of the FCC Rules These limits are designed to provide reasonable protection against harmful interference when the equipment is operate...
Страница 3: ...7 8 6 1 Lens 6 2 When using an auto iris lens DC drive 6 3 When using a C Mount Lens 6 4 When using a CS Mount Lens 6 5 Power 7 Function and operation 9 18 7 1 On Screen Menu OSD 7 2 Setting up the me...
Страница 4: ...mera To avoid electric shock never remove the screws or covers There are no parts inside that need maintenance by the user All maintenance should be carried out by qualified personnel z Avoid installi...
Страница 5: ...imitation direct or indirect special consequential or exemplary arising out of or relating to the product 2 Personal injury or any damage caused by inappropriate use or negligent operation of the user...
Страница 6: ...otective cover 4 DC Iris Jack for DC Auto Iris Lens 5 Back focus adjustment Knob 6 Power indicator LED 7 OSD Control button 8 RS 485 Control port 9 Video output BNC Female 10 Power input terminal 11 M...
Страница 7: ...OTE To get the best image quality please use recommended lenses from the manufacturer or camera supplier 6 2 When using an auto iris lens DC drive 1 Please take off the sleeve outer cable of the lens...
Страница 8: ...r of 24VAC Power Source with non polarity connection When used with an Auto Iris lens please insert the iris jack into the Iris socket which is located on the right side of the camera Please set the l...
Страница 9: ...EA NUM MASK DEFINE MASK COLOR BLEND LEVEL MOSAIC MASK SIZE MASK POSITION PRIVACY RESET RETURN MOTION MD NUM MD DEFINE MD LEVEL MD DISPLAY MD SIZE MD POSITION MD RESET RETURN SYSTEM CAMERA ID ID DISPLA...
Страница 10: ...and press the Button to finish the setting 7 3 DAY NIGHT You can display pictures in COLOR BW AUTO 1 D N MODE AUTO COLOR BW Default AUTO 1 Please position the cursor on DAY NIGHT on the SETUP menu by...
Страница 11: ...can be used within the color temperature range of 2 500 K 7000 K OUT This mode can be used within the color temperature range of 1 800 K 10 500 K Default IN NOTE In case of indoor use ATW IN mode is...
Страница 12: ...used only when there is a difference in frequency between the power system 50Hz and TV system 60Hz In this case flicker occurs on the monitor In most countries other than Japan it is not necessary to...
Страница 13: ...USER WDR level is fine tuned in 1 50 3 USER LEVEL Adjust the value after selecting USER in WDR LEVEL Adjustable range is in 1 50 Default 17 4 BLC Back Light Compensation MODE OFF ON Default OFF When t...
Страница 14: ...er the installation When BLEMISH function is activated the picture may not be seen for a short period of time 6 DNR ADJUST Noise Reduction NR is used to obtain a high quality Image without noises 2D D...
Страница 15: ...C Default OFF ON Mosaic is activated OFF Mosaic is inactivated 6 MASK SIZE The size and the shape are adjustable by moving 4 edges of mask to Left Right Up Down The movement between edges is done by L...
Страница 16: ...d 6 MD POSITION Adjusts vertical and horizontal position of motion area 7 MD RESET Resets all setting of MOTION menu 8 RETURN Returns to the MAIN MENU 7 10 SYSTEM 1 CAMERA ID Default 001 Determined th...
Страница 17: ...right corner Please find the position you wish to display the name by using the 4 directional selections and then press the button to finish 5 Camera Name Input process is finished if user selects RET...
Страница 18: ...ID ID DISPLAY 485 TERM BAUD RATE settings 8 RETURN Returns to the MAIN MENU 7 11 RESET The camera settings turns to the factory defaults It s not initialized in CAMERA ID ID DISPLAY 485 TERM BAUD RAT...
Страница 19: ...tor z If you have an interim device set the 75 Hi z properly The camera is not working properly and the surface of the camera is hot z Please check if you have properly connected the camera to an appr...
Страница 20: ...20 9 Dimension mm...
Страница 21: ...tion Color 650TV Lines B W 700TV Lines S N Ratio 50dB AGC OFF Weight ON Video output 1 0Vp p Composite 75 Ohms Min Illumination 0 00001Lux DSS 0 05Lux DSS OFF at 1 2 White Balance ATW PUSH HOLD USER 1...