S
TEP
1: C
ONNECTING
THE
S
CANNER
TO
THE
C
OMPUTER
5
▼
NOTE: If you transport a locked scanner, remember to unlock it
prior to scanning. Failure to unlock it may damage the scanner.
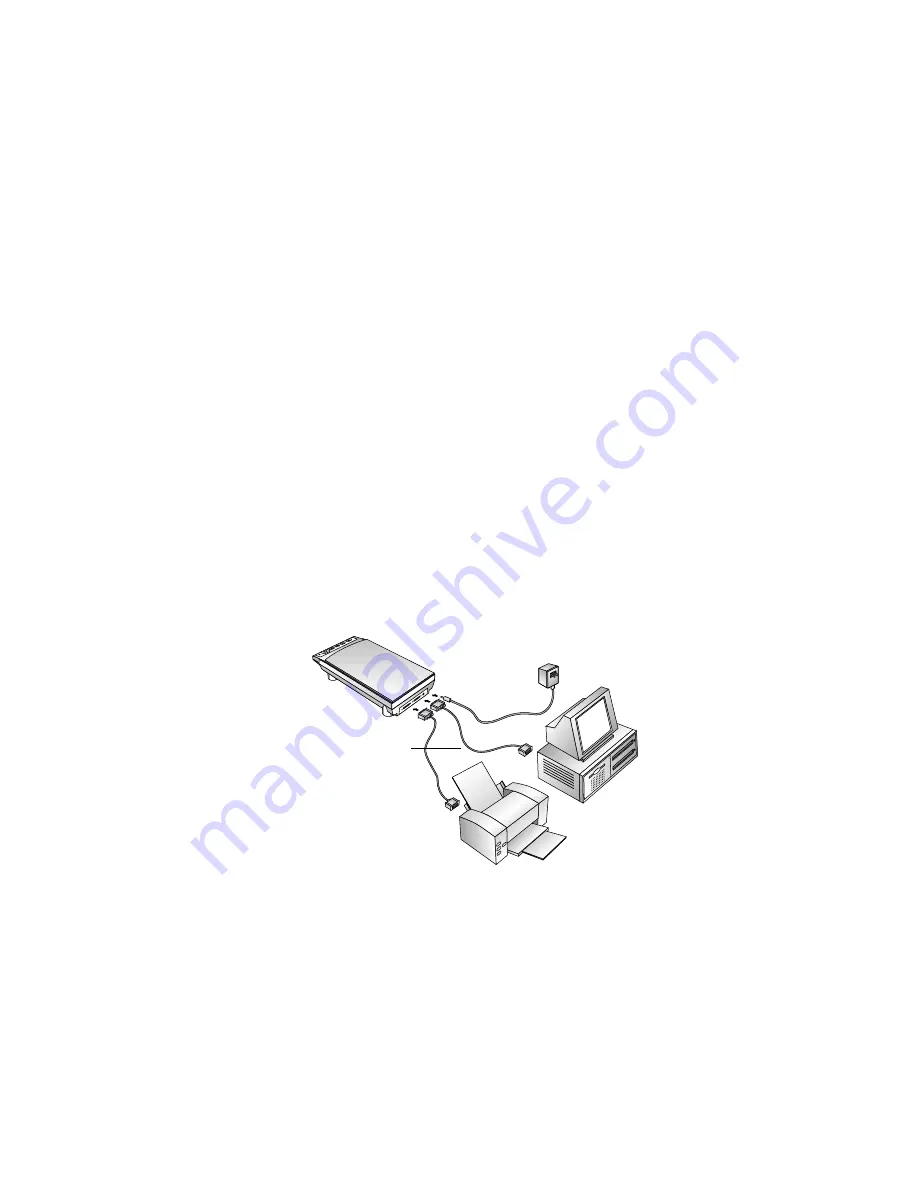
4. If a printer cable is attached to your computer’s parallel port,
unplug the cable and plug it into the port marked “To printer” on
the back of the scanner.
5. Plug the PC end of the scanner cable into an available parallel port
on the back of your computer.
On some older computers the serial port and parallel port both
have 25-pin connectors that fit the scanner cable. Please make sure
you plug the scanner cable into a parallel port.
6. Plug the other end of the scanner cable into the port on the back of
the scanner marked “To PC parallel port.”
7. Plug the power adapter cable into the jack on the scanner.
8. Plug the power adapter into an AC (wall) outlet. The power-on
light on the front of the scanner comes on indicating the scanner is
receiving power.
The following diagram shows the cable connections.
9. Turn on your computer. You’re now ready to install the software.
▼
NOTE: The scanner’s power-on light remains lit when the computer
is turned off. This is normal even though the computer is turned off.
To conserve electricity and prolong the life of the scanner, the
scanning lamp automatically powers down when you aren’t scanning.
Printer cable
Power cord
Scanner cable


