


7
© 2012 Directed. All rights reserved.
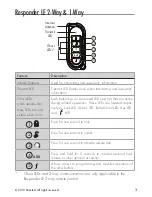
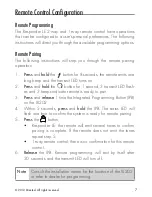
Remote Control Configuration
Remote Programming
The Responder LE 2-way and 1-way remote control have operations
that can be configured to a user’s personal preferences. The following
instructions will direct you through the available programming options.
Remote Pairing
The following instructions will step you through the remote pairing
operation.
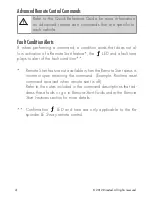
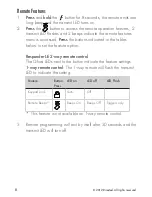
1.
Press
and
hold
the
AUX
button for 8 seconds, the remote emits one
long beep and the transmit LED turns on.
2.
Press
and
hold
the
AUX
AUX
button for 1 second, 3 transmit LED flash-
es and 3 beeps indicate remote is ready to pair.
3.
Press
and
release
1 time the Integrated Programming Button (IPB)
on the XL202.
4. Within 5 seconds,
press
and
hold
the IPB. The status LED will
flash one time to confirm the system is ready for remote pairing.
5.
Press
the
AUX
AUX
button,
• Responder LE: the remote will emit several tones to confirm
pairing is complete. If the remote does not emit the tones
repeat step 5.
• 1-way remote control: there is no confirmation for this remote
control.
6.
Release
the IPB. Remote programming will exit by itself after
30 seconds and the transmit LED will turn off.
Note
Consult the installation center for the location of the XL202
or refer to dealer for programming.
Содержание 9153VL
Страница 2: ......