


89
camera title stands for Live display, “.P” for Playback, and the camera title with white
background has detected motion.)
Note 1: The frame rate is limited by the bandwidth of the network and the
pre-record IPS of the camera (
Section 6.2
).
Note 2: The picture quality depends on the recording resolution and recording
quality of the camera (
Section 6.2
).
When the user leaves I.E., he/she may be asked to save changes to files, please click
on OK or Yes to save the changes. The operations and descriptions for these icons
are as below:
In video window, right-click the mouse button to call up Camera/Playback/Print
Dialog. (Left) click on Playback or Camera number to change the window to the
corresponding camera and live/playback mode.
The user may also click on the
“Print” button to print the video to the printer, or “Snapshot” the video.
For
software V6.12 or above, the user may double click for 1-Window display.
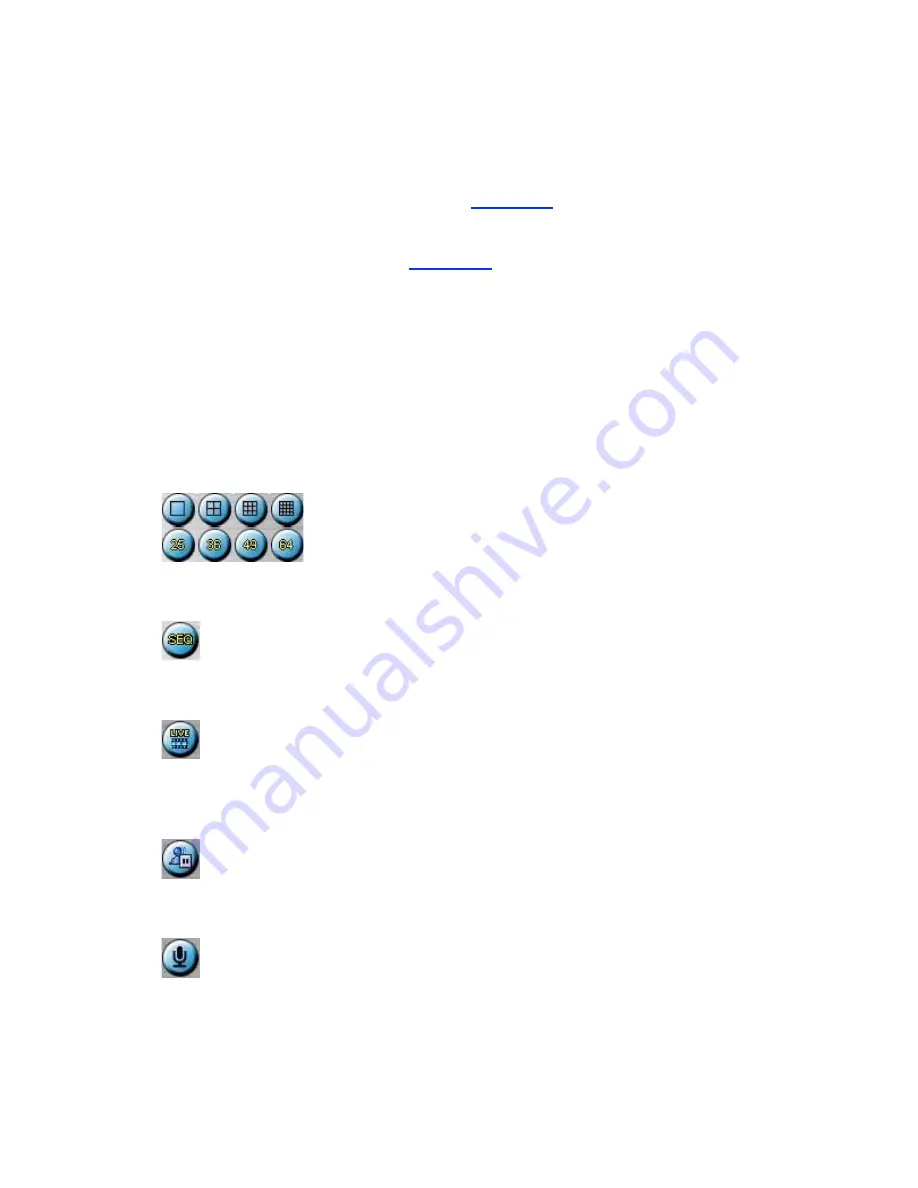
Click on these icons for 1/4/9/16/25/36/49/64-Window display.
Click on this icon to switch to or return from SEQ display mode.
Click on this icon to toggle between live mode and playback mode for all the video
windows.
Click on this icon to freeze/unfreeze the video images for all the video windows.
Click on this icon to enable/mute the audio input from the PC, button down for enable,
button up for mute. If enabled, the audio input from the PC will be sent to the DVR.
The default setting is ‘mute’.


