Installation Guide
Professional
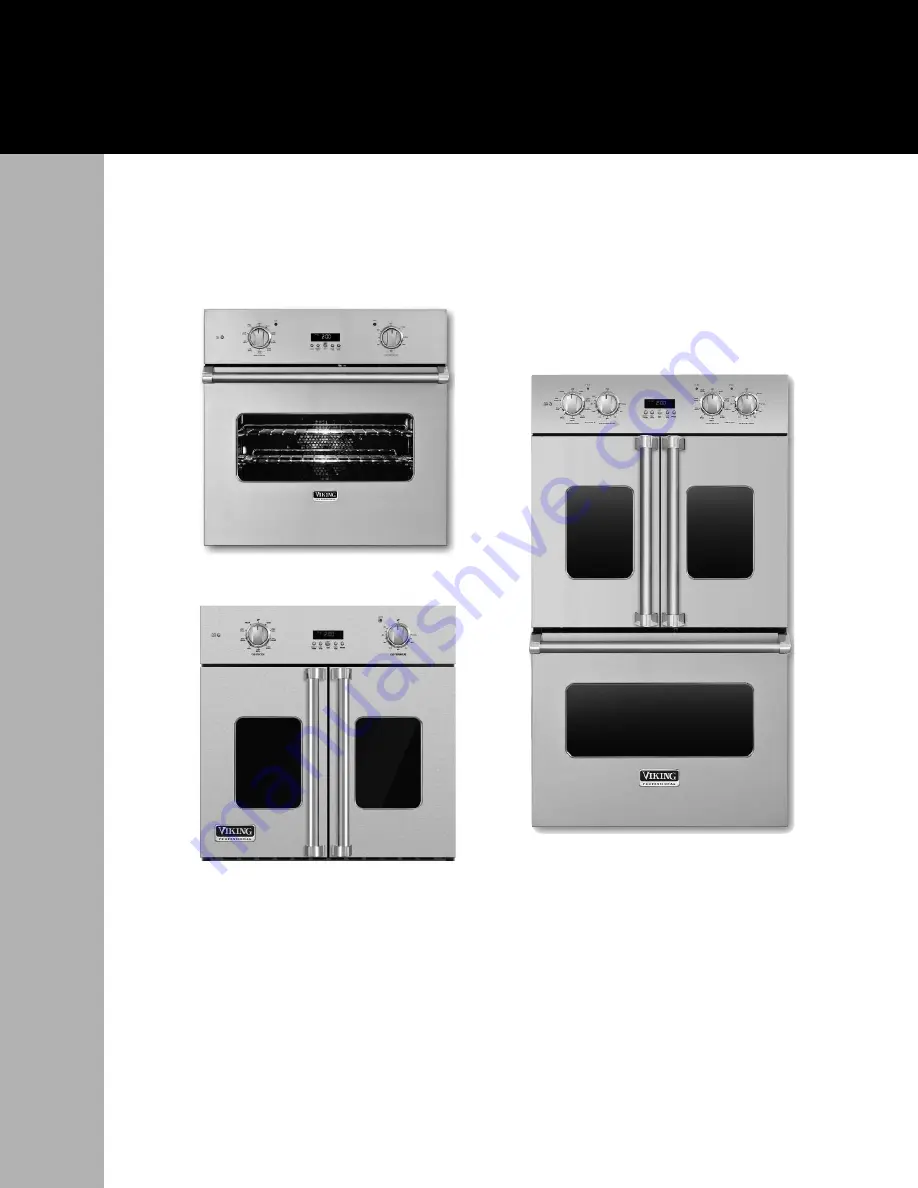
Built-In 76 cm W. Electric Single Oven
French Door Single / Double Ovens
Страница 1: ...Installation Guide Professional Built In 76 cm W Electric Single Oven French Door Single Double Ovens...
Страница 2: ...__________________________12 Specifications 76 cm French door_____________________________________________13 Cutout Dimensions 76 cm French Door________________________________________14 General Infor...
Страница 3: ...All safety messages will be preceded by the safety alert symbol and the word DANGER WARNING or CAUTION These words mean Hazards or unsafe practices which WILL result in severe personal injury or death...
Страница 4: ...RNING MOVING HAZARD To avoid risk of severe personal injury this appliance requires two or more personnel while handling and moving Possible use of appliance moving devices is recommended WARNING DO N...
Страница 5: ...See Installation Procedure section DO NOT USE AN EXTENSION CORD WITH THIS APPLIANCE SUCH USE MAY RESULT IN FIRE ELECTRICAL SHOCK OR OTHER PERSONAL INJURY WARNING This oven is heavy use extreme care wh...
Страница 6: ...Dimensions 76 cm Single Oven 65 4 cm 52 1 cm 116 8 cm 74 9 cm 74 9 cm 20 3 cm 18 7 cm 13 6 cm 76 cm Wide Rating Label Location 6...
Страница 7: ...cm Electrical Requirements 5 wire ground 240VAC 30 amp electrical connection Unit equipped with No 10 ground wire in unit Fuse separately 3 fuse 16 amps Maximum Amp Usage 21 0 amps 220 240V Oven Inte...
Страница 8: ...nt 77 2 cm 43 2 cm M in to floor 60 9 cm Flush Mount 65 4 cm Make sure walls are perpendicular 12 7 cm 10 2 cm Junction Box Location 72 4 cm Flush Mount 76 0 cm 76 cm Wide Built In 8 12 7 cm 10 2 cm 1...
Страница 9: ...nished Surfaces E D F Vertical Blocking 1 9 cm Bas Blocking LEGEND Blocking Finished Surfaces Note To install the professional custom oven in a flush mount application the flush mount accessory kit is...
Страница 10: ...Cutout Dimensions 76 cm Single Oven flush mount installation 10 Vertical Blocking Distance will vary depending on the cabinet C Screw Screw B A CRITICAL DIMENSIONS A 76 0 cm B 6 4 cm C 1 3 cm Top View...
Страница 11: ...11 Cutout Dimensions 76 cm Single Oven Flush mount installation Vertical Blocking Base Blocking D B LEGEND Blocking Cabinet Cross Section CRITICAL DIMENSIONS B 6 4 cm D 7 6 cm Side View...
Страница 12: ...Dimensions 76 cm French Door Oven 12 65 4 cm 116 8 cm 57 2 cm 35 2 cm 74 9 cm 131 7 cm 18 7 cm 14 0 cm 21 6 cm 65 4 cm 100 6 cm 35 2 cm 74 9 cm 64 9 cm EVDOF Double Oven EVSOF Single Oven...
Страница 13: ...m Electrical Requirements 4 wire ground 240VAC 60Hz 50 amp electrical connection Unit is equipped with No 10 ground wire in conduit Should be fused separately Maximum Amp Usage 40 0 amps 240 VAC 60Hz...
Страница 14: ...ake sure walls are perpendicular 12 7 cm 10 2 cm Junction Box Location 72 4 cm EVSOF Single Oven EVSOF Single Oven Undercounter 12 7 cm 10 2 cm 12 1 cm 72 4 cm 61 0 cm 71 4 cm Make sure walls are perp...
Страница 15: ...er of the corrugated cover Remove the corrugated cover by lifting it off the product and remove the inner packing Detach the product from the metal anchor strip by removing the attachment screw DO NOT...
Страница 16: ...that 1 9 cm or larger material be utilized to create a support platform for this appliance BE SURE that support for this appliance is perpendicular to the front facing of the wall or cabinet before yo...
Страница 17: ...trim screws Take off hinge trim 5 Lift door up and out Repeat for all doors Close until pins stop door 6 Remove racks 7 8a s t e p L1 N E 220 240V Note Check local code to see which wiring option shou...
Страница 18: ...side of the framing Replace racks 8b s t e p L1 L2 N E 220 240V 4 Wire Connection 8c s t e p L1 L2 L3 N E 220 240V 5 Wire Connection 9 10 11 12 Note Check local code to see which wiring option should...
Страница 19: ...e To adjust door turn adjustment screw clockwise up or counterclockwise down Close door Open door completely Put hinge trim plates back on Note Screw holes may need to be re aligned 13 14 15 16 Instal...
Страница 20: ...door Alignment procedure 1 Open doors fully 2 Loosen bottom hinge screws on both doors see photos below Using a 5 32 allen wrench adjust screw on each door shown below moving the door that is too high...
Страница 21: ...ller not following instructions will be the responsibility of the installer dealer or the end user of the product Final Preparation Some stainless steel parts may have a plastic protective wrap which...
Страница 22: ...n Selector Electronic Timing Center TEMPERATURE OVEN FUNCTION Oven On Indicator Light ring around knob Self Clean Indicator Light SET 76 cm Single Oven 76 cm French Door Oven OVEN FUNCTION TEMPERATURE...
Страница 23: ...side of the oven door opening under the control panel Record the information indicated below You will need it if service is ever required Model number _________________________________________________...
Страница 24: ...F20979C UK 071515 Viking Range LLC 111 Front Street Greenwood Mississippi 38930 USA 662 455 1200 For product information call 1 888 845 4641 or visit the Viking Web site at vikingrange com...