9
6. Test the system
At this point, it is recommended that you take some time to test the speakers before final installation of the
crossovers and baffles. You should already have the cabinet assembled and lined with foam, the drivers should
be in the baffles, and the crossovers should be assembled. We need to connect these three parts together to do
a quick check that everything is working correctly.
Place the crossover board(s) into the cabinet in the approximate final location; they do not need to be secured
right now. Connect the input wires to the binding posts on the rear of the cabinet, making sure the red wire is
going to the red post. Now, attach the output wires from the crossover board to their respective drivers. Insert the
baffle with the drivers on it into the cabinet, and secure with one or two of the baffle machine screws if needed. If
the baffle will stay in place on its own, it is not necessary to secure it.
Now, we need to connect the speakers to your stereo system. At this point we are not worrying about air leaks or
the bass response. We are just doing a quick check that the drivers and crossover are working correctly.
Play music through the speakers, checking that both the woofer and tweeter are working, and that the overall
sound is full and smooth. Even though everything is not completely secured, we should still be able to get a good
idea of what the overall sound will be like. If a driver is not working or the sound is intermittent or distorted,
please see the troubleshooting section for possible remedies. Be sure that you are satisfied that everything is
working correctly before moving on to permanently installing the crossover or baffle.
7. Install the crossovers
Now that we are satisfied that everything is working correctly, we can permanently secure the crossover boards.
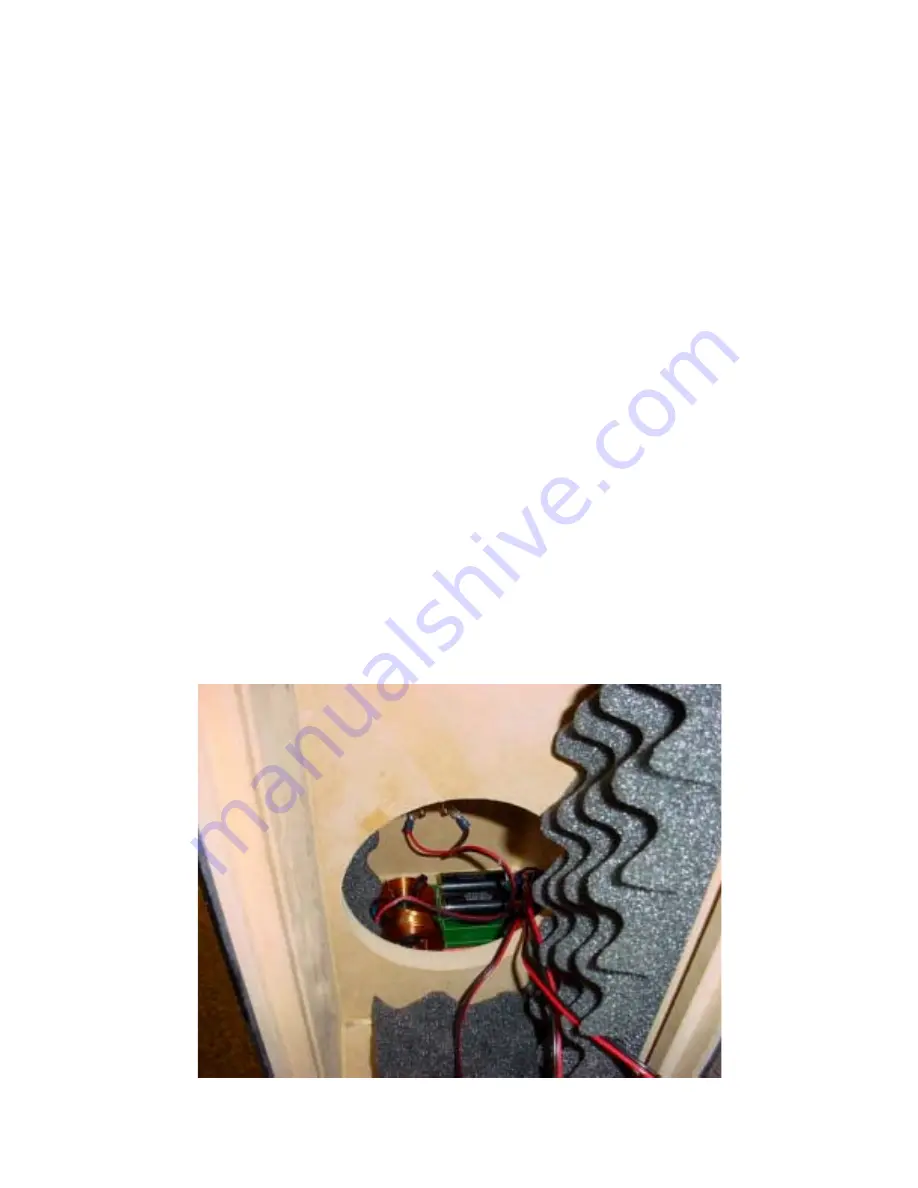
The recommended location for the crossover boards is the bottom rear of the cabinet.
Once again, securing with silicone or hot-melt glue is the recommended fastening method. If using hot-melt glue,
it is recommended to place the glue on the surface of the cabinet and then press the board into it. This prevents
the glue from cooling too rapidly or dripping onto the cabinet or the body, causing injury.
If you are using silicone, it is easier to apply the glue to the back of the PC board. Making sure that the mounting
location is horizontal, place the board into its location. You will need to allow the silicone to cure for an hour or so
before you change the orientation of the cabinets.
Once the boards are in place, you can connect the input wires to the speaker binding posts.
Crossover situated in its location within the cabinet


