22
23
: You can choose either 4:3 or 16:9 according to the TV type.
: You can select the channel mode when channel is changed.
: You can select the transparency of the menu.
: You can select the menu language.
: You can select the audio language.
: You can select the timeout of the “Channel Information menu”.
: If this is “on” , receiver will beep out the signal status.
: If this is “on” , channel list will sort by service ID.
Screen Type
Channel Mode
Menu Transparency
Menu Language
Audio Language
Information timeout
Beep for scanning
Sort By SID
Press the
“
menu
”
key or
“
exit
”
key to return to previous menu.
2. D. FACTORY DEFAULT
This is to restore the factory set values in case the user has encountered some problems after
changing any new values of channel data and others which may be in error.
Select
“
Factory Default
”
menu in
“
User Setting
”
menu and press
“
OK
”
key.
If you want to continue, select option
“
Yes
”
.The receiver will be reset to settings automatically.
Please note that the
“
Factory Default
”
procedure may take a few minutes.
3.A. EDIT CHANNELS
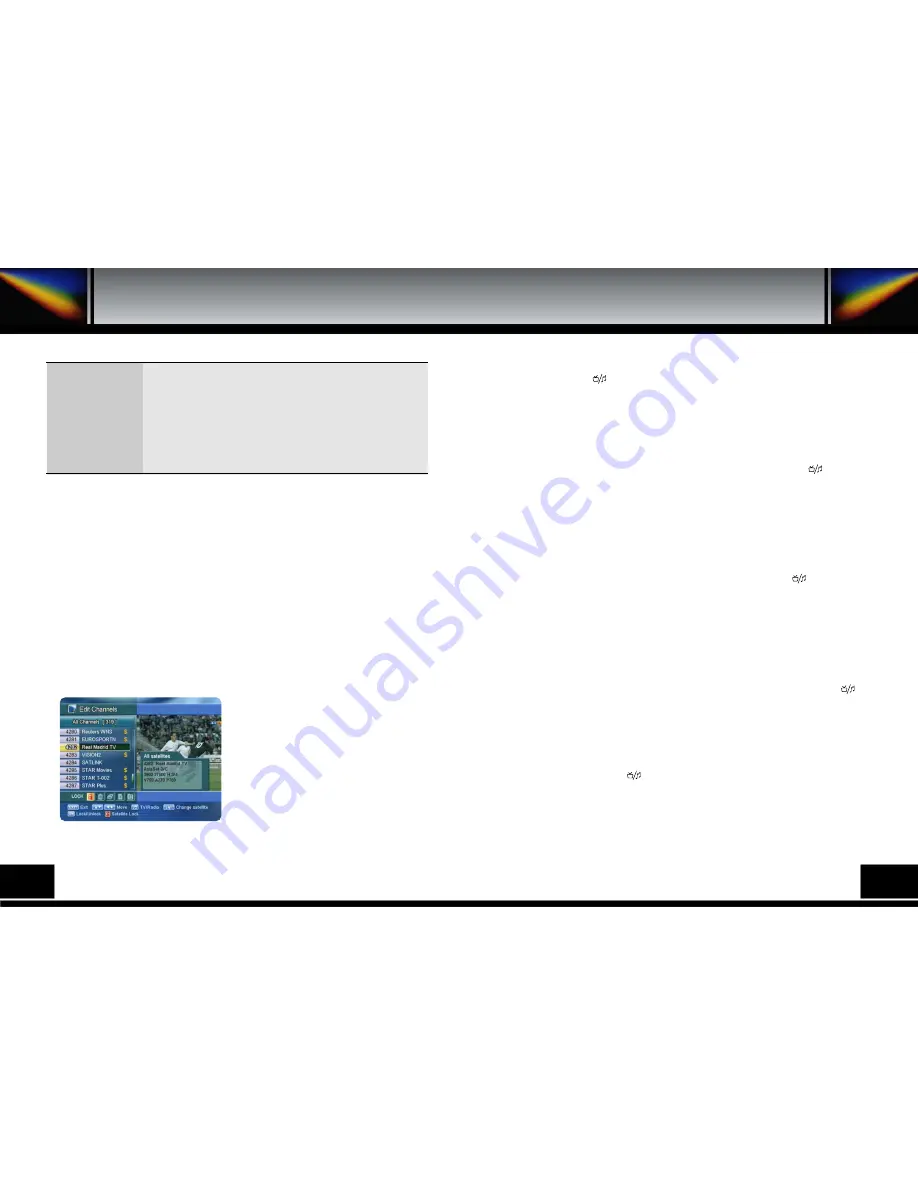
You can edit channels on various channel lists - channel
lock, delete channel, move channel, edit the name of a
channel, and sort the channel list.
Select
“
Edit Channels
”
menu in “Channel Organization”,
and you will be asked to enter your PIN code. You can
find the following
“
Edit Channels
”
screen by entering it.
3. A.1. Channel Lock
Select the
“
Channel Lock
”
icon using the left/right
keys (
◀∙▶
). Select the channel that you want to lock
or unlock from the channel list using the
“
up/down
”
keys (
▲∙▼
) and the
“
page up/down
”
keys
(
).
▲
▲
▲
▲
3. CHANNEL ORGANIZATION
This menu helps you to edit the favorite Channel List and Channels.
Select “Chanel Organization” menu in “Main Menu”, and the following Screen will be displayed.
Press the
“
OK
”
key to confirm your selection.
Also, you can use the
“
”
key to select either TV channel list or Radio channel list.
Once the channel is locked, every time you try to watch the program, you will be asked to enter PIN
code. Press the
“
menu
”
key or
“
exit
”
key to return to previous menu.
3. A.2 Delete Channel
Select the
“
Delete Channel
”
icon using the
“
left/right
”
keys(
◀∙▶
). Select the channel that you
want to delete from the channel list using the
“
up/down
”
keys(
▲∙▼
) and the
“
page up/down
”
keys( ). Press the
“
OK
”
key to confirm your selection. Also, you can use the
“
”
key to
select either TV channel list or Radio channel list.
Press the
“
menu
”
key or
“
exit
”
key to return to previous menu.
3. A.3 Move Channel
Select the
“
Move Channel
”
icon using the
“
left/right
”
keys(
◀∙▶
). Select the channel that you
want to move from the channel list using the
“
up/down
”
keys(
▲∙▼
) and the
“
page up/down
”
keys( ). Press
“
OK
”
key to confirm your selection.
Move it to the position where you want to place it using the
“
up/down
”
keys(
▲∙▼
) and the
“
page
up/down
”
keys( ). Press the
“
OK
”
key to confirm. Also, you can use the
“
”
key to select
either TV channel list or Radio channel list.
Press the
“
menu
”
key or
“
exit
”
key to return to previous menu.
3. A.4 Edit Channel Name
Select the
“
Edit Channel Name
”
icon using the
“
left/right
”
keys(
◀∙▶
). Select the channel that you
want to edit from the channel list using the
“
up/down
”
keys(
▲∙▼
) and the
“
page up/down
”
keys
( ). Press
“
OK
”
key to confirm your selection.
Select the character which you want to edit using the browse keys(
▲∙▼
,
◀∙▶
). Press
“
OK
”
key
to confirm. Save the character currently selected using the
“
F2
”
key. Also, you can use the
“
”
key to select either TV channel list or Radio channel list. Press the
“
menu
”
key or
“
exit
”
key to
return to previous menu.
3. A.5 Sort Channel List
Select the
“
Sort Channel List
”
icon using the
“
left/right
”
keys(
◀∙▶
). Press
“
OK
”
key to confirm.
Select the sort type which you want to sort using the
“
up/down
”
keys(
▲∙▼
). Press the
“
OK
”
key
to confirm. Also, you can use the
“
”
key to select either TV channel list or Radio channel list.
Press the
“
menu
”
key or
“
exit
”
key to return to previous menu.
▲
▲
▲
▲
▲
▲
▲
▲
▲
▲
▲
▲
▲
▲
▲
▲
Содержание VS2000 ULTRA
Страница 1: ......
Страница 20: ...36 37 ...
Страница 21: ...38 39 11 WARRANTY CARD Warranty Card ...


