5
GB
Un-coupler:
The solenoid of the un-coupler is to be
wired to the socket “gn” of the decoder output – “rt”
remains unused (see fig. 4). It may be necessary
to wire a resistor in series with the solenoid to avoid
overheating of the copper coil (continuous current).
Two position solenoid-relays:
Relays with or
without end position contacts are to be wired as per
fig. 5 (pulsed output).
Relays with a single coil:
Such relays are to be
connected to the “gn” socket and the power supply
socket “ge” of the decoder output (see fig. 5). “rt”
remains unused (continous current).
Lighting:
Incandescent lamps are to be wired to the
“gn” socket and to the power supply socket “ge” of
the decoder output (see fig. 6). “rt” remains unused.
LEDs require a resistor in series with the anode (usu-
ally this is the longer contact pin) while the cathode
is wired to the “ge” socket (continous output).
Semaphore signals:
Semaphore signals are to be
wired with the blue wire with red marks to socket
“gn”, and with the blue cable with the green marks
to socket “rt” of the decoder output (see fig. 7). The
blue cable with yellow marks of the second drive of a
semaphore signal is to be wired to the socket “gn” of
the adjacent output (see fig. 7). The socket “rt” of the
second output cannot be used in this configuration
(pulsed output). The wires for the signal lamps are
best connected to a separate lighting transformer.
Semaphore distant signals:
Generally they are
wired in parallel to the corresponding main signal.
This also applies to signals with three signal aspects.
Only if they are operated on their own they have to
be wired separately like semaphore main signals.
Daylight signals controlled via control modules
5221, 5222 or 5223:
Daylight main and stop signals
with two aspects only and train control are to be
wired via the module 5221. The red input socket of
the module is to be connected to the socket “gn” of
the decoder, the green input socket to the socket “rt”
of the decoder. For daylight main signals with more
than two aspects the control modules 5222 or 5223
are to be used in the same way as with 5221. All
further input sockets are to be wired to the follow-
ing “gn” decoder outputs (see fig. 9). The sockets
“rt” of these additional outputs cannot be used for
anything else (pulse).
Programming of decoder 5260
The address and the operating mode of the outputs
are set electronically. For programming a data entry
device is required such as Lok-control 2000, Con-
trol-Handy or a computer interface with the suitable
software.
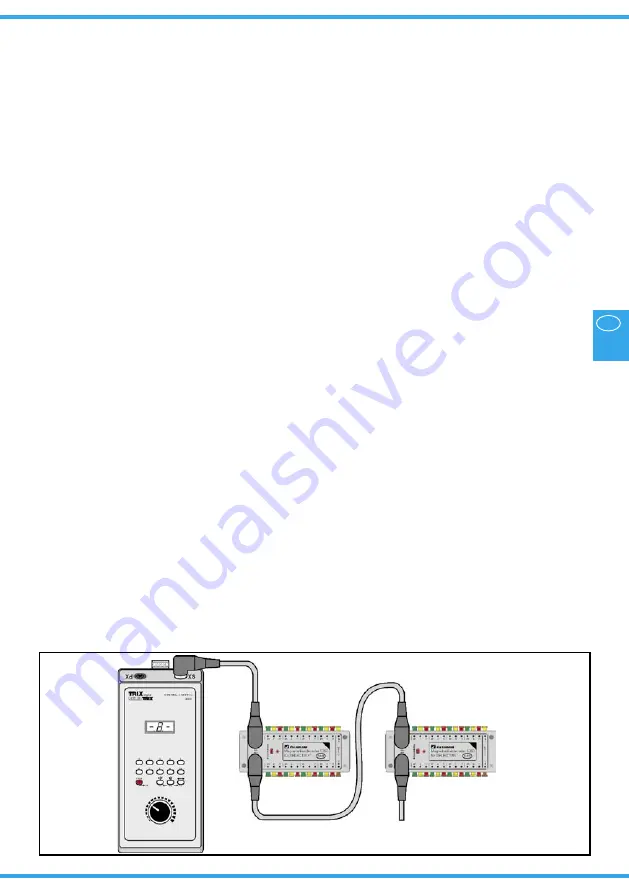
The parameters can be set once the decoder is
connected to the Sx-bus. For programming the ac-
cessory decoder the addresses (channels) 0 and 1
will be temporarily changed.
First you switch the central unit to STOP and Lok-
Control 2000 or Control-Handy to function mode.
Then you press the programming button on the
decoder. As soon as the red LED lights up, the de-
coder is in programming mode. The decoder writes
the latest values into address 0 and 1.
Entry / changing of settings:
the values can be
checked in address 0 (address) and 1 (changeover
from continuous to pulsed output) and altered as per
the following tables.
Exiting the programming mode:
Press the pro-
gramming button of the decoder once you have
checked respectively changed the settings. The LED
will go out. The settings are stored in the decoder.
Please note:
Only one decoder may be in pro-
gramming mode at any one time. No accessory
or feed back decoder with address 0 or 1 may be
connected to the Sx-bus otherwise the settings could
be distorted.
Settings
Address 0:
address of accessory decoder
0 to 103 resp. 111 (see tab. 1).
Address 1:
operating mode for each output
pulsed or continuous (see tab. 2).
Technical specifications:
please see page 8
Fig. 1
5260
Sx-Bus
5260
an weitere Decoder / Regler
to further decoders / control units
SELECTRIX
®
-Zentrale / central unit
Sx-Bus
Sx-Bus
5261


