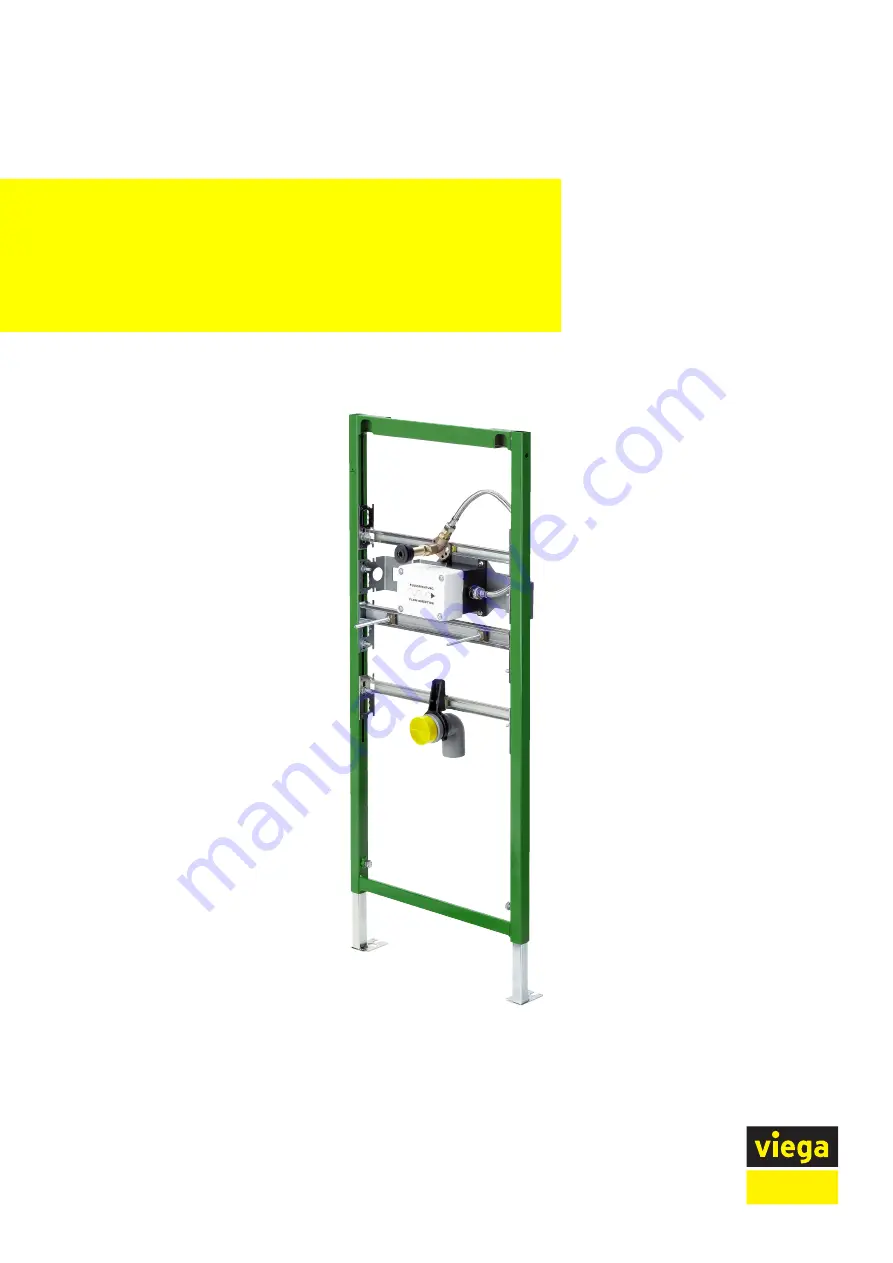
for urinal with siphon sensor technology
Model
Year built:
8152.4
from 06/2015
en_INT
Viega Eco Plus urinal element siphon sensortechnology
Instructions for Use
Страница 1: ...for urinal with siphon sensor technology Model Year built 8152 4 from 06 2015 en_INT Viega Eco Plus urinal element siphon sensor technology Instructions for Use...
Страница 2: ...Viega Eco Plus urinal element siphon sensor technology 2 from 16...
Страница 3: ...of use 6 2 3 Product description 7 2 3 1 Overview 7 2 3 2 Compatible components 7 2 3 3 Sound protection 8 2 3 4 Technical data 8 2 4 Accessories 8 3 Handling 9 3 1 Assembly information 9 3 1 1 Mounti...
Страница 4: ...s not extend to possible operating instructions The installation of Viega products must take place in accordance with the general rules of engineering and the Viega instructions for use 1 2 Labelling...
Страница 5: ...DIN DVGW Some passages in the text may refer to technical codes in Europe Germany These should serve as recommendations in the absence of corresponding national regulations The relevant national laws...
Страница 6: ...r many Fulfilled noise protection require ments DIN 4109 Fulfilled noise protection require ments DIN 4109 additional sheet 2 Fulfilled noise protection require ments VDI 4100 SSt I SSt II 2 2 Intende...
Страница 7: ...ain elbow 6 Viega Eco Plus element 8152 4 7 wall plate Rp 8 double nipple R 9 fixing set model 8173 not included in scope of delivery 2 3 2 Compatible components The urinal element is compatible with...
Страница 8: ...product has the following technical data drain elbow DN 50 Fitting connection Rp Hole diameter for fixing in wooden frame construction 11 mm Maximum height of urinal inlet from upper edge of the fini...
Страница 9: ...e upper edge of the finished floor must be observed The urinal element can be extended with the equipment set Siphon sensor technology model 8352 2 3 1 2 Installation dimensions Fig 2 Dimensions Const...
Страница 10: ...be carried out by trained electricians Always de energise the connection line before work is commenced Masonry and concreted walls You should use a support bracket model 8165 when mounting multiple ur...
Страница 11: ...The construction height must be determined and adhered to exactly There are only limited possibilities available to remedy errors made during this assembly step Construction height on page 9 Set the i...
Страница 12: ...ht of the drain elbow 50 mm Mount threaded bolts Seal double nipple from one side Screw double nipple into the wall plate Secure water inlet onto the double nipple 0 506 50 100 max 390 17 22 22 Handli...
Страница 13: ...trical cable in the installation set Connect water line Double clad urinal element 2 x 12 5 mm The urinal element can be installed in support profiles of 50 mm and 75 mm Determine the fixing points Al...
Страница 14: ...d floor Pull urinal element up cutting check and align x Observe the instructions of the urinal manufacturer INFO The construction height must be determined and adhered to exactly There are only limit...
Страница 15: ...mm Align urinal module INFO Observe the ceramic manufacturer s information when aligning the connections If necessary swap the installation set with the mounting bracket and the crossbeam of the thre...
Страница 16: ...ied out by trained electricians Lay the electrical cable in the installation set Clad urinal element 1 x 12 5 mm Afterwards install the sensor technology and the urinal You will find information regar...