


6
T: +44 (0)1293 541 200
E: [email protected]
W: www.Videosys.tv
The information contained in this document is the property of Videosys Broadcast Ltd. This document and the
information contained herein is provided for evaluation purposes only and is subject to change without notice.
Videosys Broadcast Ltd assumes no responsibility for errors that might appear in this document and gives no
representations or warranties as to the accuracy of the information contained herein, including but not limited to
the suitability and performances of the product or its intended application.
© Copyright Videosys Broadcast Limited 2018. All Rights Reserved. (Version 3)
Navigating Menus
The Up, Down, Left, Right and Enter buttons are used
to navigate through the menus.
Menus are organised into lists; these can be scrolled
through with the Up and Down buttons.
To enter the selected submenu or option, press the
Right button. Left will return the user to previous
menu. The centre-click Enter button is used to set or
save options such as frequency or IP addresses.
Within a text edit screen, use the left and right
buttons to select the characters being edited and the
up and down buttons to change the character.
To save and return press the Enter button, to discard
and return use the Left button to scroll back to the
first character and then press Left once more to
return.
Status Screens
The first screen that will be displayed to the user is the
status screen (Fig 2), this is designed to give a quick
overview of the ODUs configuration and operating
status.
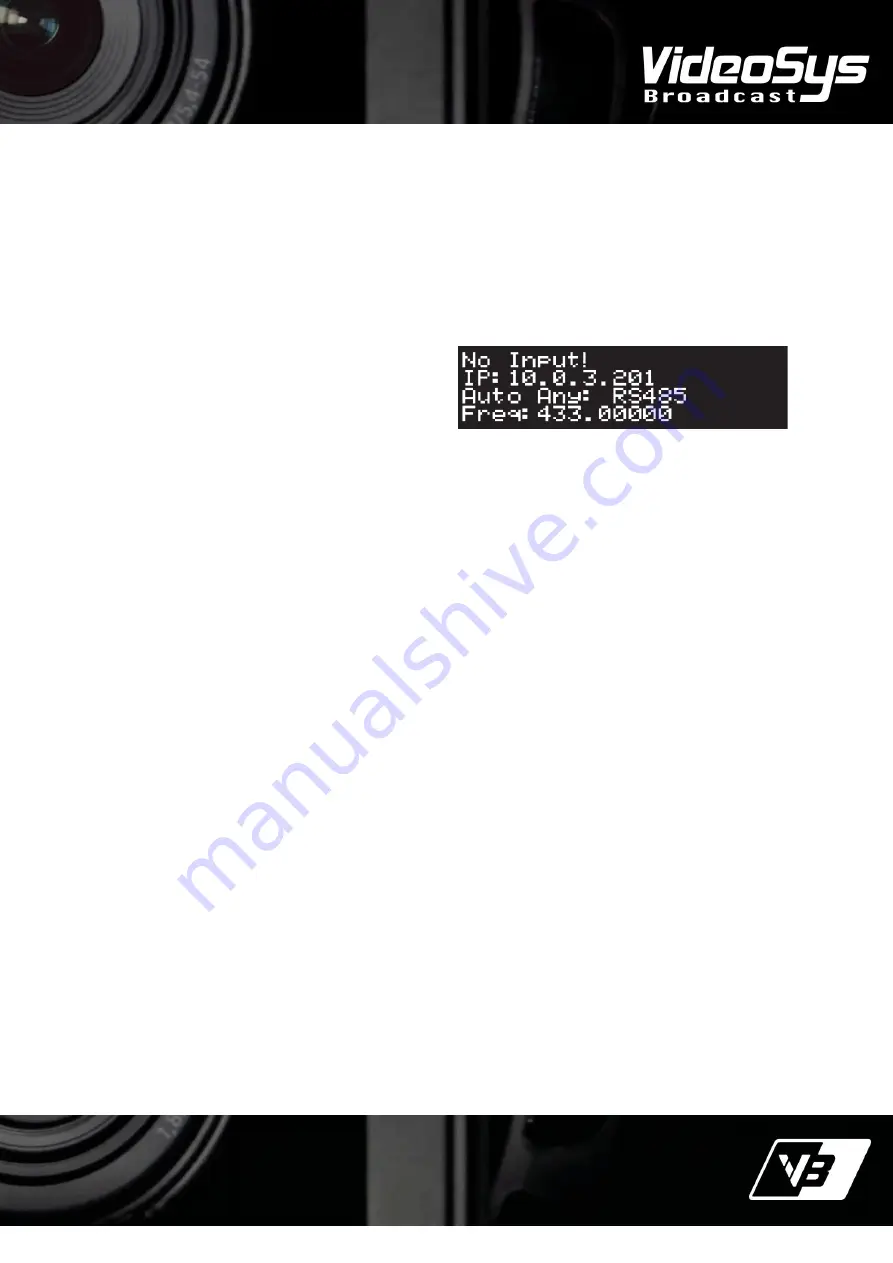
Fig 2. The ODU status screen
The first line of text shows the transmitting status.
While the unit receives valid data on its input, it will be
in transmit
mode and display ‘Transmitting’. If the ODU
loses its data input, it will display ‘No Input!’.
On the second line the IP address of the ODU. This is
the address used to gain access to the web browser
page and is the target address used to send data over
IP from the IDU to the ODU.
Data input type is displayed on the third line. If a range
of inputs are selected this is also displayed along with
the current selection, in this case the ODU is not
receiving any valid data but the range
is ‘Auto Any’ and
the
last ‘good’
selection the device made was
‘RS485’.
If a single input is selected rather than a range this
screen will display ‘Locked’ and then the selected input.
The final line shows the current frequency the ODU RF
output to set to.


