Videoswitch VI-R5132L Скачать руководство пользователя страница 10

Quick Operation Guide of Digital Video Recorder 

Startup and Shutdown 

Proper startup and shutdown procedures are crucial to expanding the life of the device. 

To start your device: 

1.


Check the power supply is plugged into an electrical outlet. It is HIGHLY recommended that an 

Uninterruptible Power Supply (UPS) be used in conjunction with the device.     

2.


Press the POWER button on the rear panel. The Power indicator LED should turn green indicating that the 

device begins to start up. 

After the device starting up, you can follow the setup wizard to set the some basic operations for the device, 

including password modifying, date and time settings, network settings, HDD initializing, IP camrea connecting 

and recording configuration. 

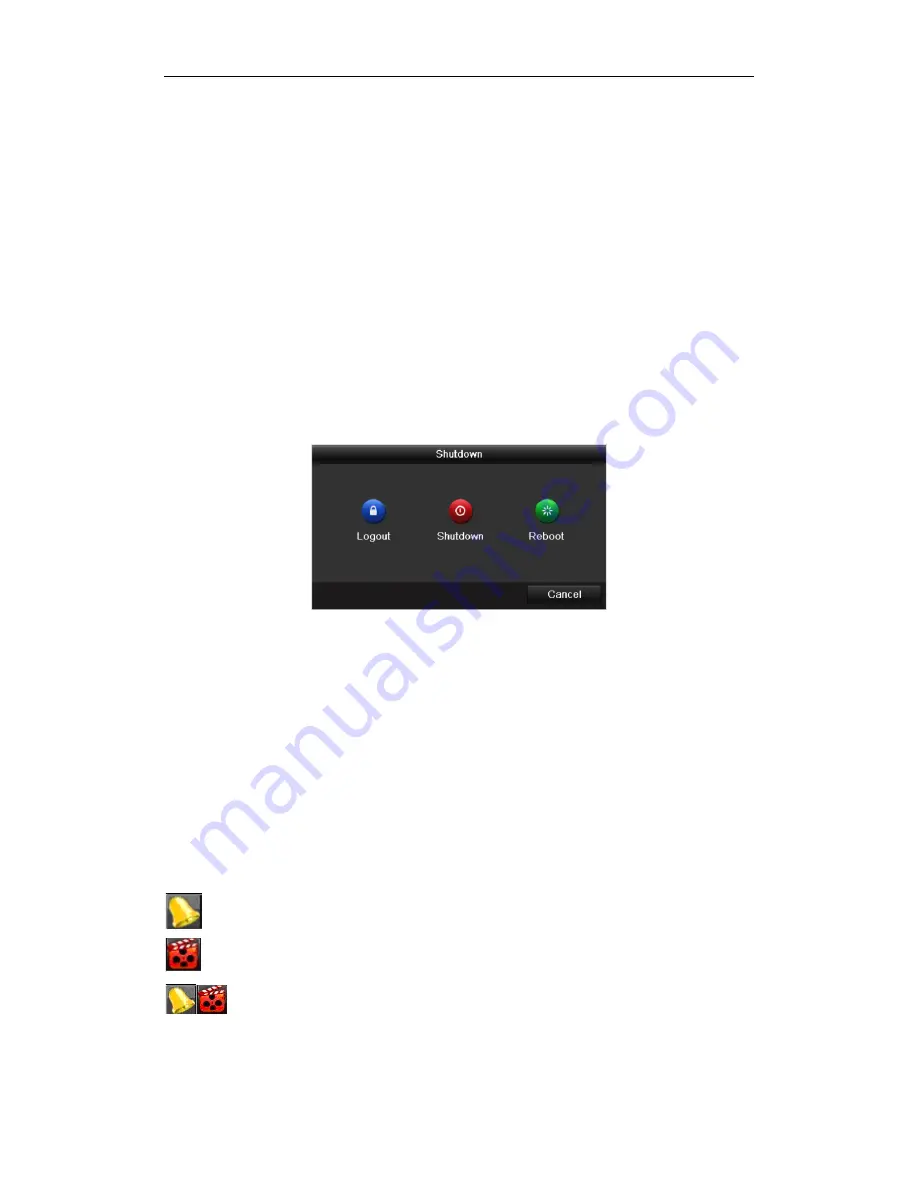
To shut down your device: 

1.


Enter the Shutdown menu.


Menu > Shutdown 


2.


Select the 

Shutdown

 button. 

3.


Click the 

Yes

 button. 

4.


Press the POWER button on the rear panel when the hint “Please power off” pops up to shut down the device 

properly. 


Live View   

Live view shows you the video image getting from each camera in real time. The device automatically enters Live 

View mode when powered on successfully. It is also at the very top of the menu hierarchy, thus right-clicking the 

mouse many times (depending on which menu you’re on) brings you to the Live View mode. 

Live View Icons 

In the live view mode, there are icons at the right top of the screen for each camera, showing the status of the 

record and alarm in the channel, so that you can find problems as soon as possible.


Alarm (video loss, tampering, motion detection or sensor alarm). 

  Record (manual recording, continuous recording, motion detection or sensor alarm triggered recording). 

  Alarm & Record 


Содержание VI-R5132L

Страница 1: ...red by this manual Vi R5132L Document Reference Date Bdr602a doc 17 02 15 Videoswitch Telephone 01252 851510 Unit 15 Redfields Industrial Park Fax 01252 851296 Redfields Lane Church Crookham Email sal...

Страница 2: ...anel 3 Rear Panel 3 RS 485 Connection 4 Specifications 5 HDD Storage Calculation Chart 6 Menu Operation 7 Menu Structure 7 Startup and Shutdown 8 Live View 8 Adding IP Cameras 9 Recording 10 Instant R...

Страница 3: ...ts for rack mounting 2 Ensure there is ample room for audio and video cables 3 When installing cables ensure that the bend radius of the cables are no less than five times than its diameter 4 Connect...

Страница 4: ...eration Guide of Digital Video Recorder 2 3 Connect the HDD to the motherboard of the DVR with the included data cable 4 Connect the power cable to the HDD 5 Re install the cover of the DVR and fasten...

Страница 5: ...o Item Description 1 VIDEO IN BNC connector for analog video input 2 VIDEO OUT BNC connector for video output 3 AUDIO IN RCA connector for audio input 4 USB Interface Connects USB mouse or USB flash m...

Страница 6: ...85 devices to the DVR 1 Disconnect pluggable block from the RS 485 terminal block 2 Press and hold the orange part of the pluggable block insert signal cables into slots and release the orange part En...

Страница 7: ...G 711 OggVorbis Audio bitrate 64 Kbps Stream type Video Video Audio Dual stream Support Playback resolution 5MP 3MP 1080P UXGA 720P WD1 4CIF VGA DCIF 2CIF CIF QCIF Synchronous playback 8 ch 16 ch 16 c...

Страница 8: ...d bit rate Bit Rate Storage Used 96K 42M 128K 56M 160K 70M 192K 84M 224K 98M 256K 112M 320K 140M 384K 168M 448K 196M 512K 225M 640K 281M 768K 337M 896K 393M 1024K 450M 1280K 562M 1536K 675M 1792K 787M...

Страница 9: ...Quick Operation Guide of Digital Video Recorder 7 Menu Operation Menu Structure The menu structure of the device is shown as below...

Страница 10: ...hut down your device 1 Enter the Shutdown menu Menu Shutdown 2 Select the Shutdown button 3 Click the Yes button 4 Press the POWER button on the rear panel when the hint Please power off pops up to sh...

Страница 11: ...view mode to show the right click menu 2 Select Add IP Camera in the pop up menu and select Auto or Manual on your demand Auto The device will add the detected IP cameras or encoders automatically by...

Страница 12: ...anced settings of the camera 2 To add other IP cameras 1 Click the Custom Adding button to pop up the Add IP Camera Custom interface 2 You can edit the IP address protocol management port and other in...

Страница 13: ...window select the Start Recording on the right click menu and then select Continuous Record or Motion Detection Record to start the all day recording All the cameras will start to record in the selec...

Страница 14: ...ce can be used to control playing process Just check the camera or cameras if you want to execute simultaneous playback of multiple cameras Backup Record files can be backed up to various devices such...

Страница 15: ...uide of Digital Video Recorder 13 2 Enter Export interface choose backup device and click Export button to start exporting 3 Check backup result Choose the record file in Export interface and click bu...

Страница 16: ...ernet Explorer 6 0 Internet Explorer 7 0 Internet Explorer 8 0 Internet Explorer 9 0 Internet Explorer 10 0 Apple Safari Mozilla Firefox and Google Chrome 4 The supported resolutions include 1024 768...

Страница 17: ...ake sure the device is connected with HDD or network disk and the HDD or network disk has been initialized for the first time to use Two recording types can be configured Manual and Scheduled The foll...

Страница 18: ...lays the time bar and the records marked with different colors Playback Status Displays the playback status including camera No and playback speed Calendar You can select the date to play Start Playba...

Страница 19: ...ou start The Log function can be realized only when the device is connected with HDD or network disk And make sure the HDD or network disk has been initialized for the first time to use Steps 1 Click...

Отзывы: