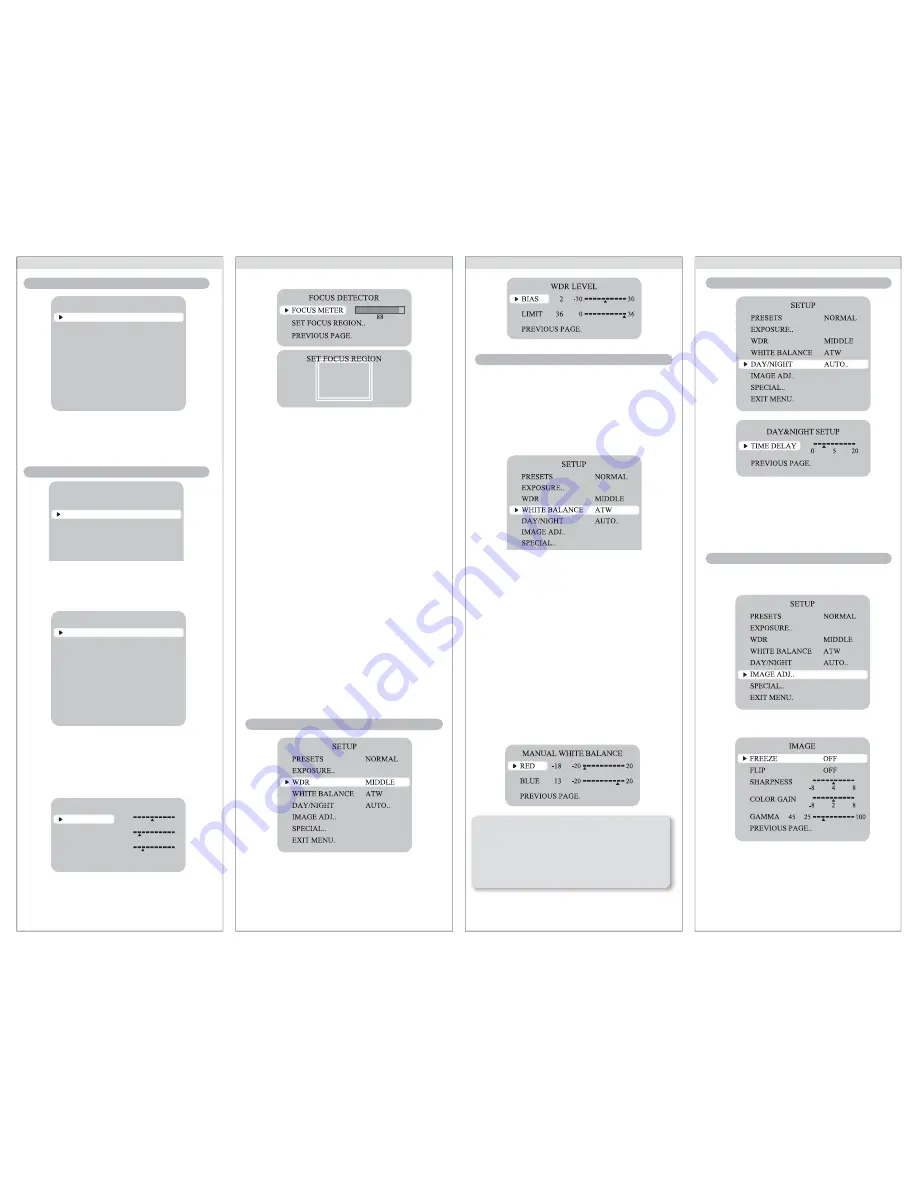
FOCUS
: To adjust the DC and VIDEO lens focus
EXPOSURE MODE
: To select the number of fields and
number of exposure cycles.
- 60i/30p selectable
AGC (AUTO GAIN CONTROL)
: In the dark situation, the
higher the gain level, the brighter the screen but the
higher the noise.
- OFF / LOW / MIDDLE / HIGH selectable
DNR (Digital Noise Reduction)
: The level of background
noise in low light decreases automatically as the level of
gain changes.
- OFF / LOW / MIDDLE / HIGH selectable
HIGHLIGHT
: To optimize the scene when high dynamic
range lighting is detected.
- ON : bright parts of the image are most visible.
- OFF : dark parts of the image are most visible.
COLOR ROLL
: To control a detector that finds color
fluorescent roll.
- OFF / LOW / MIDDLE / HIGH selectable
SENS-UP
: When it is night or dark, the camera
automatically detects the light level and maintains a clear
picture if this mode is activated.
- 2X, 4X, 8X, 16X, 32X
- OFF : Deactivates the SENS-UP function.
When the image has simultaneous bright and dark areas,
WDR makes both areas distinct.
- LOW / MIDDLE / HIGH / USER selectable
WDR level can be adjusted using BIAS and LIMIT
Use the White Balance function to adjust the screen
colors.
1. Position the cursor to point to WHITE BAL on the
SETUP menu screen, select using the Up and Down
buttons.
2. Select the desired mode using the Left and Right
buttons.
※
Select one of the following 5 modes for an appropriate
color temp.
ATW
: The ATW mode continuously monitors.
INDOOR
: Select when the color temperature is between
4000˚K and 8500˚K
OUTDOOR
: Select when the color temperature is
between 2000˚K and 11000˚K
AWB
: To obtain the optimum state under the current
luminance levels, direct the camera to point toward a
sheet of white paper and press the SET button. If the
environment changes, including the light source, the
white balance will require re-adjustment.
MANUAL
: Select to "fine-tune" the White Balance
manually. Set White Balance first using the ATW or AWB
mode. Afterwards switch to MANUAL mode, fine-tune the
White Balance and then press the SET button.
COLOR
: The picture is displayed in color.
B/W
: The picture is always displayed in black and
white.
When the SETUP menu screen is displayed, select
'IMAGE ADJ.' using the Up and Down buttons.
FREEZE
: View still pictures. OFF / ON selectable
How to Use the Camera
How to Use the Camera
How to Use the Camera
How to Use the Camera
LENS MENU
DC GAIN
VIDEO GAIN
AI THRESH
PREVIOUS PAGE.
0
120
255
-24
50
0
255
-48
60
WHITE BALANCE
WDR
NOTE: Under the following conditions, White Balance may
not work properly. In such cases, select the AWC mode.
1) When the color temperature of the subject environment has a very high
temperature range (e.g. clear sky, or sunset)
2) When the ambient illumination of the subject is low
3) If the camera is directed toward a fluorescent light, or is installed in a
place where illumination changes dramatically, the White Balance
operation may become unstable.
DAY/NIGHT
IMAGE ADJ.
SETUP
PRESETS
EXPOSURE..
WDR
WHITE BALANCE
DAY/NIGHT
NORMAL
MIDDLE
ATW
AUTO..
EXPOSURE
LENS
FOCUS..
EXPOSURE MODE
AGC
DNR
HIGHLIGHT
COLOR ROLL
SENS-UP
PREVIOUS PAGE.
DC..
60 i
MIDDLE
MIDDLE
ON
LOW
2X
NORMAL Normal environment
INDOOR Indoor environment
OUTDOOR Outdoor environment
When the SETUP menu screen is displayed, select
‘EXPOSURE’ by using the Up and Down buttons so
that the arrow indicates‘EXPOSURE’.
LENS
: Using this function, you can control the screen
brightness.
ㆍ
DC / VIDEO / Manual : Select Lens Type
SETUP
PRESETS
EXPOSURE..
WDR
WHITE BALANCE
DAY/NIGHT
IMAGE ADJ..
SPECIAL..
EXIT MENU.
NORMAL
MIDDLE
ATW
AUTO..
EXPOSURE
PRESETS


