


4.6.1 Using the Keyboard and Selecting Settings
When settings are selected for configuration, a selection screen or keyboard opens.
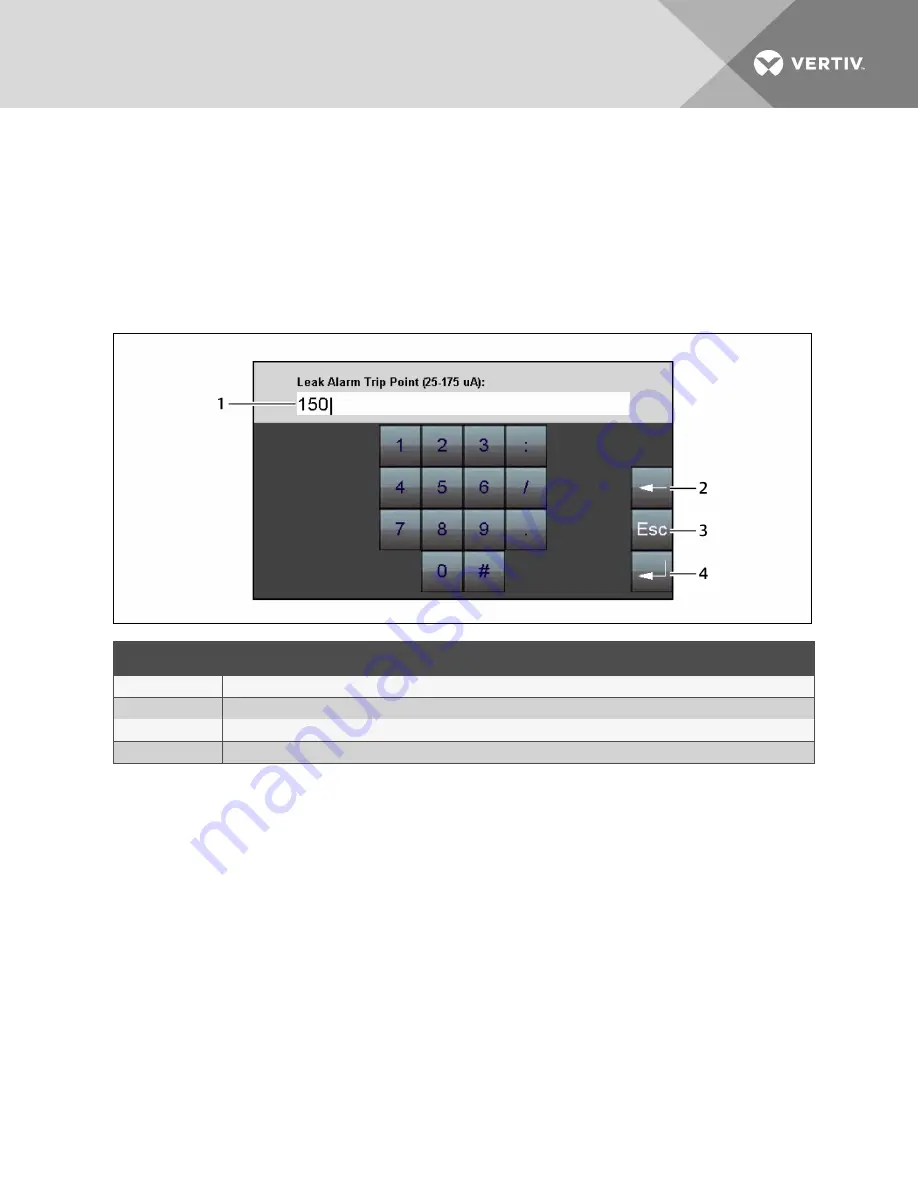
The keyboard displays the configuration setting as shown in the following figure. Use the keyboard to
enter the setting.
NOTE: For some settings, the configuration is selectable. Use the Up/Down buttons to highlight the
setting, then touch
Select
.
Figure 6.2 Keyboard
ITEM
DESCRIPTION
1
Configuration setting
2
Backspace, deletes the entry.
3
Escape, returns to the previous screen without saving.
4
Enter, accepts entry/saves changes.
4.6.2 Configuring Leak Settings on the Touchscreen
The Leak Settings configure system variables including leak and contamination thresholds, latching and
un-latching alarms, and leak-detection cable resistance.
To access leak settings:
1. On the LCD display, touch
Setup
, enter a password if needed, and touch the enter key.
The Setup menu opens.
2. Touch
Up
/
Down
to highlight Leak Settings, and touch
Select
.
The Leak Settings menu opens.
3. Touch
Up
/
Down
to highlight the setting to configure (described in the following table), and
touch
Select
.
See
Using the Keyboard and Selecting Settings
on page 26 to update the setting.
Vertiv
| Liqui-tect LP6000 Installer/User Guide |
26
Содержание Liqui-tect LP6000
Страница 1: ...Liqui tect LP6000 Leak detection System Leak detection System Installer User Guide...
Страница 18: ...Vertiv Liqui tect LP6000 Installer User Guide 18 This page intentionally left blank...
Страница 20: ...Vertiv Liqui tect LP6000 Installer User Guide 20 This page intentionally left blank...
Страница 34: ...Vertiv Liqui tect LP6000 Installer User Guide 34 This page intentionally left blank...
Страница 60: ...Vertiv Liqui tect LP6000 Installer User Guide 60 This page intentionally left blank...
Страница 74: ...Vertiv Liqui tect LP6000 Installer User Guide 74 This page intentionally left blank...
Страница 76: ...Vertiv Liqui tect LP6000 Installer User Guide 76 This page intentionally left blank...
Страница 80: ...Vertiv Liqui tect LP6000 Installer User Guide 80 This page intentionally left blank...
Страница 81: ......


