background image

S

ETUP


Contactless Transactions

640

M

 I

NSTALLATION

 G

UIDE

21

Conducting a Smart 

Card Transaction

To conduct a smart card transaction:

1

Position the smart card with the gold contacts facing upward.

2

Insert the card into the smart card reader slot in a smooth, continuous motion 
until it seats firmly.

3

Remove the card when the display indicates the transaction is completed.

Contactless 

Transactions

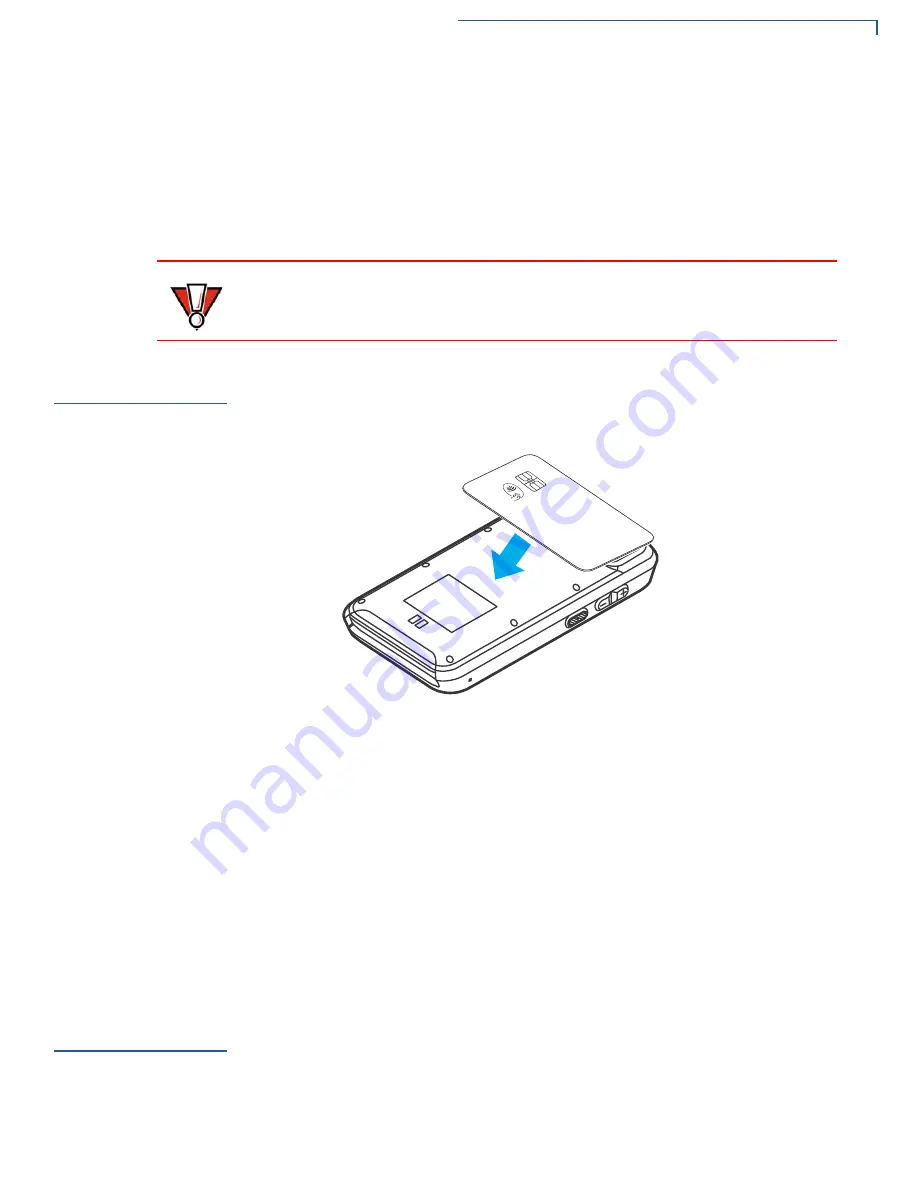
The 640m supports contactless transactions through an integrated contactless 
module. The terminal only becomes active for contactless smart card transactions 
when initialized by an application.

Figure 7

Contactless Transaction

Performing 

Contactless 

Transactions

To perform a contactless smart card transaction:

1

Gently tap the card onto or hold the card (within 4 cm) against the surface of 
the 

rear

 where the contactless logo appears.

2

An activated LED visual on the display accompanied by a short beep sound 
indicates a successful transaction.

See 

Contactless Transactions

 for more information.

Wi-Fi/BT 

Support

The 640m device includes an integrated WLAN RF transceiver for Wireless LAN 
systems with advanced power management, and an integrated radio transceiver 
for Bluetooth wireless systems.

Bluetooth Support

Supports 4.2 BLE(Bluetooth Low Energy).

CAUTION

Leave the smart card in the card reader until the transaction is completed. 

Premature removal can void the transaction.

Содержание 640m

Страница 1: ...Verifone Part Number DOC570 001 EN A Revision A 640m Installation Guide...

Страница 2: ...ore placing the software into productive use This document including without limitation the examples and software programs is supplied As Is Verifone Inc 1 800 Verifone www verifone com Verifone Part...

Страница 3: ...ety Instructions 13 Device Location 13 Environmental Factors 13 Electrical Considerations 14 Contactless Considerations 14 Inside the Shipping Carton 15 Device Features 16 SAM SIM and TF Cards 16 Inst...

Страница 4: ...4 SIM SAM 24 Audio 24 Camera 24 Communication 24 CHAPTER 4 Maintenance and Cleaning General Care 25 Additional Safety Information 26 Surface Cleaning 26 Smart Card Reader Cleaning 26 Decommissioning R...

Страница 5: ...er 3 Specifications Discusses power requirements and dimensions of the 640m device Chapter 4 Maintenance and Cleaning Explains how to maintain your 640m device Chapter 5 Service and Support Provides i...

Страница 6: ...mmunication port The caution symbol indicates hardware or software failure or loss of data The unit is not waterproof or dustproof and is intended for indoor use only The lightning symbol is used as a...

Страница 7: ...tting Diode PED PIN Entry Device PIN Personal Identification Number POS Point of Sale RS 232 Serial Communication Protocol SAM Secure Access Module TF Trans Flash UL Underwriters Laboratories USB Univ...

Страница 8: ...PREFACE Conventions and Acronyms 8 640M INSTALLATION GUIDE THIS PAGE IS INTENTIONALLY LEFT BLANK...

Страница 9: ...I 6 1 SRED and AES DUKPT requirements for maximum security The 640m s small and sleek design makes it easily pocketable while supporting payment methods EMV and NFC CTLS including Apple Pay Google Pay...

Страница 10: ...quickly High capacity lithium ion rechargeable battery for only 3000 mAh that easily supports a business day on a single charge most of the times The USB C port allows both product charging as well a...

Страница 11: ...0dBm 8 DPSK typical 83dBm WiFi wireless communication Wi Fi 2 4GHz 5GHz dual band 802 11 a b g n 5GHz ac support is an option Main Battery Nominal capacity voltage 3000mAh 3 8V Ease of Use The lightwe...

Страница 12: ...OVERVIEW Features and Benefits 12 640M INSTALLATION GUIDE THIS PAGE IS INTENTIONALLY LEFT BLANK...

Страница 13: ...ort Using the Battery Connecting the Terminal Power Pack Smart Card Reader Contactless Transactions Wi Fi BT Support 640m Installation Safety Instructions Following are the guidelines used to select a...

Страница 14: ...ners electric motors neon signs high frequency or magnetic security devices or computer equipment Disconnect the device from its POS terminal before cleaning Contactless Considerations Avoid having me...

Страница 15: ...cable 2 Remove all plastic wrapping from the terminal and components 3 Remove the clear protective film from the display 4 Save the shipping carton and packing material for future repacking or moving...

Страница 16: ...display A smart card reader Contactless Reader and EMV A 3 5 mm audio jack to facilitate accessibility for the visually impaired Volume buttons to Increase Decrease the volume SAM SIM and TF Cards Yo...

Страница 17: ...terminal face down on a soft and clean surface to protect the lens from scratches 3 Release the cover step 1 and 2 as shown in Figure 4 Figure 4 SIM SAM Installation 4 Place the SIM SAM cards step 3 i...

Страница 18: ...ng a power supply Connect and route all cables between the terminal ECR and PC before plugging the power pack cord into a wall outlet or surge protector NOTE Insert the card with the card s gold conta...

Страница 19: ...0m device for 4 hours before initial use Conserve battery power by turning the 640m device off when not in use Do not let the battery charge fall below 10 for an extended period of time as this may pe...

Страница 20: ...ton until the power menu is displayed on the screen Touch the Power Off soft key to turn off Smart Card Reader The smart card transaction procedure can vary depending on the application Verify the pro...

Страница 21: ...on Figure 7 Contactless Transaction Performing Contactless Transactions To perform a contactless smart card transaction 1 Gently tap the card onto or hold the card within 4 cm against the surface of t...

Страница 22: ...SETUP Wi Fi BT Support 22 640M INSTALLATION GUIDE Wireless Transaction The 640m device supports wireless transactions...

Страница 23: ...ng 5V DC 2A Rechargeable battery 3000 mAh Li Polymer Charging via USB C or charging base Operating temperature 0 to 45 C 32 to 113 F Storage temperature 20 to 60 C 4 to 140 F 30 day per year at 95 Mus...

Страница 24: ...nts SAM slot D 000 format SIM SAM 1 micro SIM 1 micro SAM or 2nd micro SIM Audio Loudspeaker microphone Headset jack Camera Rear 5 MP auto focus or 2MP fixed focus LED torch Front 2 MP optional Commun...

Страница 25: ...n break internal circuit boards and fine mechanics Do not paint the device Paint can clog the moving parts and prevent proper operation Keep the device free from any small and loose items such as pape...

Страница 26: ...nce of foreign objects before the cleaning Customer Smart Card a If the unit shows no presence of foreign objects test the SCR function and record results Proceed to Step 2 2 Clean the SCR with an app...

Страница 27: ...M SAM Cover including one covered by a temper evident security label Push the screwdriver through this label to access the screw 5 Once all the identified screws have been removed carefully separate t...

Страница 28: ...MAINTENANCE AND CLEANING Additional Safety Information 28 640M INSTALLATION GUIDE THIS PAGE IS INTENTIONALLY LEFT BLANK...

Страница 29: ...llowing information from the printed labels at the back of each 640m to be returned Product ID including the model and part number For example 640m and M570 XXX XXX XXX Serial number S N nnn nnn nnn 2...

Страница 30: ...rs used to trace the shipment Model s returned model numbers are located on the Verifone label at the back of the 640m Documentation Verifone produces the following documentation for the 640m When ord...

Страница 31: ...ck the display panel If there are no characters or the wrong characters are displayed refer to Display Panel Does Not Work 2 If the problem persists contact your local Verifone representative Transact...

Страница 32: ...TROUBLESHOOTING GUIDELINES Transactions Fail to Process 32 640M INSTALLATION GUIDE THIS PAGE IS INTENTIONALLY LEFT BLANK...

Страница 33: ...640m Installation Guide Verifone Part Number DOC570 001 EN A Revision A Verifone Inc 1 800 Verifone www verifone com...

Отзывы: