background image

2.  Press and hold the Pair Button on the sensor  

for 1 second, Fig. 2. 
a.  Upon release of the Pair button the red led will flash 

slowly.

b. The sensor will remain in its pairing state for 1 minute.

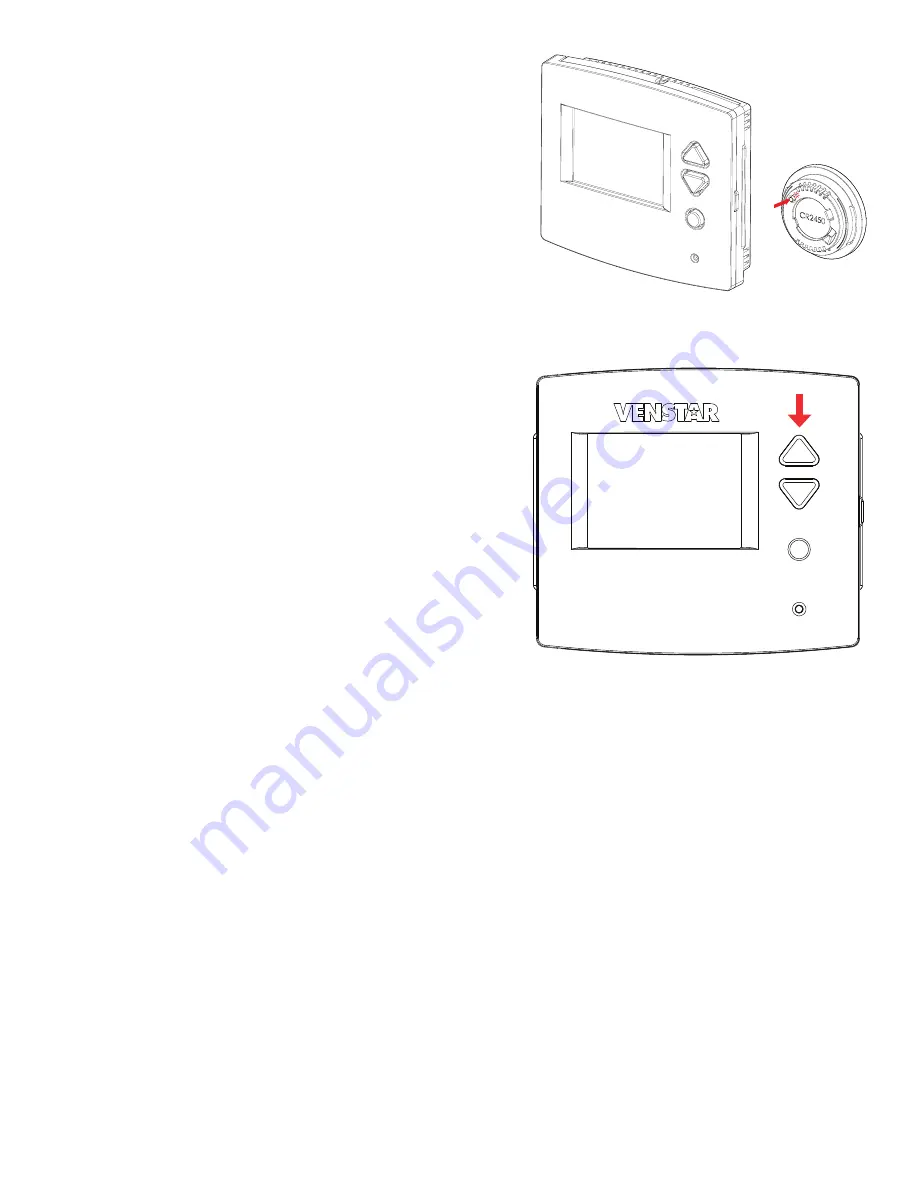
3.  Move the sensor next to to the top right corner of the 

VenNet thermostat to be paired. 

4.  The thermostat will recognize the sensor and display 

NEW SENSOR IS DETECTED, this may take up to 10 
seconds, fig. 3. 
Note: When the sensor starts communicating with the  
thermostat, the led on the sensor will slowly double flash  
in red.


Press WARMER to pair the sensor to the thermostat.

a.  The thermostat will display PAIRING.
b. The pairing process may take a few seconds to complete.  

The led on the sensor will slowly double flash green as it 
finishes pairing.

5.  Once pairing is completed you must select the type of 

Sensor, Remote or Outdoor.
a.  At this point, the thermostat will display  

REMOTE  SENSOR TYPE.     
Press WARMER or COOLER to change sensor type,  
then press FAN to accept.
I.  Pressing WARMER or COOLER will allow you to 

choose REMOTE SENSOR or OUTDOOR SENSOR.

II.  Press FAN to accept the type of sensor chosen.
III.  The thermostat will display SENSOR # IS PAIRED 

twice and return to the Home screen. 

6.  A logical name may be assigned to the sensor through 

Skyport Cloud Services.

fig. 3

fig. 2

PUSH TO PAIR

NEW SENSOR

Содержание VENnet ACC-VNTH1

Страница 1: ... in these instructions please scan the QR code or look on venstar com support accessories vennet temp hum sensor support for pairing instructions and a list all compatible thermostats fig 1 SPECIFICATIONS Temperature Measurement Range 40 F 130 F Humidity Measurement Range 0 100 RH Temperature Sample rate Once a minute Expected Battery Life Type CR2450 Remote Sensor sample rate of 1per minute 1 yea...

Страница 2: ...or to the thermostat a The thermostat will display PAIRING b The pairing process may take a few seconds to complete The led on the sensor will slowly double flash green as it finishes pairing 5 Once pairing is completed you must select the type of Sensor Remote or Outdoor a At this point the thermostat will display REMOTE SENSOR TYPE Press WARMER or COOLER to change sensor type then press FAN to a...

Страница 3: ...ated interior walls Do not mount the sensor Next to windows In direct sunlight In the direct airflow of an air supply Next to Cold or Hot temperature sources such as stoves Use the provided mounting screws or the provided double sided tape Fig 4 OUTDOOR SENSOR MOUNTING CONSIDERATIONS Keep out of direct sunlight Keep out of direct rain and snow An ideal outdoor mounting location would be in a cover...

Страница 4: ...plus de ce qui est nécessaire pour une communication réussie We Venstar declare under our sole responsibility that the device to which this declaration relates Complies with Part 15 of the FCC Rules Operation is subject to the following two conditions 1 this device may not cause harmful interference and 2 this device must accept any interference received including interference that may cause undes...

Отзывы: