Nighthawk Chat Headset
For use with PS4™, Xbox One®, Nintendo®
Switch™, Nintendo® Switch™ Lite, PC & Mac®
Model number: VS2865
User Guide
Thank you for purchasing the Nighthawk Chat Headset
from Venom.
Please read this user guide thoroughly before using the
headset and keep it safe for further reference.
Contents
1 x Nighthawk Chat Headset
PS4™ Set Up
1. Insert the 3.5mm audio jack from your headset directly into
the bottom of your controller.
2. The console will automatically identify the headset.
3. From the main menu, go to “Settings” > “Devices”
> “Audio Devices” > “Output Device” and select
“Headphones Connected to Controller”.
4. On the same menu screen go to “Output to Headphones”
and select “All Audio”.
Xbox One® Set Up
1. Insert the 3.5mm audio jack from your headset directly into
the bottom of your controller.
NB. Please note that for older models of the Xbox One
controller not featuring the built in audio socket, an Official
Stereo Headset Adaptor is required (sold separately).
Setting Up your Nintendo Switch, PC, Mac or Tablet
1. Insert the 3.5mm audio jack directly into the audio port on
your Nintendo Switch, PC, Mac or Tablet and you are ready
to go.
NB. Please note that for models of PC with separate
headphone/microphone outputs may require an adaptor to
take advantage of in-game chat.
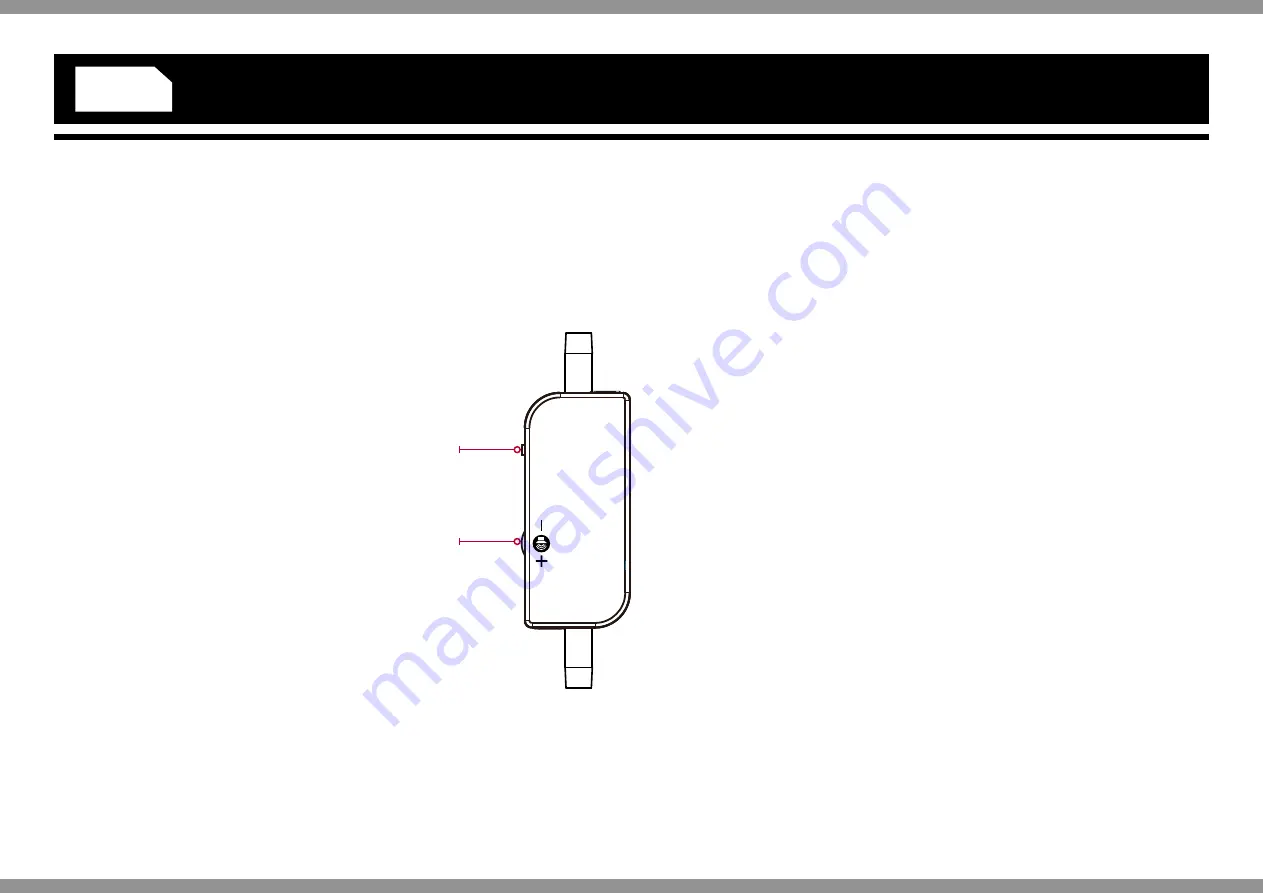
In-line remote
1. Slide the controls up to turn on in-game chat (mute off).
Slide down to turn off in-game chat (mute on).
2. Use the wheel to turn the volume up and down.
ENGLISH
MUTE
-MIC-ON
GAME
1
2


