IVSPROM1
09.11.2010
©
Velleman nv
9
Click to show the channel switch panel and select the preferred panel layout.
Click to display the playback the control panel, and click
to play the latest recorded video
clip, or click
to enter the search list.
Switch to the channel you want first, and click
to enter the zoom-in mode. In this mode, click
and drag the red frame on the bottom left of the screen to move to the place you want to see.
To exit this mode, click
7
.
Click to select the desired audio channel.
In live mode, only the live audio channels can be selected.
In playback mode, live and playback audio channels can be selected.
Click to enter the PTZ mode and show the PTZ camera control panel (when applicable).
Click to show the power off panel to either halt or reboot the system.
6.3 Main menu
•
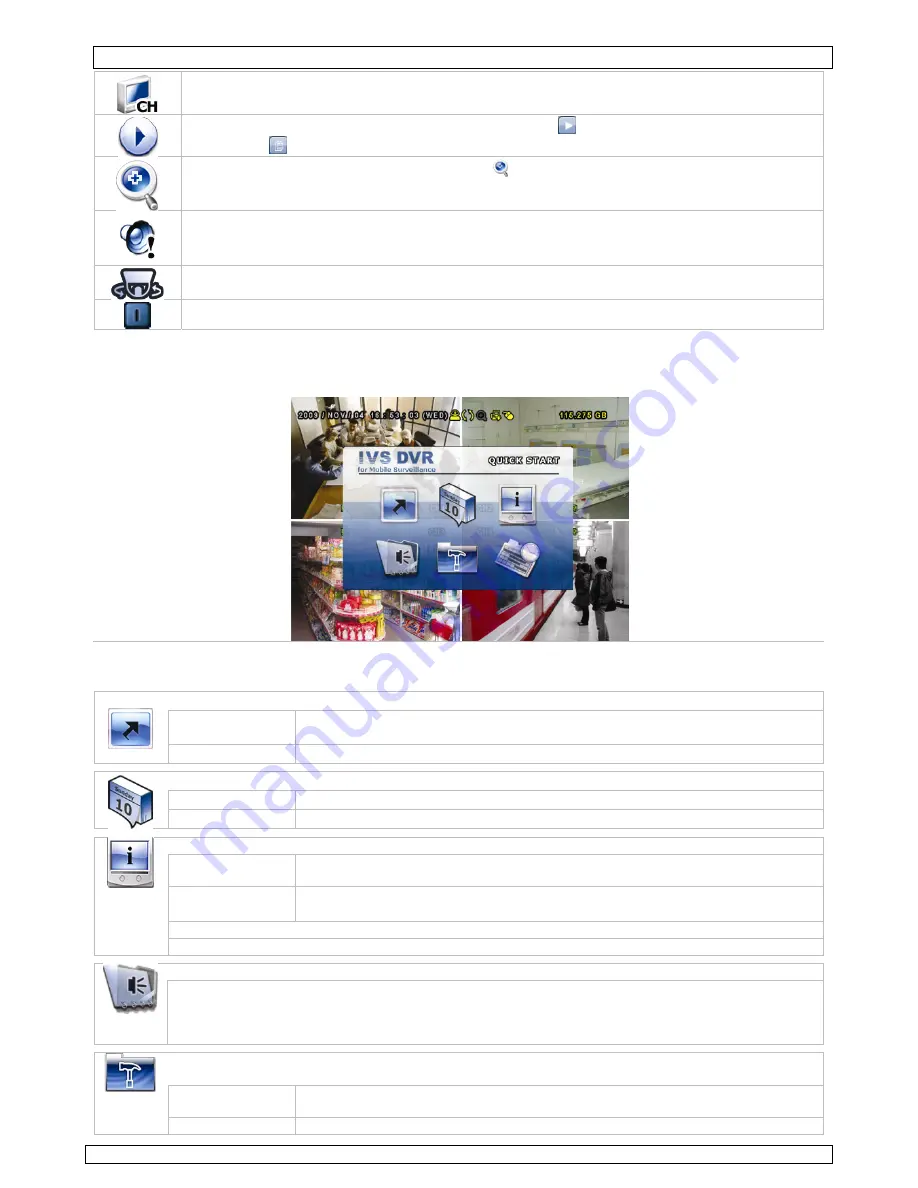
Right-click anywhere on the screen to show the main menu as follows, and right-click again to exit.
Main Menu
Main menu structure
*
: selected models only
QUICK START: click to set the status display, image settings, and date & time.
GENERAL
CHANNEL TITLE - EVENT STATUS - DATE DISPLAY - IMAGE SIZE* – QUALITY* -
IMAGE PER SECOND* - RECORD CONFIGURATION*
TIME SETUP
DATE - TIME
DATE SETUP: click to set the date display and daylight saving.
DATE INFO
DISPLAY DATE OF MODE - FORMAT
DAYLIGHT DAYLIGHT
SAVING
SYSTEM: click to set the system configurations.
TOOLS
LANGUAGE - ADMIN PASSWORD - OPERATOR PASSWORD – UPGRADE -
BACKUP CONFIG - RESTORE CONFIG
SYSTEM INFO BAUD RATE - HOST ID - R.E.T.R. - AUTO KEY LOCK - CLEAR HDD - RESET
DEFAULT - REMOTE CONTROL ID - SERIAL TYPE - VIDEO FORMAT - VERSION
USB BACKUP
DVD BACKUP*
EVENT INFORMATION: click to enter the event search menu.
QUICK SEARCH
EVENT SEARCH
HDD INFO
EVENT LOG
ADVANCE CONFIG: click to set CAMERA, DETECTION, ALERT, NETWORK, SNTP, DISPLAY, RECORD,
REMOTE, DCCS, IVS & NOTIFY.
CAMERA
BRIGHTNESS – CONTRAST – SATURATION – HUE - COV. – REC - CHANNEL
TITLE
DETECTION
LS – SS – TS – DET – ALARM - AREA


