


DVR8L1 - DVR16L1
Rev.
01
22/07/2009
© 2009
Velleman Components nv
7
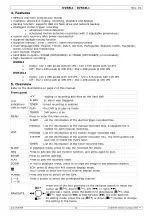
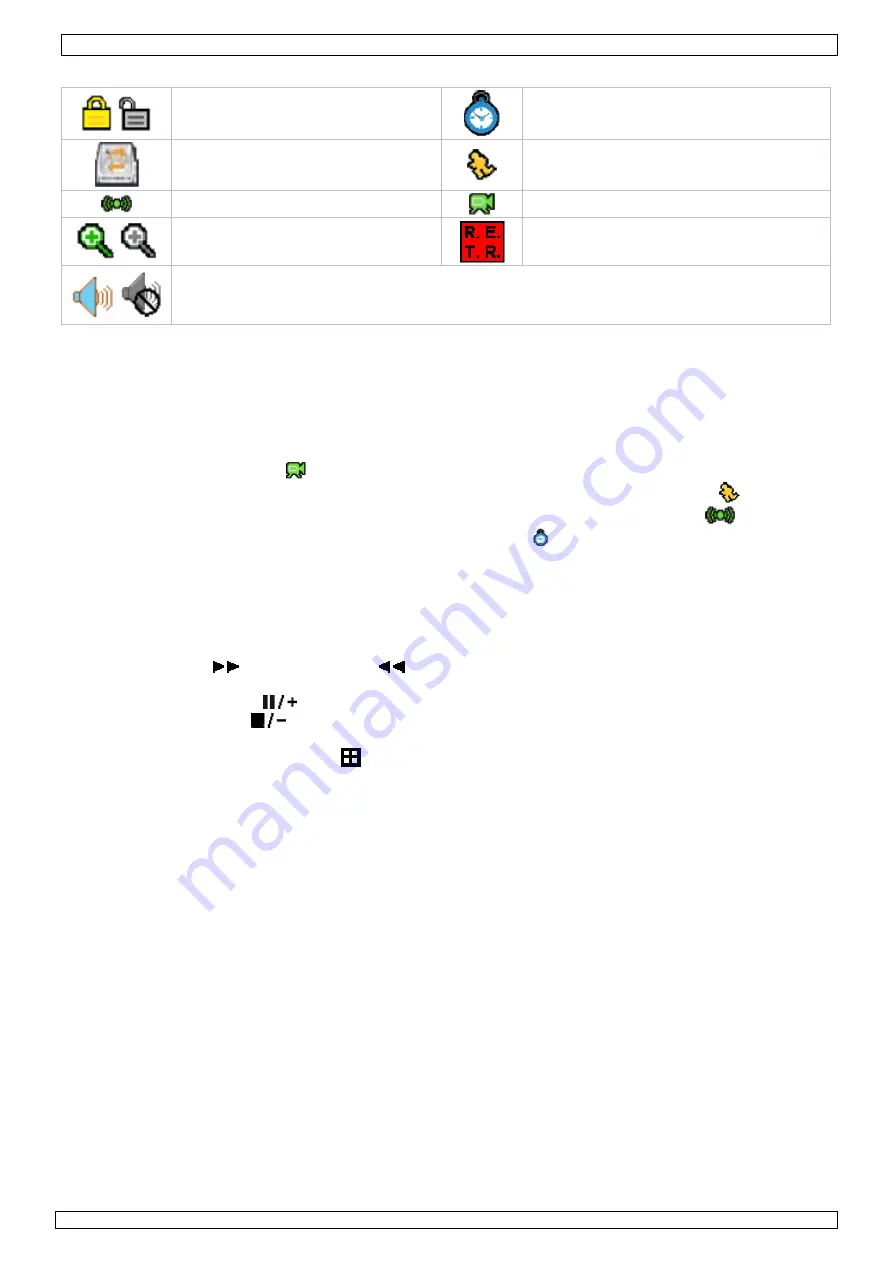
Overview used icons
control panel locked/unlocked
timed recording
HDD overwrite
motion detected
Alarm
recording
Zoom mode / actual size
Remote Event Triggered Recording
audio channel enabled / disabled
Note:
The number of the current audio channel is shown in the icon as well as the
LIVE or PLAY (= playback) indication.
Note that actual screen icons might differ slightly from the ones shown above.
Recording
•
Check whether the camera(s) is (are) properly connected and a HDD is present inside the device.
•
When the auto-recording and pre-alarm functions are enabled, the device will start recording
images.
Note:
the device will overwrite the oldest 8GB of data.
•
Default the recording icon (
) is shown.
•
In case the motion detection is activated and a motion is detected, the motion icon (
) is shown.
•
In case the alarm detection is activated and an alarm is triggered, the alarm icon (
) is shown.
•
When timed recording is enabled, the timed recording icon ( ) is showed and the timed recording
LED is on.
Play-back
•
Make sure the control panel is not locked and press the PLAY button on the control panel.
Note:
play-back needs at least 8192 recorded images to work properly (e.g. with IPS=30, the
recording must be at least 273 seconds long).
•
The fast forward (
) and fast rewind (
) buttons will increase resp. decrease the play-back
speed. Repeatedly pressing the button will increase/decrease speed to 4x, 8x 16x or 32x (max.).
•
Press the pause button (
) to temporary suspend video play-back.
•
Press the stop button (
) to return to live monitoring.
•
Press the SLOW button once to set play-back speed to 1/4
th
and twice for 1/8
th
.
•
Press the AUDIO button (= SEQ +
) to scroll through and select the audio channel.
Search
There are 3 ways to search recorded files: by list, by time or by record event via the included Video
Viewer software.
•
To search by list, press the LIST button on the front panel (make sure the control panel is not
locked). An overview of the recorded file types (ALARM, MANUAL, MOTION, SYSTEM and TIMER) is
shown. Select the desired list and press ENTER to start play-back.
•
To search by time press the MENU button and navigate to “EVENT LOG”. Go to “QUICK SEARCH”
and press “ENTER”. Search for any event that happened at a specific time.
•
Open the Video Viewer software and click on the Miscellaneous control. Click on the status list to
see the recording types.
Firmware/OSD upgrade
•
This is done using a USB flash drive (not included).
Note:
upgrading can also be performed via the included Video Viewer software.
•
Format the USB memory device to FAT32 format.
•
Get the update file from the distributor and copy it to the USB device.
Do not
rename the file.
•
Insert the USB device into the USB port and wait until it is detected.
•
Go to the SYSTEM menu.
•
Select UPGRADE, START and press ENTER.
•
Select YES and press ENTER to confirm.
Do not
switch off the DVR until the upgrade is finished.


