


CAMIP6
15/09/2010
©
Velleman nv
7
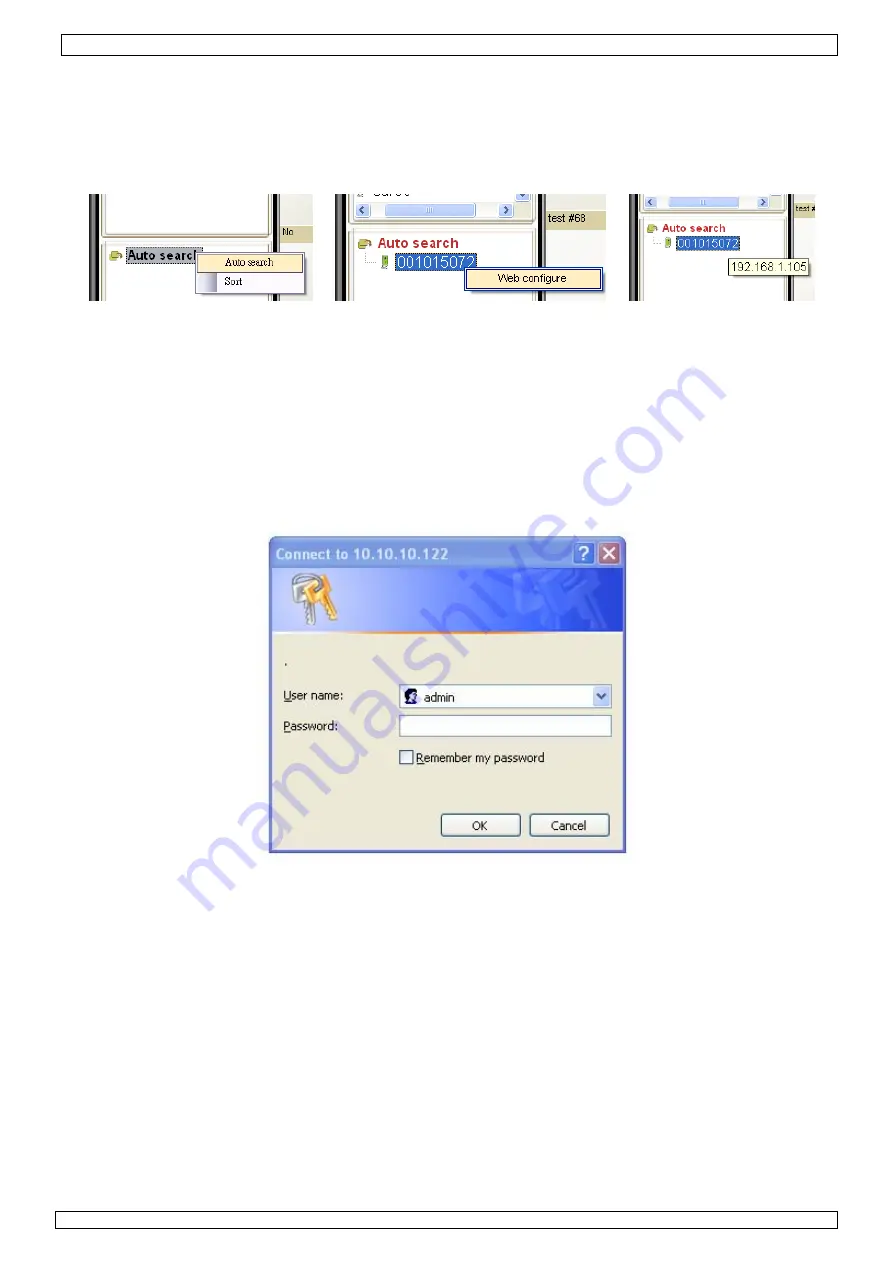
7.2 Auto Search
•
In order to use
Auto Search
, a camera must be connected to the same LAN (Local Area Network)
as the computer. Double-click on the
Auto Search
directory or right-click on
Auto Search
and
left-click again on
Auto search
to start searching the network.
Note:
be aware that routers or firewalls might prevent the software from seeing the IP-camera. Get
advice from a network administrator when this is the case.
•
The software interrogates the local LAN and shows all the found IP-camera IDs (e.g. 001015072)
under the
Auto Search
directory. Scroll the mouse over the camera ID to see the IP-address.
Note:
a camera which is shown under the Auto Search directory is
not
available worldwide. It must
be moved to the Camera List (see §
7.4
) to become accessible from another network.
7.3 Web configuration
•
Right-click on the camera ID and left-click on
Web configure
to configure the camera using a
web browser.
Note:
when configured in the appropriate way, the IP-camera can be reached from any
computer/web browser in the world. Simply type the IP-address into the address bar of the
web browser and enter the user name and password.
•
The browser requires a username and password to set-up the camera. The default user name is
admin
, no password required.
•
When user name and password are validated, the
information page
is shown.


