background image

CAMCOLVCN_v2


VELLEMAN 

21 

3. Normas generales 


No agite el aparato. Evite usar excesiva fuerza durante la instalación y la reparación. 


Seleccione un lugar de montaje donde el aparato no esté expuesto a polvo, humedad y temperaturas extremas. 


Mantenga el aparato lejos del alcance de la luz solar directa. 


Asegúrese de que no entren líquidos en el aparato. Si el aparato está húmido, límpielo inmediatamente. Alcohol 

o bebidas contienen minerales que podrían dañar los componentes electrónicos. 


Por razones de seguridad, las modificaciones no autorizadas del aparato están prohibidas. 


Utilice sólo la

 CAMCOLVCN

 para aplicaciones descritas en este manual a fin de evitar p.ej. cortocircuitos, 

quemaduras, descargas eléctricas, etc. Un uso desautorizado puede causar daños y anula la garantía 

completamente. 


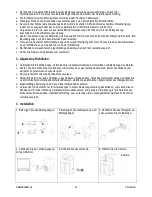
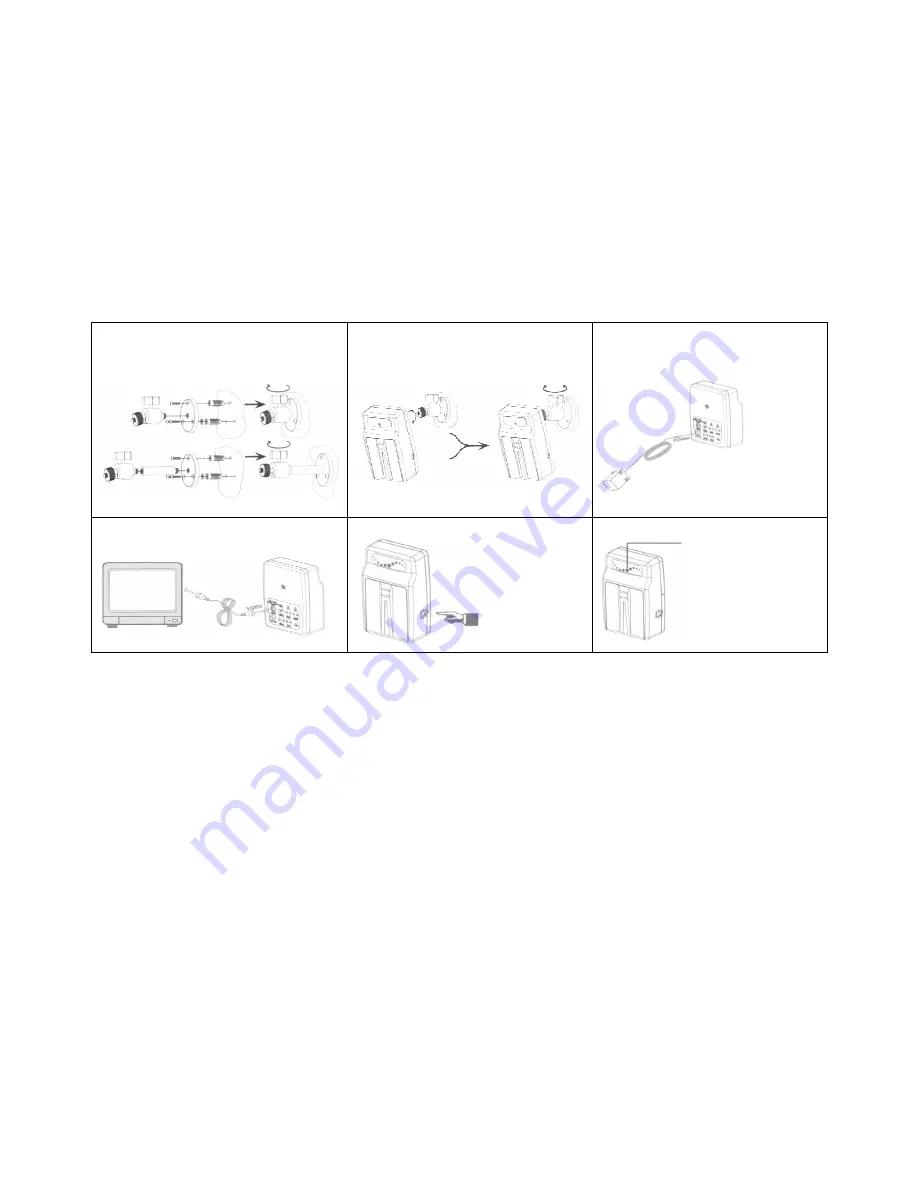
4. Instalación 


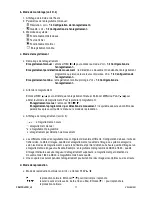
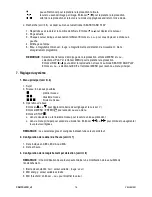
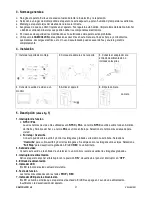
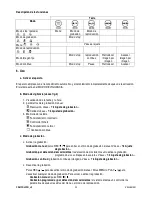
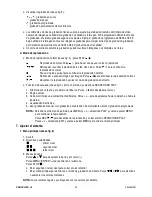
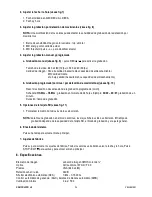
1. Instale el soporte de montaje 


2. Coloque la cámara en el soporte 


3. Conecte el adaptador a la 

entrada de alimentación o 

introduzca las pilas 


4. Conecte la salida de vídeo a un 

monitor 


5. Active el aparato 


6. Dirija la cámara 


5. Descripción 

(véase fig. 

1) 


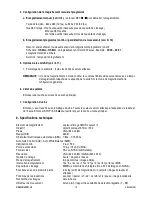
1. Interruptor de función 


NTSC / PAL


Las dos normas de vídeo más utilizadas son 

NTSC

 y 

PAL

. La norma 

NTSC

 se utiliza sobre todo en América 

del Norte y América del Sur. La norma 

PAL

 se utiliza en Europa. Seleccione la norma más adecuada para 

Usted. 


Full stop / Overwrite 

Con esto puede sobre-escribir y borrar las imágenes grabadas si la memoria está llena. Seleccione 

Overwrite

” para sobre-escribir y borrar las imágenes. Se empieza con las imágenes más viejas. Seleccione 

Full Stop

” para desactivar la grabación. El LED 

REC

 no se iluminará. 

2. Salida de vídeo 

Conecte esta salida a la entrada de un televisor o un monitor si quiere visualizar las imágenes grabadas. 

3. Interruptor de alimentación 

Active el aparato al poner el interruptor en la posición “

ON

”, desactívelo al poner el interruptor en “

OFF

”. 

4. Entrada de alimentación 

5. Indicador LED 

El LED le indica el estado actual del sistema. 

6. Tecla de función 

Las teclas más utilizadas son las teclas 

STOP

 y 

REC

7. Indicador LED para la alimentación 

El LED se ilumina e indica que el aparato está activado. El LED se apaga en caso de una alimentación 

insuficiente o la desactivación del aparato. 

cámara


Содержание CAMCOLVCN

Страница 1: ...EURENCAMERA MET 256MB GE NTEGREERD GEHEUGEN CAM RA COULEUR NUM RIQUE AVEC 256MB DE M MOIRE INTEGR E C MARA COLOR DIGITAL CON 256MB DE MEMORIA INCORPORADA BERWACHUNGSKAMERA MIT 256MB BILDSPEICHER USER...

Страница 2: ...CAMCOLVCN_v2 VELLEMAN 2...

Страница 3: ...result in malfunction of the product Do not switch the device on immediately after it has been exposed to changes in temperature Protect the device against damage by leaving it switched off until it h...

Страница 4: ...er to overwrite the recorded memories or to stop recording when memory is full Selecting Overwrite will overwrite the memory starting with the oldest data first Selecting Full Stop will cause the RECO...

Страница 5: ...l recording parameters Resolution refer to 7 4 Record Setup Quality refer to 7 4 Record Setup 3 System memory status Malfunction File test Functioning normally Continuous recording c Record Mode Start...

Страница 6: ...ess PLAY to playback normal playback Press to pause resume rewind fast forward with 2x 4x 8x 16x or 32x speed Press to resume normal playback pause Press again to resume playback rewind or forward one...

Страница 7: ...s indicate a default value 2 Date Time Setup fig 7 1 Date format in Y M D M D Y or D M Y 2 Date and time setting 3 Motion Detection Setup fig 8 REMARK Changing the values may affect the recording sens...

Страница 8: ...ensor Lens f3 8mm F2 0 cone lens Effective Pixels VGA 640 x 480 S N Ratio 46dB Auto Electronic Shutter AES 1 60s 1 15 000s Auto Gain Control AGC Auto White Balance AWB Min Illumination 2 lux F2 0 Vide...

Страница 9: ...reeks verband mee houden Laat dit toestel installeren en onderhouden door een geschoolde technicus Het voortdurend koppelen en ontkoppelen van het toestel kan leiden tot een slechte werking ervan Om b...

Страница 10: ...er het geheugen vol is Kies Overwrite om over het geheugen te schrijven te beginnen met de oudste beelden Kies Full Stop om de opname te stoppen De REC LED zal niet branden 2 Video uitgang Wenst u de...

Страница 11: ...name instelling Kwaliteit zie 7 4 Opname instelling 3 Geheugen Storing Controle van het bestand Normale werking Continue opname c Opnamemodus Opname starten Manuele opname druk op REC om de manuele op...

Страница 12: ...8x 16x of 32x snelheid Druk op om de normale weergave te hervatten pauze Druk opnieuw om te hervatten n beeld terug of doorspoelen tijdens pauze Druk op om te hervatten weergave stoppen Zoekfunctie z...

Страница 13: ...pname zie fig 9 druk op REC om een opname te starten Video size 640 x 480 12 fps of 320 x 240 30 fps Beeldkwaliteit HQ hoge kwaliteit meer opslagcapaciteit vereist MQ gemiddelde kwaliteit LQ lage kwal...

Страница 14: ...dia VELLEMAN raadt u aan regelmatig reservekopie n te maken op verschillende opslagmedia diskette cd rom enz van documenten gegevens bestanden of software die op ons product zijn ge nstalleerd De info...

Страница 15: ...antie Garder votre CAMCOLVCN hors de la port e de personnes non qualifi es et de jeunes enfants 3 Directives g n rales viter de secouer l appareil et ne le laissez pas tomber Traiter l appareil avec c...

Страница 16: ...tion Branchez l appareil en pla ant l interrupteur sur ON d branchez le en pla ant l interrupteur sur OFF 4 Entr e d alimentation 5 T moin LED La LED vous indique le statu actuel du syst me 6 Touche d...

Страница 17: ...Enregistrements programm et par d tection de mouvement le syst me ex cute un contr le des param tres apr s avoir quitt le menu ou le mode de reproduction Affichage de l enregistrement voir ill 3 enreg...

Страница 18: ...SEARCH AND PLAY Enfoncer ou s lectionner EXIT et renfoncer MENU pour revenir au menu principal 7 R glage du syst me 1 Menu principal voir ill 6 1 Sujet 2 Niveau 3 niveaux possibles premier niveau deu...

Страница 19: ...he pour revenir au menu principal 7 Configuration d usine Enfoncer pour revenir au param trage d usine Toutes les valeurs seront effac es l exception de la date et de l heure Enfoncer STOP EXIT pour q...

Страница 20: ...Gracias por haber comprado la CAMCOLVCN Lea atentamente las instrucciones del manual antes de usarla Si el aparato ha sufrido alg n da o en el transporte no lo instale y p ngase en contacto con su di...

Страница 21: ...ive el aparato 6 Dirija la c mara 5 Descripci n v ase fig 1 1 Interruptor de funci n NTSC PAL Las dos normas de v deo m s utilizadas son NTSC y PAL La norma NTSC se utiliza sobre todo en Am rica del N...

Страница 22: ...ad v ase 7 4 Ajuste de grabaci n 3 Memoria del sistema Funcionamiento incorrecto Control del fichero Funcionamiento normal Grabaci n continua c Modo de grabaci n Activar la grabaci n Grabaci n manual...

Страница 23: ...uar la reproducci n normal Desactivar la reproducci n y volver al modo de grabaci n en directo Funci n de b squeda v ase fig 5 entre en el men y seleccione SEARCH AND PLAY 1 Directorio con la fecha y...

Страница 24: ...Record activaci n o desactivaci n de la grabaci n programada on off Schedule Hh Mm Hh Mm grabaci n en formato de 24 horas Ejemplo 00 00 00 01 grabaci n de un minuto Duraci n tiempo de grabaci n 5 Opc...

Страница 25: ...ros o software instalados en nuestro producto Se pueden modificar las especificaciones y el contenido de este manual sin previo aviso CAMCOLVCN BERWACHUNGSKAMERA MIT 256MB BILDSPEICHER 1 Einf hrung Ei...

Страница 26: ...en erlischt der Garantieanspruch Halten Sie Kinder und Unbefugte vom Ger t fern 3 Allgemeine Richtlinien Vermeiden Sie Ersch tterungen Vermeiden Sie rohe Gewalt w hrend der Installation und Bedienung...

Страница 27: ...Sie es aus indem Sie den Schalter auf OFF stellen 4 Eingang Stromversorgung 5 LED Anzeige Die LED zeigt den aktuellen Zustand des Systems an 6 Funktionstaste Die wichtigsten Tasten sind STOP und REC...

Страница 28: ...erte Aufnahme Aufnahme ausgel st durch Bewegung Jeder Aufnahme Modus hat eine andere Einstellung Basiseinstellung Videoformat Anzahl der aufgenommenen Bilder Videoqualit t und Aufnahmequalit t Wenn Si...

Страница 29: ...ieren Sie EXIT und dr cken Sie MENU zum Hauptmen zur ckzukehren 7 Systemeinstellung 1 Hauptmen siehe Abb 6 1 Thema 2 Niveau drei M glichkeiten erstes Niveau zweites Niveau drittes Niveau 3 Basismen s...

Страница 30: ...ste um zum Hauptmen zur ckzukehren 7 Standardwerte Dr cken Sie um die Standardwerte wieder einzustellen Alle Werte au er Datum und Uhr werden gel scht Dr cken Sie STOP EXIT um zum Hauptmen zur ckzukeh...

Страница 31: ...H 4 5h Alkaline 6h Abmessungen 100 x 70 x 35 7mm VELLEMAN kann nicht verantwortlich gemacht werden f r verlorene oder besch digte Programme Daten oder austauschbare Medien VELLEMAN empfiehlt Ihnen reg...

Отзывы: