53
54
Configuration
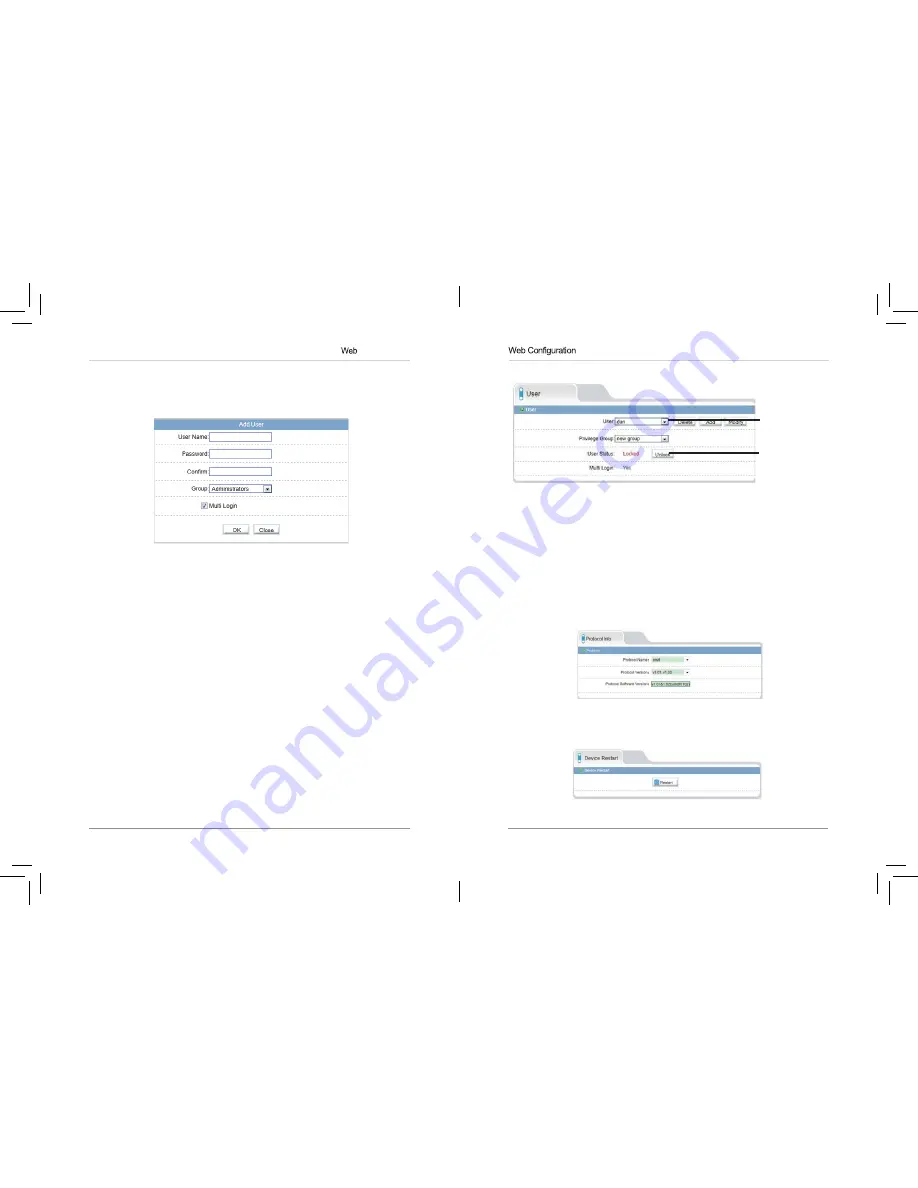
To add a user account:
1.
Click
Add
. The Add User window appears.
NOTE:
If the Add User menu does not appear, disable any popup blockers.
2.
Enter a
User Name
and
Password
for the account and repeat the
password under
Confirm
.
3.
Under
Group
, select the desired user group for this account.
4.
Check
Multi Login
to allow the user account to log into the IP camera
from multiple location simultaneously or un-check to limit the account to
a single location at a time.
5.
Click
OK
to save the new user account.
To modify a user account:
1.
Select the user account under
User
and click
Modify
.
2.
Modify the account details as needed and click
OK
.
To delete a user account:
• Under
User
, select the user account and click
Delete
. Click
OK
to confirm.
8.13.3 Unlocking User Accounts
The admin account is the only account that can unlock user accounts that
have been locked out. User accounts are locked out if the wrong password is
entered 3 or more times.
To unlock a user account:
1.
Login to the camera as admin.
2.
Click
Privilege Manager>User
.
Select the
user
Click Unlock
3.
Under
User
, select the locked user account.
4.
Click
Unlock
to unlock the account.
8.14 Protocol
Protocol contains the following sub-menus:
• Protocol
• Security (Not supported)
NOTE:
Do not check User Verification in the Security sub-menu, as it may
block ONVIF software from detecting the camera.
6.14.1 Protocol
The Protocol page (
Protocol>Protocol
) allows you to view ONVIF protocol
settings.
8.15 Device Restart
Click
Device Restart
. Click
Restart
then click
OK
to restart the camera.


