6-15
6
Communications Setup
Auto-Dial Alarm Setup
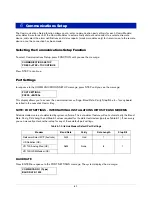
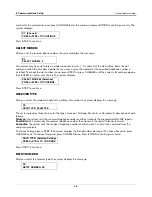
To enable this feature, press CHANGE:
Press ENTER and the system confirms your choice with the message:
Press STEP to continue.
If you are using the All Phones method or have set up all the receivers for Single Phone, refer to the section
entitled “Continue Communications Setup” on page 6-15. If you are using the Single Phone method and have
additional receivers to set up, refer to the section entitled “Setting Up the Frequency for Additional Receivers
(Single Phone Only)” on page 6-15.
SETTING UP THE FREQUENCY FOR ADDITIONAL RECEIVERS
(SINGLE PHONE ONLY)
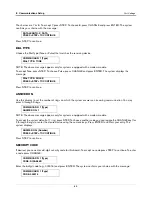
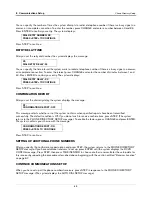
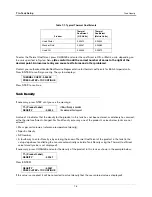
If necessary, press STEP until you see the message:
Press STEP until you see the message:
Press TANK/SENSOR to choose the destination (D1, D2, etc.) you want to set up. Choose the frequency you
want for this destination by following the appropriate Auto-Dial Frequency instructions, beginning on page 6-11.
NOTE: Do not press ENTER after changing the destination. You must choose the Auto-Dial Frequency, as
described in the previous sections, before pressing ENTER.
CONTINUE COMMUNICATIONS SETUP
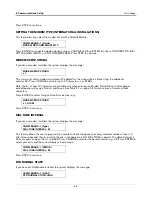
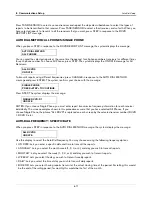
If you are finished setting up the Auto-Dial Frequency, press STEP, if necessary, until you see the message:
This screen displays for modem modules only. Press STEP to continue.
Auto-Dial Alarm Setup
IMPORTANT! Before you set up this feature, you must enter information for the In-Tank Setup function and set up
all the sensors in your system. If an alarm occurs while you are setting up this feature and you have not set up in-
tank and sensor information yet, the system will try to send a report. This action may cause a system lockout.
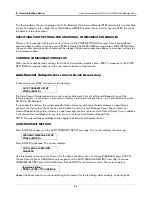
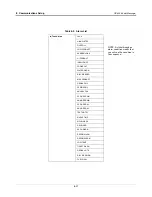
If necessary, press STEP until you see the message:
DIAL BIR END: ALL RCVRS
TIME: AUTO DAILY CLOSING
TIME: AUTO DAILY CLOSING
PRESS <STEP> TO CONTINUE
D1: RCVR REPORT LIST
PRESS <ENTER>
SINGLE RCVR: D1
ON DATE
AUTO DIAL SETUP
PRESS <ENTER>
AUTO DIAL ALARM SETUP
PRESS <ENTER>

