26
4
4
4
4-
-
-
-2. Network
2. Network
2. Network
2. Network
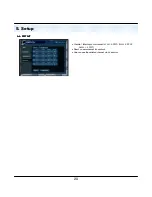
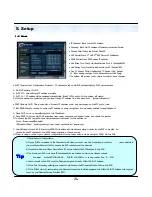
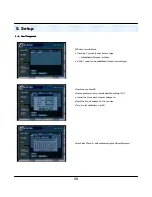
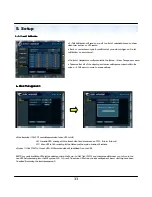
•IP Address : Input the unit IP Address.
• Gateway : Input the IP address of Internet-connected Router
•Subnet Mask : Input the Subnet Mask IP.
• DNS Server: Input 1
ST
AND 2
ND
DNS Server IP Addresses.
• DDNS Server: Input DDNS server IP address
• Net Client Port : Input net client Service Port # (Default:6100)
• Web Server Port : Input the Web server port # (Default: 80)
• Max TX Speed : Setup Max Network TX Speed. (56k – 8mbbs)
** After making changes to the Network setup, click Apply.
(The system will prompt you to reboot in order to save change.)
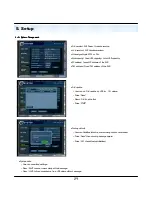
• DHCP (Dynamic Host Configuration Protocol) : IP address is set on the DVR automatically by DHCP server/router.
1. Set DHCP setting (On/Off)
2. DHCP Off : User will input IP address manually.
3. DHCP On : IP address will be assigned automatically. After DHCP is set to On, the system will reboot.
4. After the system has restarted, you can view the new IP address from this menu or in ‘ System information’
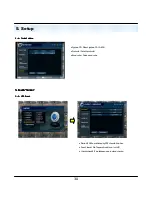
• DDNS (Dynamic DNS): This is used with a Dynamic IP address, which may be changed by the ISP at any time.
With DDNS, there is no need to enter the IP address on every connection, A name server address is used instead of.
1. Setup DHCP to on or manually input the unit IP address.
2. Setup DDNS to On, set the DDNS properties (user name, password, and domain name) and reboot the system.
3. To access the DVR using the name server address, the format for the address is :
http:// [user name].[domain]
([Example: http:// mydvr.dyndns.org) (user name: mydvr.domain: dyndns.org)
4. User will need to input all of the correct DDNS information into the Network setup in order for the DVR to be able to
update its new IP address to the DDNS server whenever a change occurs.
5. If user is using a router in your network configuration, it is the router which must be setup for DDNS, not the DVR.
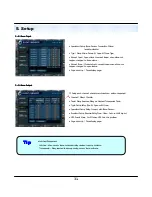
. About Network Configuration
1. If your DVR is connected to the Internet via a Router, you must use Port Forwarding in order for users outside of
your Local Area Network (LAN) to access the DVR remotely over the Internet.
2. Forward the Web and Client Service Port #’s to the Private (LAN) IP Address of the DVR.
3. The Router and DVR must have IP Addresses that are located on the same network subnet.
Example: Router IP: 192.168.0.1 DVR IP: 192.168.0.x (x is any number from 2 ~ 254)
4. Users connect to the DVR over the Internet using the Router’s Public (WAN) IP Address.
5. If the Port Forwarding settings are correct in the Router, it will forward all data to/from the DVR.
6. If the DVR is the only device using your Internet Connection,it will be assigned the Public (WAN) IP Address that is given
to you by your Internet Service Provider (ISP).
Tip
Tip
Tip
Tip
5. Setup


