background image

5

Surface Mounting Options

Semi-Permanent

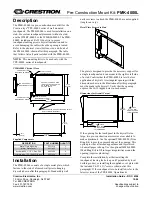
For a semi-permanent mounting solution, use the (4) duraco strips (j) included with 

your base. Use a phillips head screwdriver to remove the 4 rubber feet on the bot-

tom of the base. Peel off one side of the film and stick it to the four positions pic-

tured above. Let the adhesive 

cure onto the base for 3 hours before peeling off 

the other side and sticking it to your desired surface. Once you have stuck the base 

down to a surface, let it sit for another 

12 hours with NO interaction before use. To 

remove duraco, take a piece of filament such as fishing line or dental floss and run 

underneath the base in a sawing motion to cut the adhesive

For a non-permanent mounting solution, use the (4) 

included black rubber feet (i). These feet come pre 

installed on your kiosk base. Set your kiosk up wher-

ever you like for a non-permanent mounting solution

Standard

Permanent

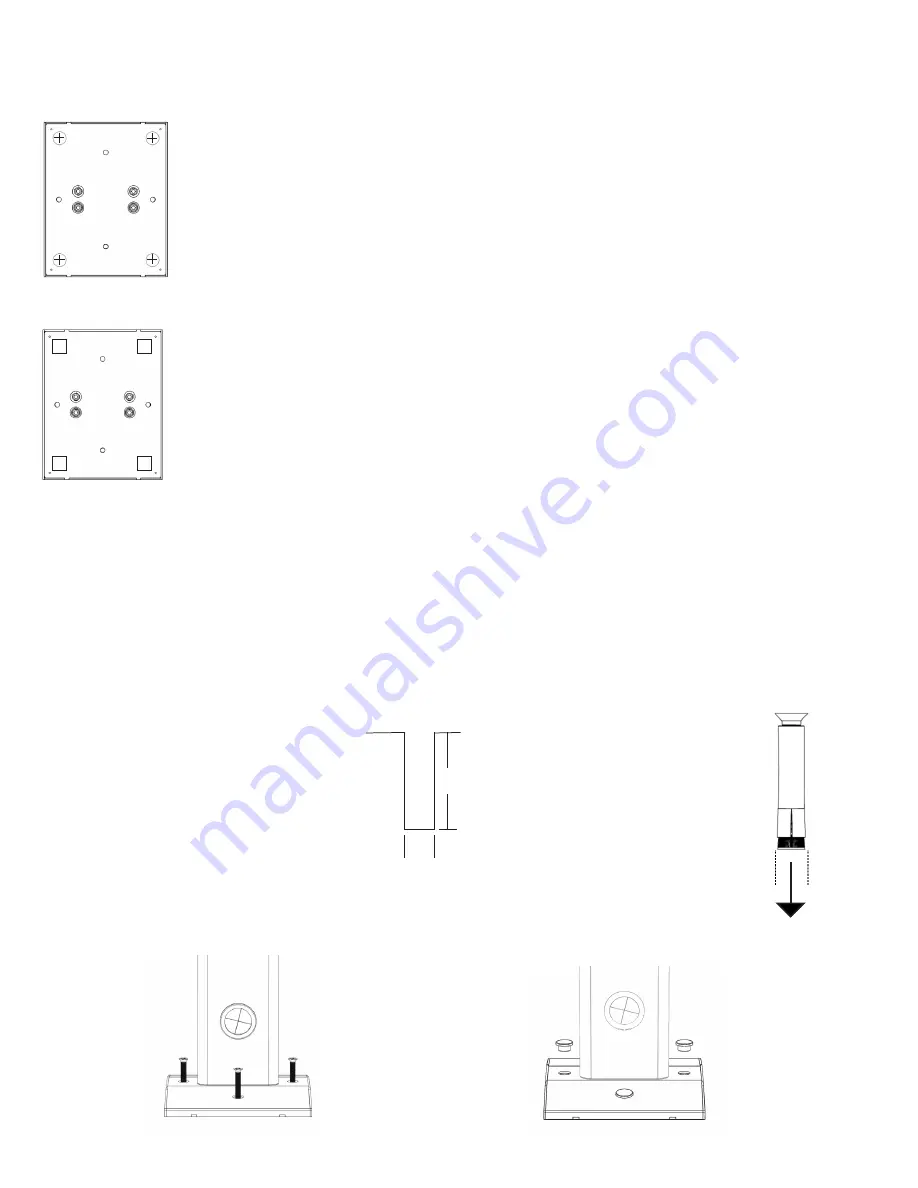
The most secure way to mount your kiosk to the floor is using the included lag bolts to anchor the 

base in the floor. This process will make permanent holes in your floor and requires power tools and 

more advanced knowledge.

Drill 3 holes 

14mm(.55 inches) 

wide and 72mm(2.83 

inches) deep*

72mm(2.83 inches)

14mm(.55 inches)

Hammer the Lag 

assembly into the 

hole with a hammer

Unscrew the phillips 

head bolt and place 

your base over the top 

of the 3 holes in the 

floor. Hand tighten the 

bolts back down until 

the base is tight.

Insert plugs

Use the included 

hole diagram to mark 

where the 3 lag bolts 

will be drilled into the 

floor

* VAULT does not take any liability for damage to your building by installing the anchors.

Содержание ECW-K50

Страница 1: ...Rev 1 4 Stability Kiosk Assembly Instructions ECW K50 K44 IP9 IP12 ...

Страница 2: ...e h 1 Base f 1 g Tower 4 Washer e 4 10 32x3 8 Pan Head a 4 Lock Washer d 4 10 32x3 8 Flat Head b 4 Tower Bolt c 4 Rubber Feet Pre installed i 1 Docuvue j 1 IMGPII Bracket k iMag Pro II Card Reader and iPad Tablet not included in bundle ...

Страница 3: ...base Slide the lock washer then normal washer onto the bolt before installing into tower Route cables Route your cable out the side of your kiosk to connect into the ID TECH iMag Pro II Card Reader or the iPad Pro tablet ...

Страница 4: ...3 Install Backplate and Docuvue Install tablet and faceplate ...

Страница 5: ...4 Plug ID TECH iMag Pro II card reader into tablet Install the ID TECH iMaG Pro II bracket over top of the card reader ...

Страница 6: ...ting solution use the 4 included black rubber feet i These feet come pre installed on your kiosk base Set your kiosk up wher ever you like for a non permanent mounting solution Standard Permanent The most secure way to mount your kiosk to the floor is using the included lag bolts to anchor the base in the floor This process will make permanent holes in your floor and requires power tools and more ...

Страница 7: ...ation All warranty claims should be submitted through the company that you originally purchased the product from A receipt or other documentation showing date and location purchased will be required Shipping to VAULT and return shipping to the end user are the responsibility of the end user VAULT reserves the right to substitute a newer product or one of equal or higher value If you should have an...

Отзывы: