Form V372, Rev. 12
- 5 -
12/18, ECN4334
That is, side-discharge orientations of the pump casing flange tend to trap more gas in the pump
casing. Gas binding problems can keep your mixing system from working properly so this issue must
be addressed.
To avoid gas binding problems, you should consider designing in an automatic venting system. Failure
to properly vent the pump before each startup can result in a mixing system that doesn't work.
Note that
you cannot vent the pump of gas or air when the pump is running.
(The pump casing can be vented
through the pressure tap on the casing flange if the pump has a top discharge, or through the vent on
the side of the casing if the pump uses a side discharge configuration.)
There are several ways to successfully vent the pump:
1. You can install an automatic venting system to the pump casing vent in a couple of ways:
a. You can use a suitable
automatic air release valve (ARV) of 2” size available from various
manufacturers. (Vaughan Co. has available an air release valve from Val-Matic.) Run the
discharge piping to either a drain or back to the digester or tank to be mixed. An automatic air
release valve will continually and automatically vent gas or air from the pump casing any time
the valve senses that the presence of gas or air at the valve. We feel the ARV is the best
approach.
b. You can use a solenoid-
controlled valve (2” is best) controlled by a timer in your control panel,
which would open this valve prior to each startup of the pump. Based on experimentation, you
can determine how long it takes to vent the gas from the system to completely fill the pump
casing before the pump starts. You can then set the timer to this setting. Again, run the piping
either to a drain or back to the tank you are mixing.
Note also that pumps and piping located outdoors and exposed to the sun are more likely to cause
more gas generation in an idle pump and system. Shading the system from the sun can be very helpful
to minimizing gas problems.
E. NOZZLE AIMING
To perform this procedure, you will need the Vaughan nozzle aiming kit, Part# V108-205. This kit
includes the aiming protractor, mounting bungee, and the plumb bob. You will also need two
15/16”,
and two 1-1/8
” wrenches or sockets and a ladder tall enough to reach the top nozzles.
This procedure must be done before filling the tank,.
STEP 1
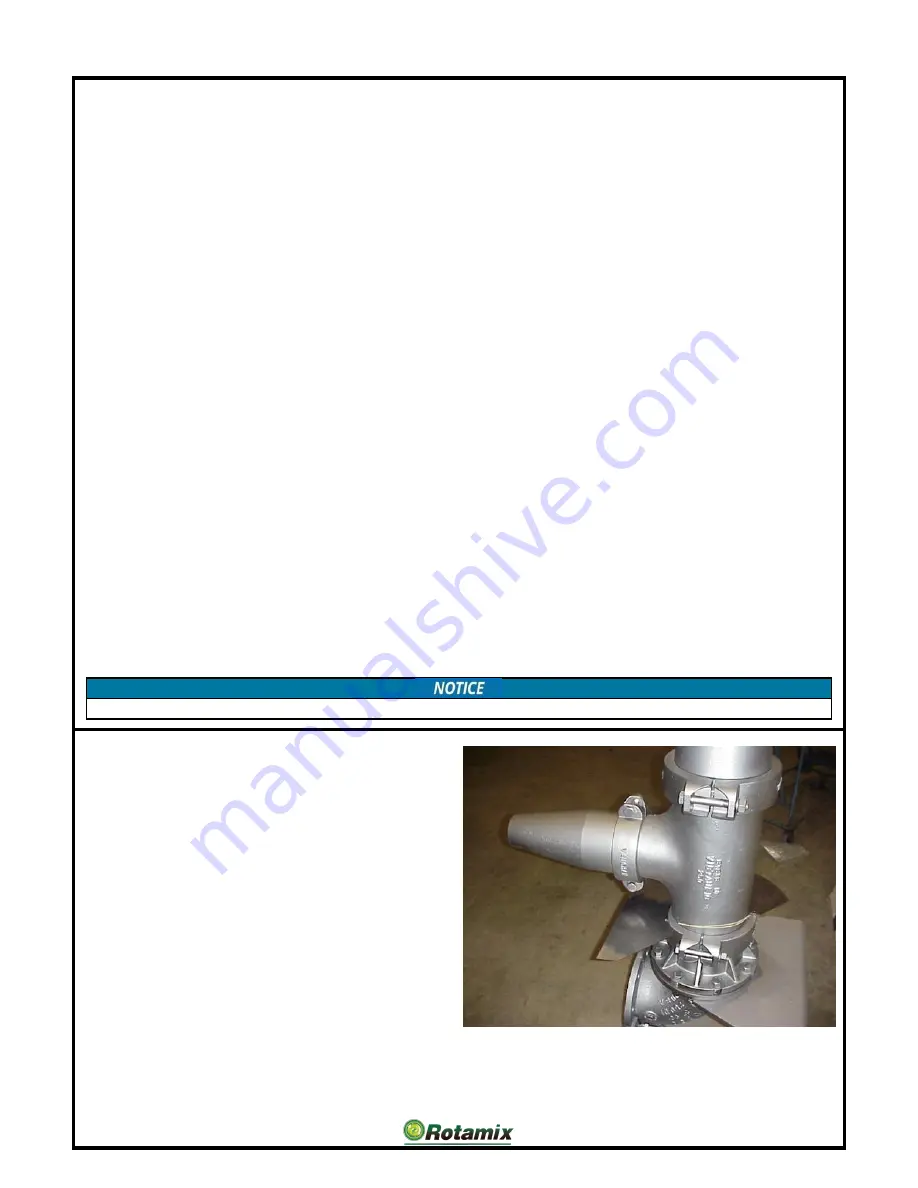
Check nozzle assembly location against the
Vaughan supplied layout drawing. Check both the
radial and tangential measurements.
To aim the nozzles, loosen the clamp on the
vertical pipe just below the lower nozzle and
spread it so that it will allow the pipe to rotate
without being so loose that it will allow the nozzle
assembly to fall.
Once the clamp is loose, place the Vaughan
protractor on top of it.
There is provision for an elastic tie around the
back side of the protractor to hold it in place.


